Chapter 2-1 is the third level of Resident Evil 5.
Plot
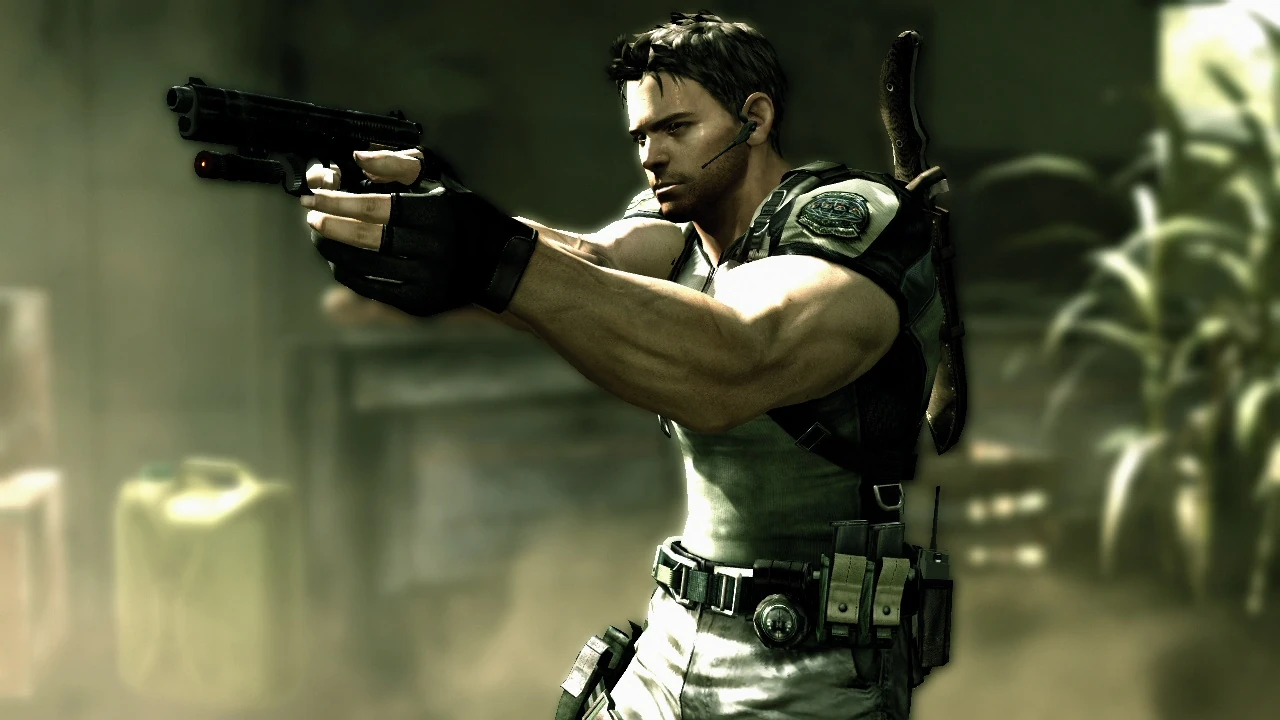
After Kirk Mathison's helicopter goes down, Chris Redfield and Sheva Alomar mode in to his crash site, awaiting the arrival of BSAA reinforcements.
Walkthrough
Storage Facility
At the start of the level, you will be in a warehouse with no enemies. There is a briefcase with a Heckler & Koch MP5 immediately to your left. Destroying the crates and boxes will net you some ammo and at the back of the room you can climb onto the large metal containers. Following them will lead you to a chest with approximately 1000 gold. To the immediate left of the chest is a BSAA Emblem. When finished, exit the warehouse.
The Bridge
Take a right and follow the linear path and stop after the first turn. Before proceeding, take down the crossbow Majini standing atop the boxes on the left and detonate the trip wire in front of you. Past the explosive are 2 Majini, one of which will immediately rush towards you. The other, a crossbow Majini, will immediately run to the upper boxes if you get closer to him or aim at him. At this point the path diverges: the trip wire and the straight path leading to a room with boxes and ammo. For now, take a right and kill the Majini that ambushes you. Before proceeding past the 2nd explosive set, search the metal boxes for a first aid spray and green herb and climb up the ladder to drop into the ammo room you saw before. Past the 3rd set of explosives is a crossbow Majini and a mini-cutscene involving 3 dogs. One of the dogs will mutate, but a shotgun makes short work of them. The left path leads to a pair of boxes and a set of explosives blocks the right path. Past the explosives is another easily dealt with majini. Following the linear path through the boxes will eventually lead you to an open area, with several crossbow majini, a Molotov majini, a Big Man Majini, and some dogs. Retreat back slightly into the box maze and deal with the enemies that attempt to get into melee range. The Big Man Majini can be easily dealt with using one shotgun shell and a properly timed combo from Chris and Sheva. Proceed outward and take out any remaining enemies. The Big Man Majini will drop a Jewel Bangle worth 1000 gold upon death. Exit through the gate to the right after clearing the open area.
After jumping across the bridge, a cutscene will play and a truck will drive towards you. You can either shoot the driver, destroy the truck, or hit an explosive barrel to stop the truck, the third method being the easiest, and strongly recommended in Professional mode. After the truck crashes, several Majinji will attack from far down the bridge. To save ammo, you can eliminate multiple waves with the remaining explosive barrels. Proceed to the end of the bridge, take a left into the small stairs down into the sewers and ready your shotgun. You can also turn around and shoot the BSAA Emblem under the bridge. In the sewers, a set of 3 dogs will attack, and further down another 2 will attack, all of which should be easy to deal with in a narrow corridor with a shotgun.
The Port
When exiting the sewers, take a left first to find a ruby in the water worth 1000g. The 4 bodies here will all spawn flying Parasites, so don't rush ahead. The fliers are fairly easy to kill, taking only a few pistol shots to kill, however shotguns tend to work best on them. On higher difficulties, they may quickly strafe left or right. Continue down the path through another sewer, there will be no enemies this time.
Upon exiting the last set of sewers, you will find yourself in a market area with several Majini fleeing the scene. If you have a grenade, use it in the center stalls as there is a chest in the center area holding the Marquise Ruby, worth 3000 gold. Avoid breaking the lock on the dock's warehouse door. Instead, follow the alley behind the structure and jump through the window. There will be an impaled corpse with keys dangling from the hook. After shooting down the keys, several Majini will attack, including one Big Man Majini (And very rarely 2). This Majini will also drop a Jewel Bangle worth 1000 gold. There is also a BSAA Emblem hidden in the roof of one of the stalls, only visible on the roof of the warehouse.
Use the key to open the locked gate to the boat, and kill the Majini there if you haven't already. Proceeding forward will trigger a radio response from Kirk and Majini attack. If you wish to conserve ammo, simply stay back and let the helicopter eliminate all the enemies. Doing so will not prevent them from dropping items. At all costs, avoid getting into melee range of the Majinji as the rocket launcher can harm you. Climb the building on the right with a ladder and a Molotov Majini to find a BSAA Emblem through one of the windows. In the building at the end of the alley is a briefcase with the Sako S75 rifle. Leave the area through the gate.
Shanty Town
The next area will have a mini-cutscene where Kirk Mathison's helicopter is attacked by a number of flying parasites, two of which will prioritise the player. There is a broken ladder uphill that Chris can boost Sheva up to. She can cover Chris as Majini come out of the building. After entering the building, check the corners and side rooms for boxes and 2 hidden Majini, one near the toilets and one behind the stairs. At the roof, there is a BSAA Emblem if you look to the upper right of where you just exited from. Toss Sheva across to the other building to unlock the ground floor, and immediately rush down to the second floor (you might simply jump down right from the position you helped Sheva) to help fight off Majini that will attack Sheva. After eliminating the Majini, search the area for extra items, and reload all your weapons. After climbing the stairs, a cutscene will play and a Chainsaw Majini will attack. There are multiple ways of dealing with the Majinji, including pulling back to the transformer and explosive boxes, rushing forward and keeping him stunned with melee attacks and shotgun/pistol bursts to the face, or simply falling back and firing at his face from a distance. During the fight, several other Majini will join in from behind you, so be aware that getting grabbed can result in the Chainsaw Majini getting an instant decapitation on you. To make fighting this Majini easier, try using a shotgun or machine gun (or S75 Rifle you found earlier)and aim for his head to make things a bit quicker and easier. After the Chainsaw Majini dies, kill off the rest of the Majinji and reload your weapons and pick up the key. On Veteran, Professional, and without dying on Normal (difficulty adjustment), Chainsaw Majini will resurrect and enter a berserk state. During this "berserk state", they'll constantly swing their chainsaws while shambling at you. This only occurs if the chainsaw continues running after their presumed death. When he's finally dead, it's silent. It is possible to simply grab the keys and flee from him as there are no more enemies past his locked door. Following the path will lead you to a chest with Gold and several small gems.
Train Yard
Continue on the path to exit the level into a cutscene with a few Rider Majini, with 3 quick time events to be aware of so keep you hands on the controller.
Rank conditions
Stats taken from BIOHAZARD 5 kaitaishinsho.[1]
| S | A | B | C | |
|---|---|---|---|---|
| Accuracy | 70.0% or more | 60.0-69.9% | 50.0-59.9% | 49.9% or less |
| Enemies
killed |
60 or more | 45-59 | 30-44 | 29 or less |
| Deaths | 0 | 1 | 2 | 3 or more |
| Clear time | 0:23:00 or less | 0:23:01 - 0:28:00 | 0:28:01 - 0:33:00 | 0:33:01 or more |
Bibliography
- ?, ed (2010). BIOHAZARD 5 kaitaisinsho Revised Edition. Famitsu.
Sources
- ↑ kaitaishinsho, p.112.