This article does not cite any sources. Please help improve this article by adding citations to reliable sources. Unsourced material may be challenged and removed.(March 2022)
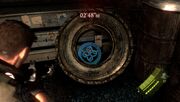
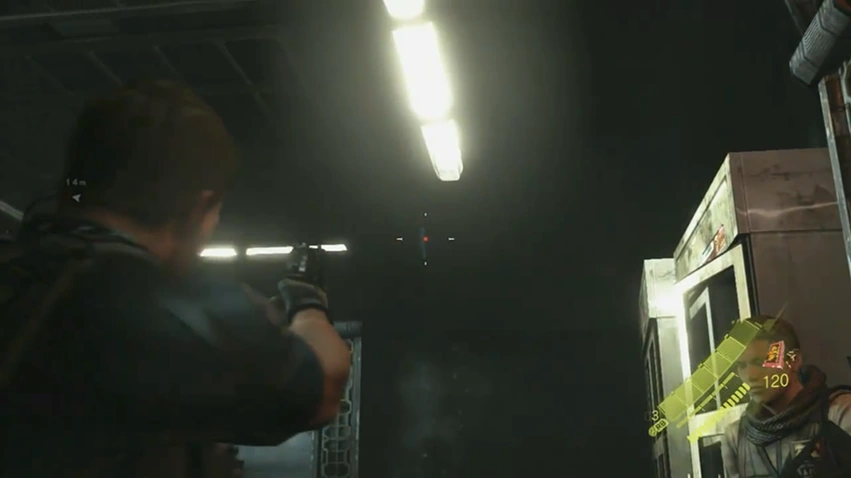
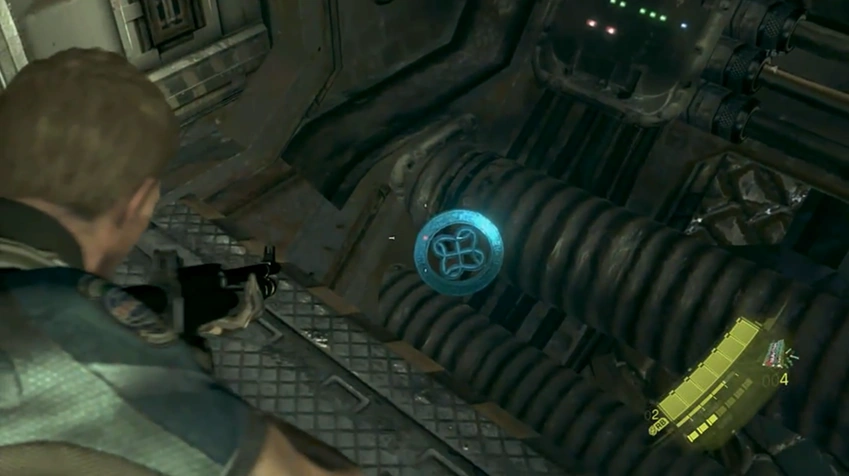
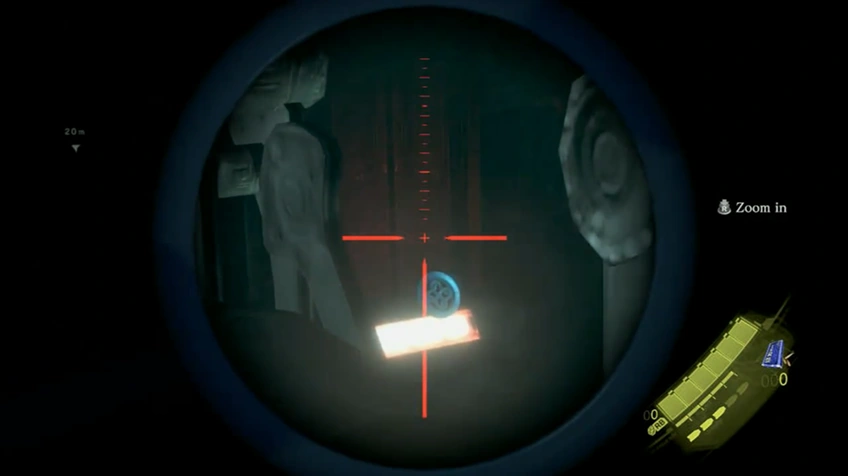
The Serpent Emblems are tokens found throughout stages of all four campaigns during the course of Resident Evil 6. There are 80 Emblems total, 20 for each campaign. The Emblems take the shape of the family symbol of Derek C. Simmons.
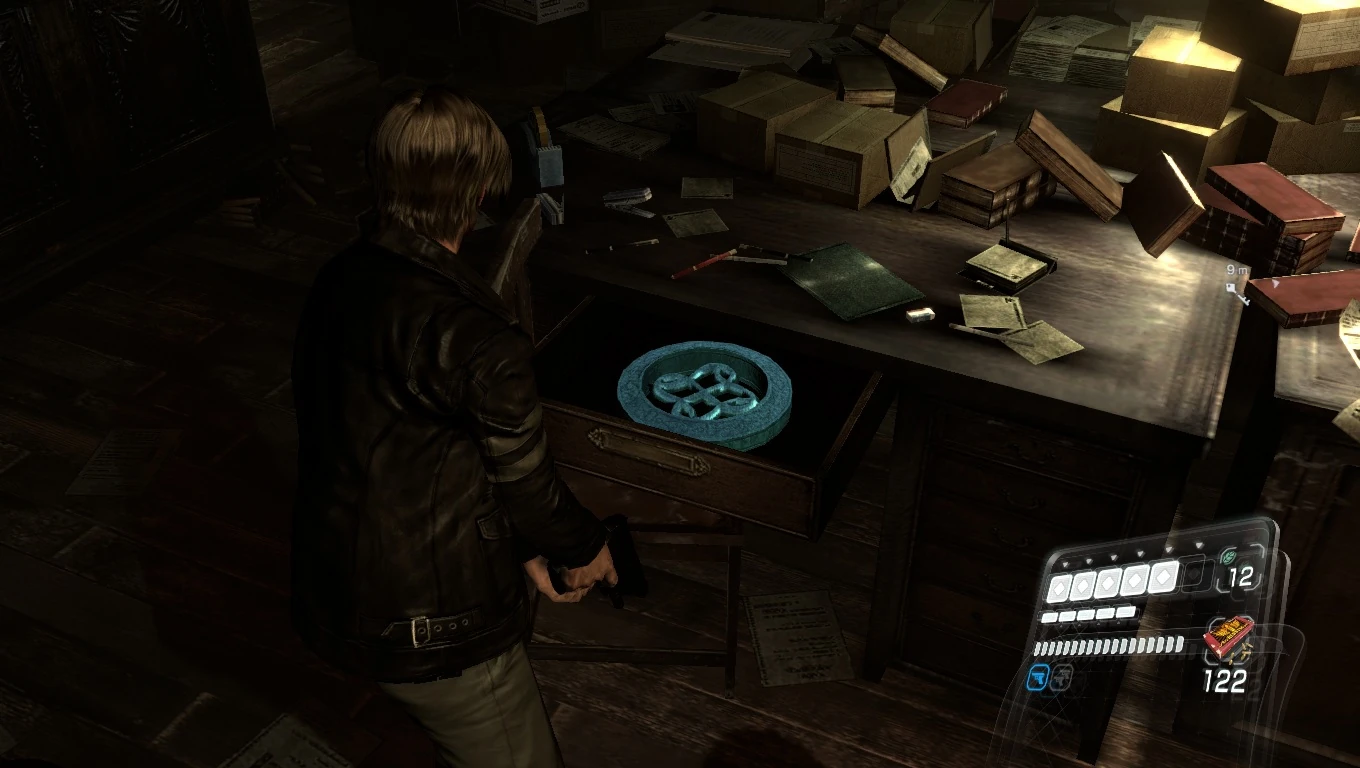
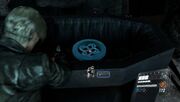
Emblem 1 - After finding Liz's father, move around the table with the computer to find a small janitorial room at the other side, with the emblem within.
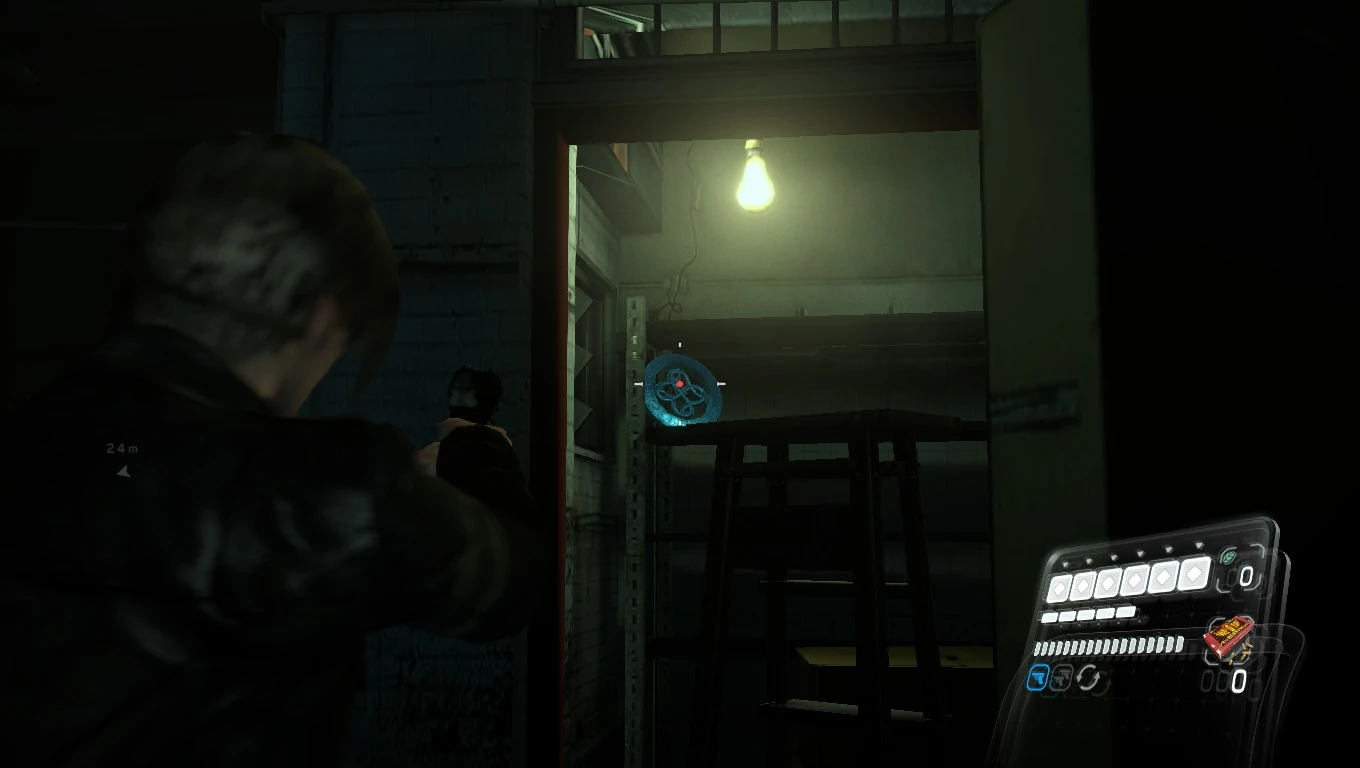
Emblem 2 - While on the hunt for the Campus Keycard, you will come across a room with two desks that can be opened. While one will only contain 9mm Ammo, the other will contain the second Emblem.
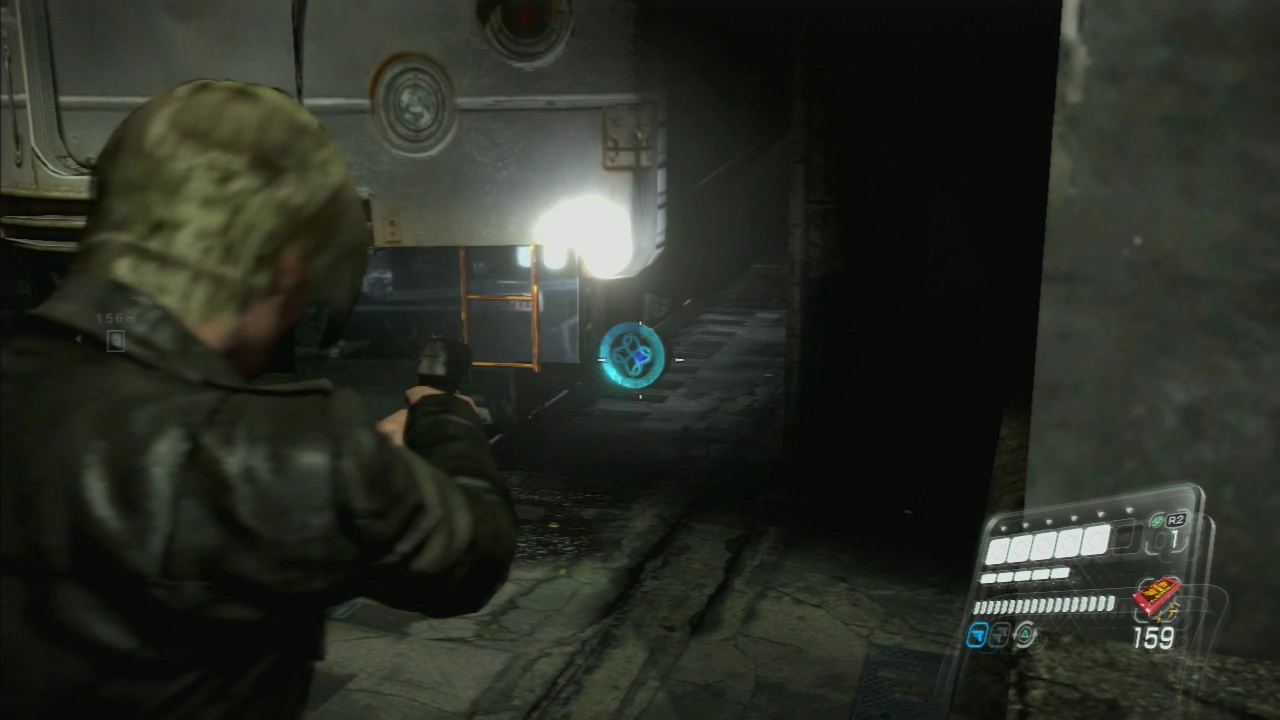
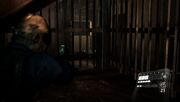
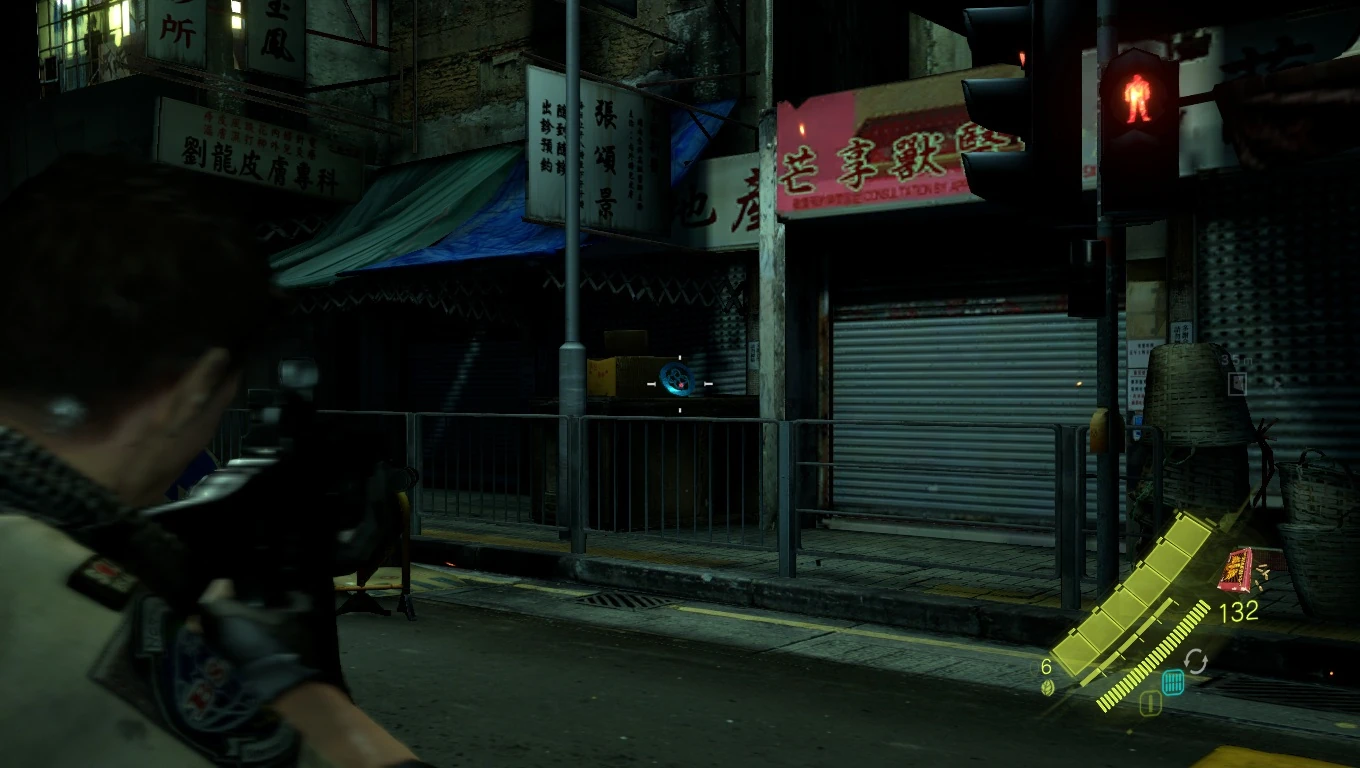
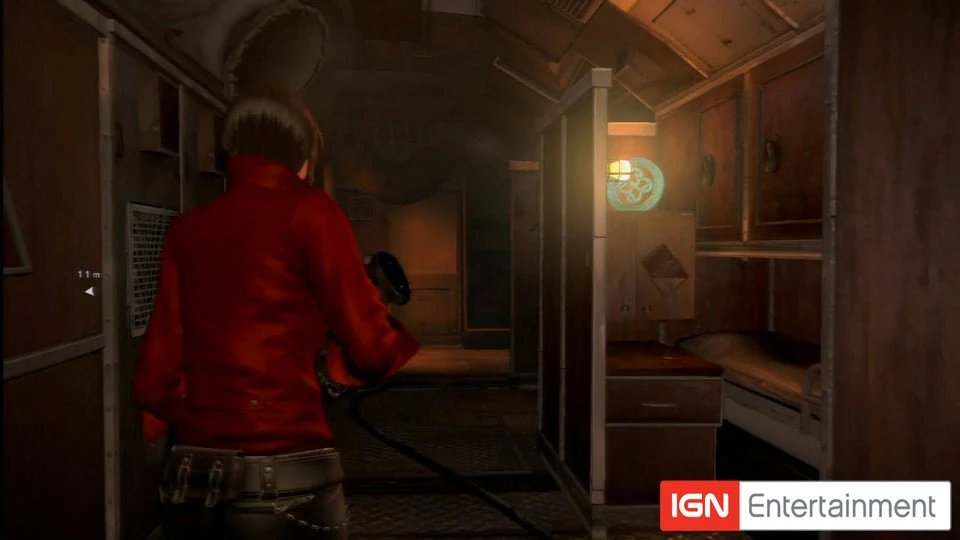
Emblem 3 - In the subway, after exiting the series of train cars and jumping back into the tunnel, turn around. This Emblem can easily be spotted under the right side of the train car you just exited.
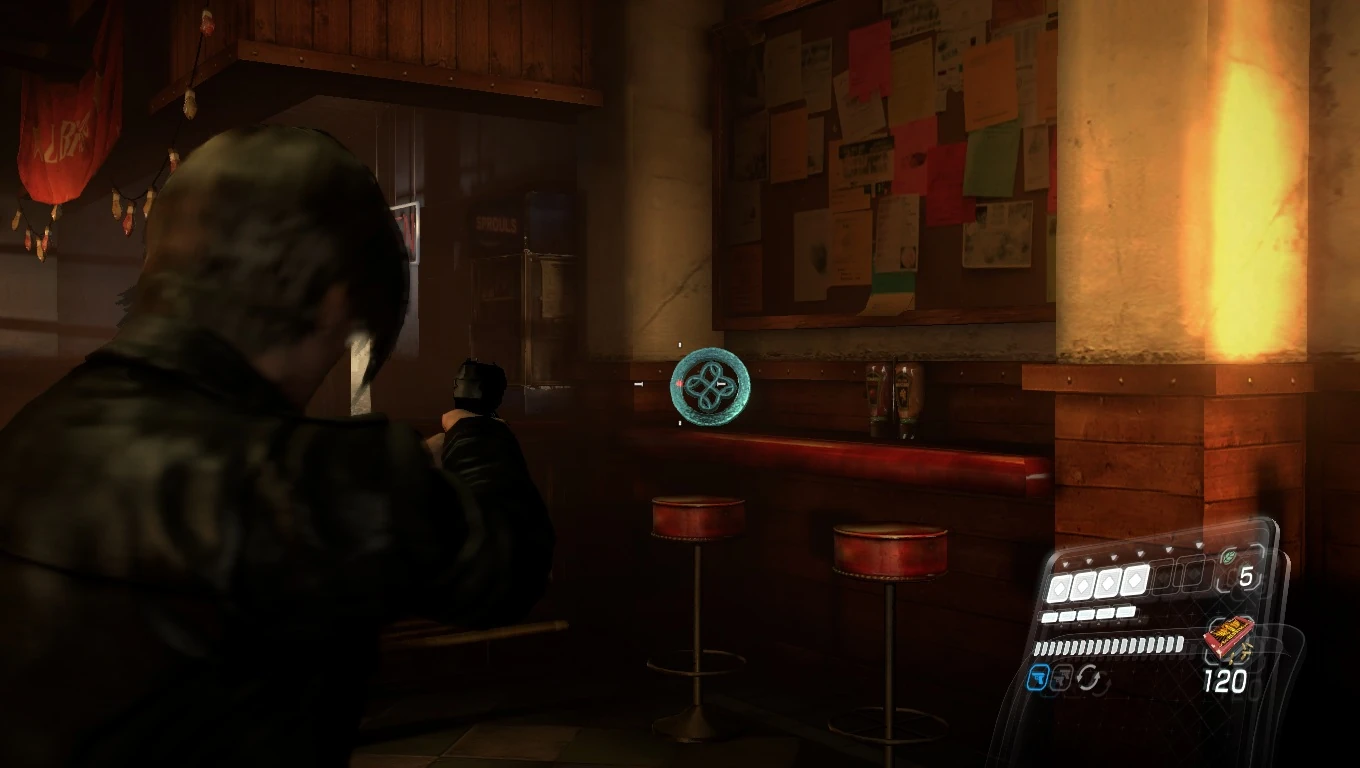
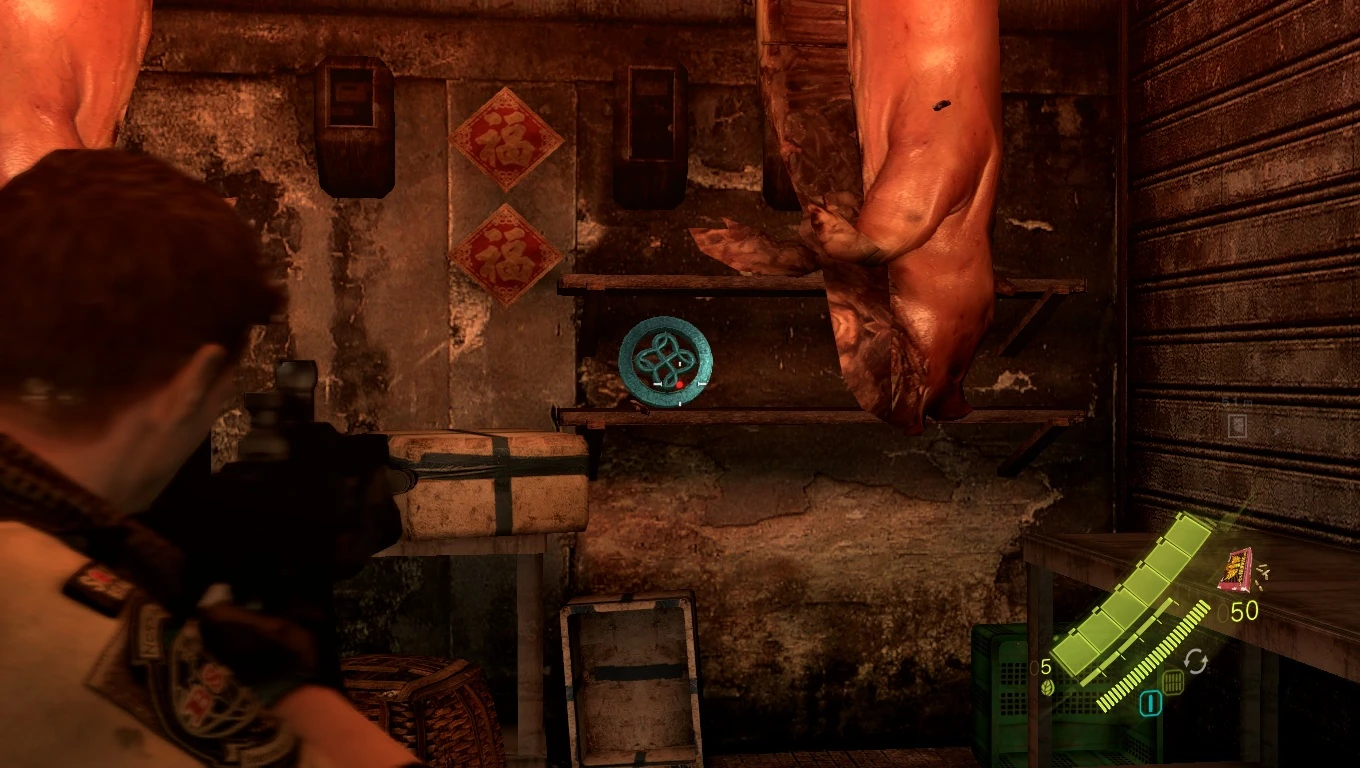
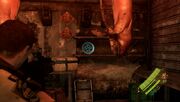
Emblem 4 - When you enter in through the rear of a bar (note: Not the first bar you enter - you will be aiming to leave this one out the front doors - if you see a great deal of fire just outside the windows, you're in the right building), look to the left before exiting. The final Emblem of the chapter can be spotted nestled on a counter top in the left corner, below a bulletin board.
If you obtained all four emblems in this chapter, you will unlock the Leon S. Kennedy figures.
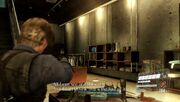
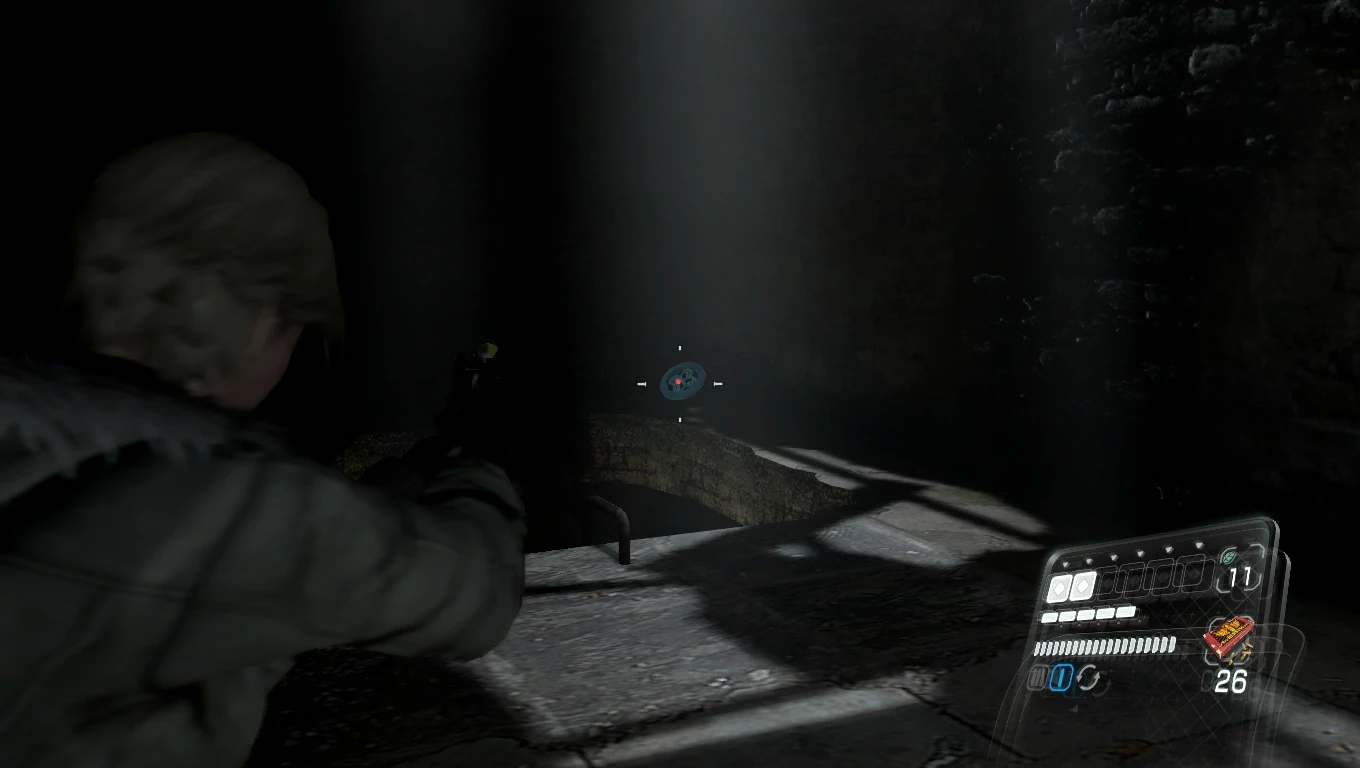
Leon emblem 5
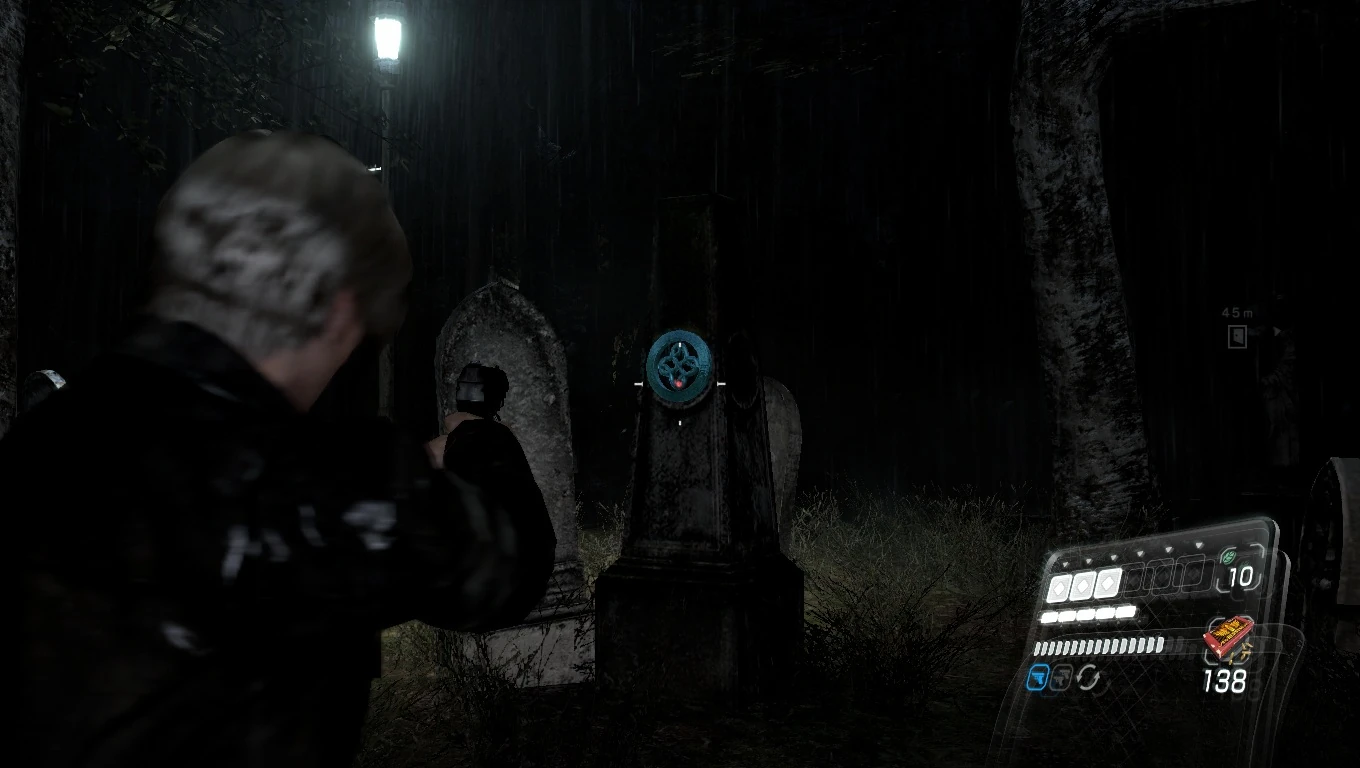
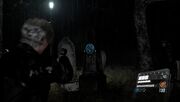
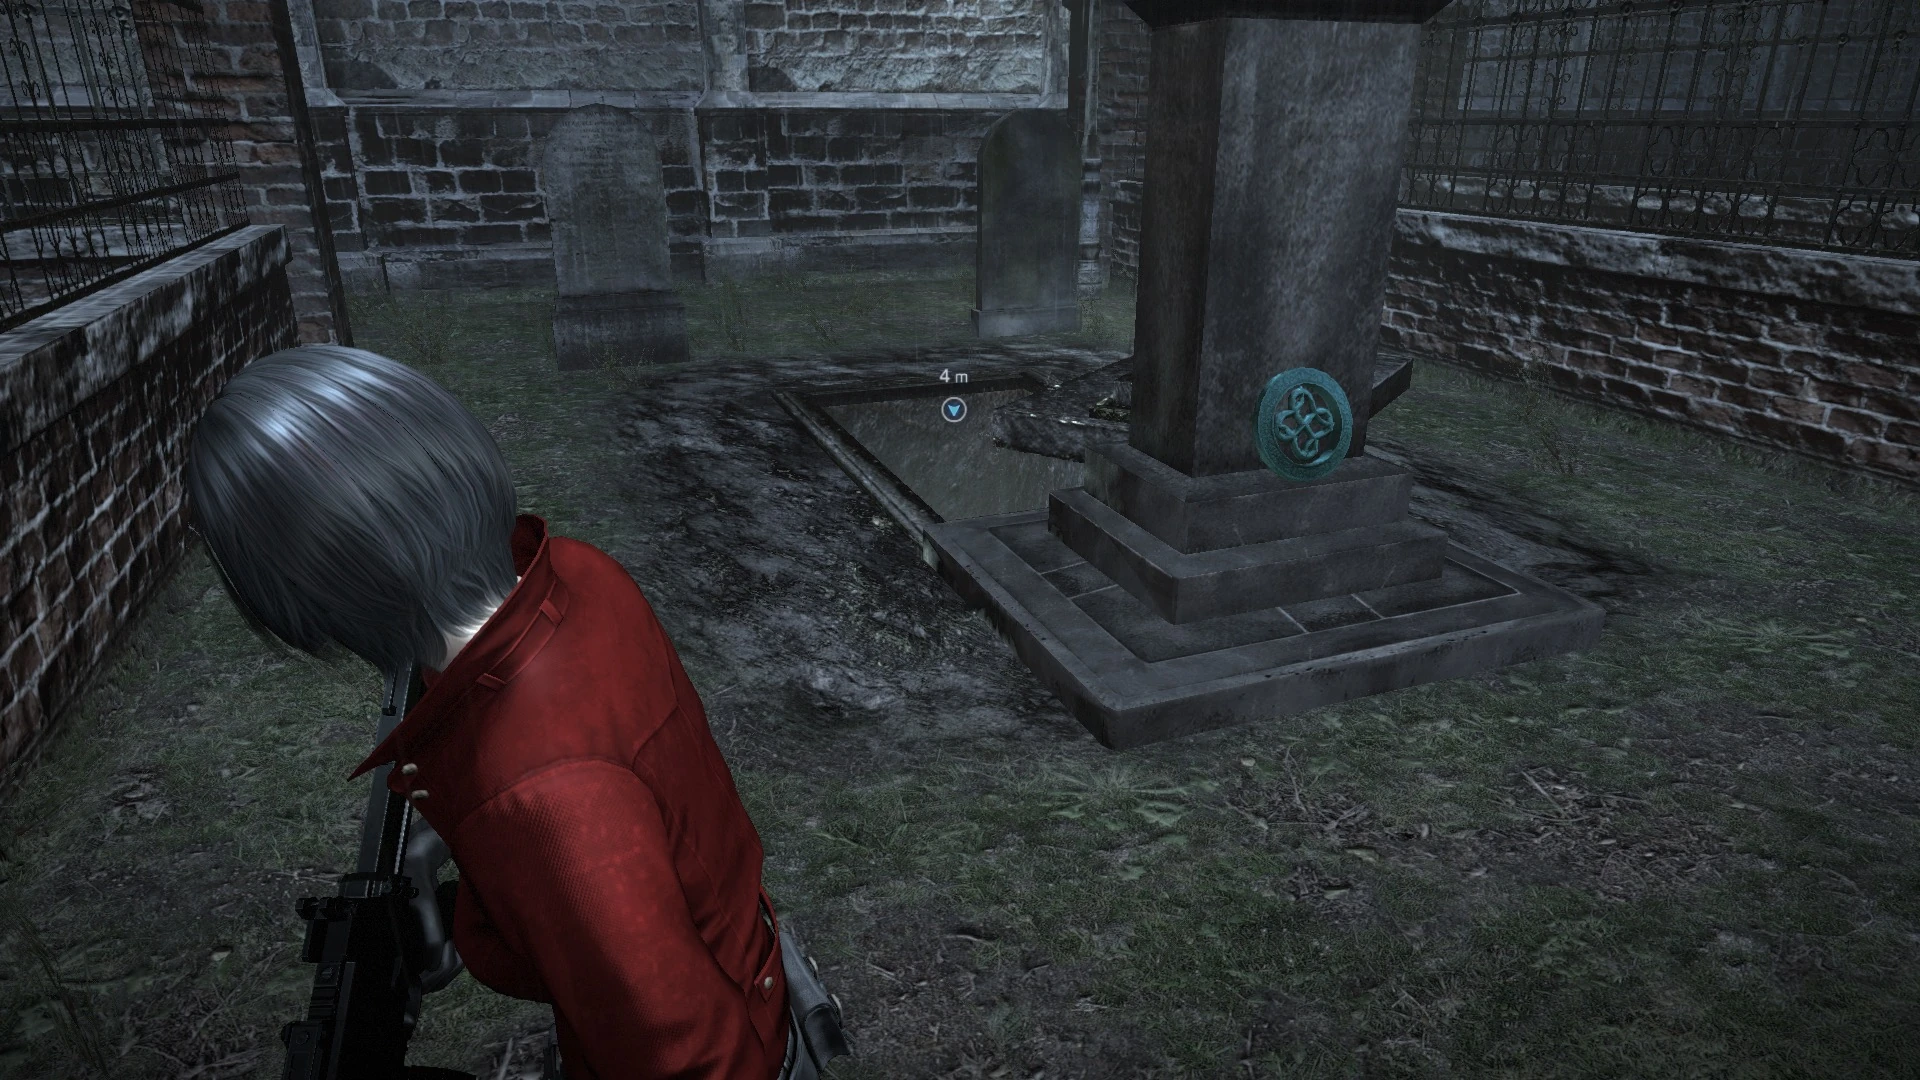
Emblem 5 - An easy Emblem to miss while in the graveyard, this can be found on the back of a small obelisk amongst a mass of smaller graves. Look for a directional side pointing off to the right next to a lamp post with a small, worn sign hanging off the right side of it. Go around the right of these and loop left behind the first tree and it should be easily spotted.
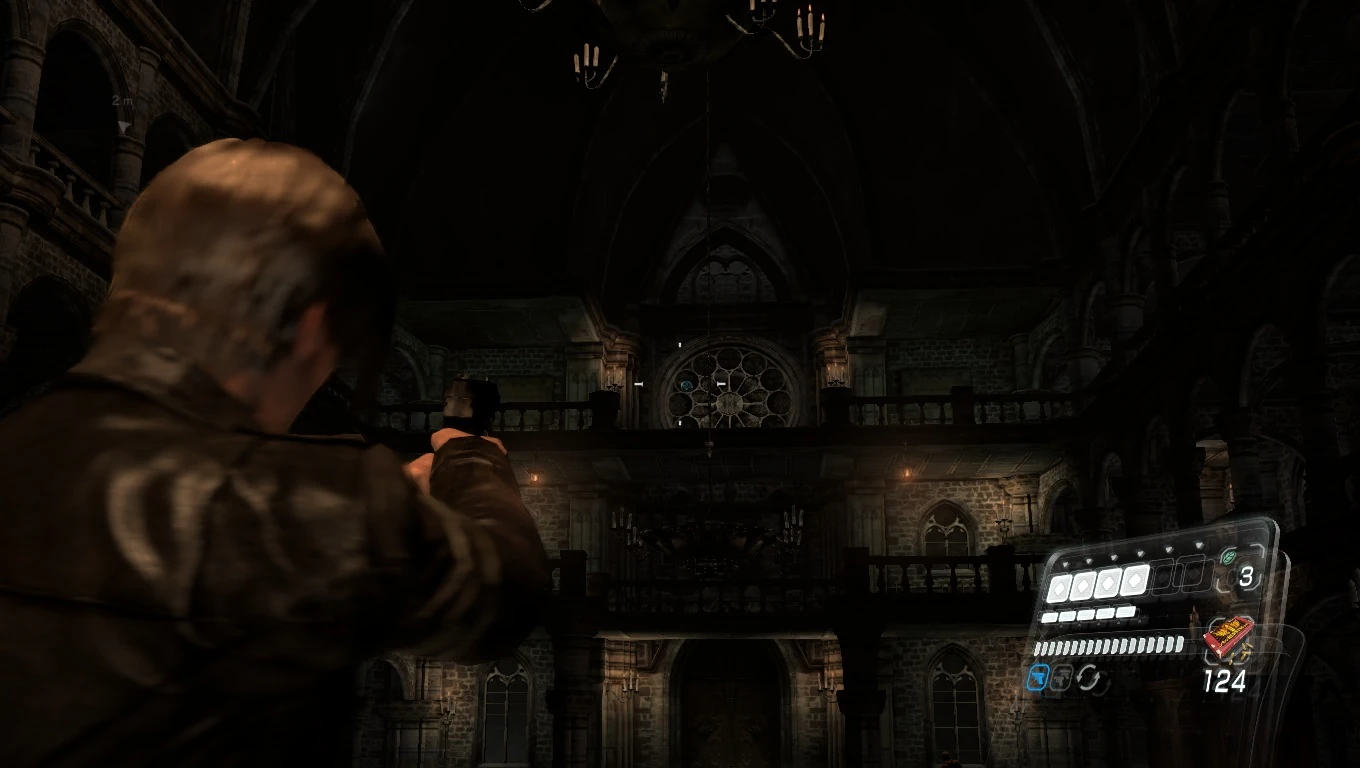
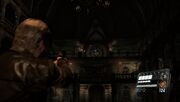
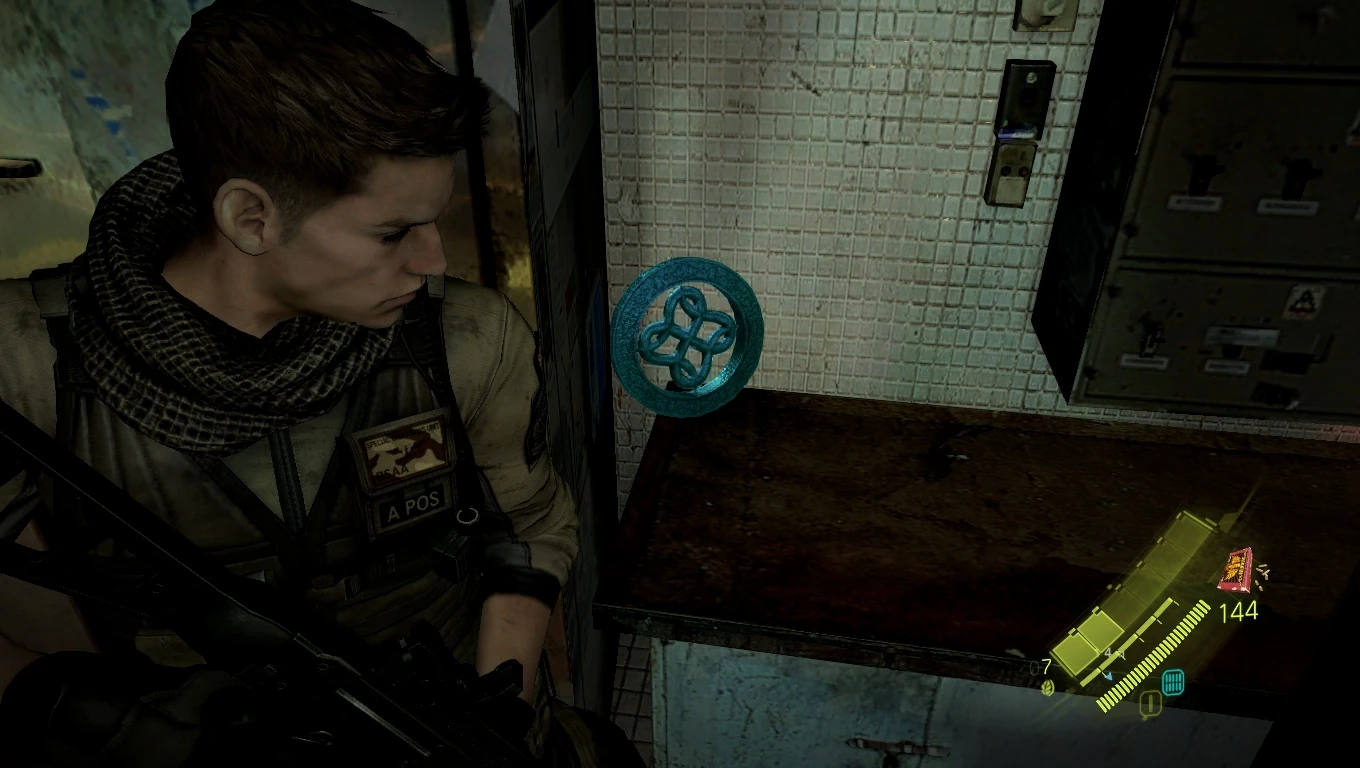
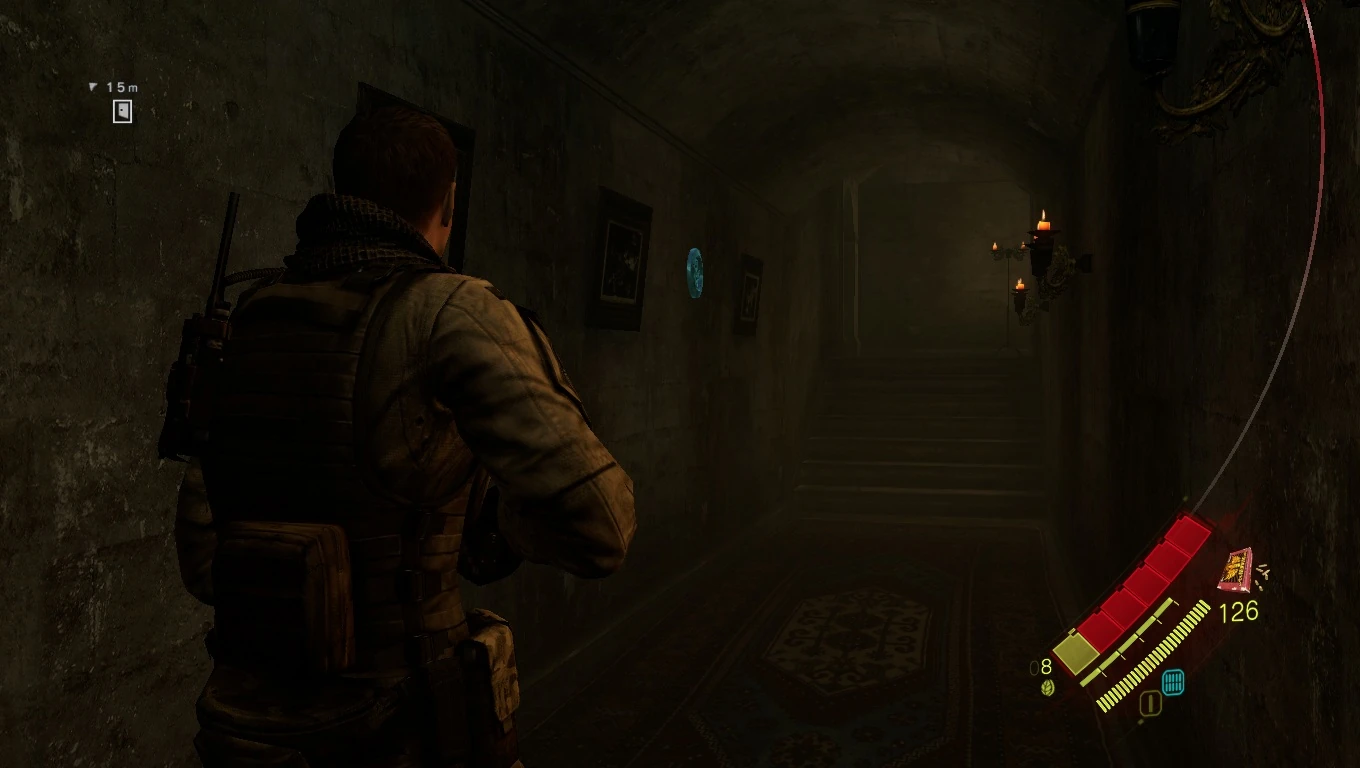
Emblem 6 - Once you gain entry into the cathedral, head to the opposite side with the altar and turn around. Somewhat hard to spot at first, the Emblem is inserted neatly into one of the circular panes of the window above the front door. It may be easier to shoot this one when you go up to the second level.
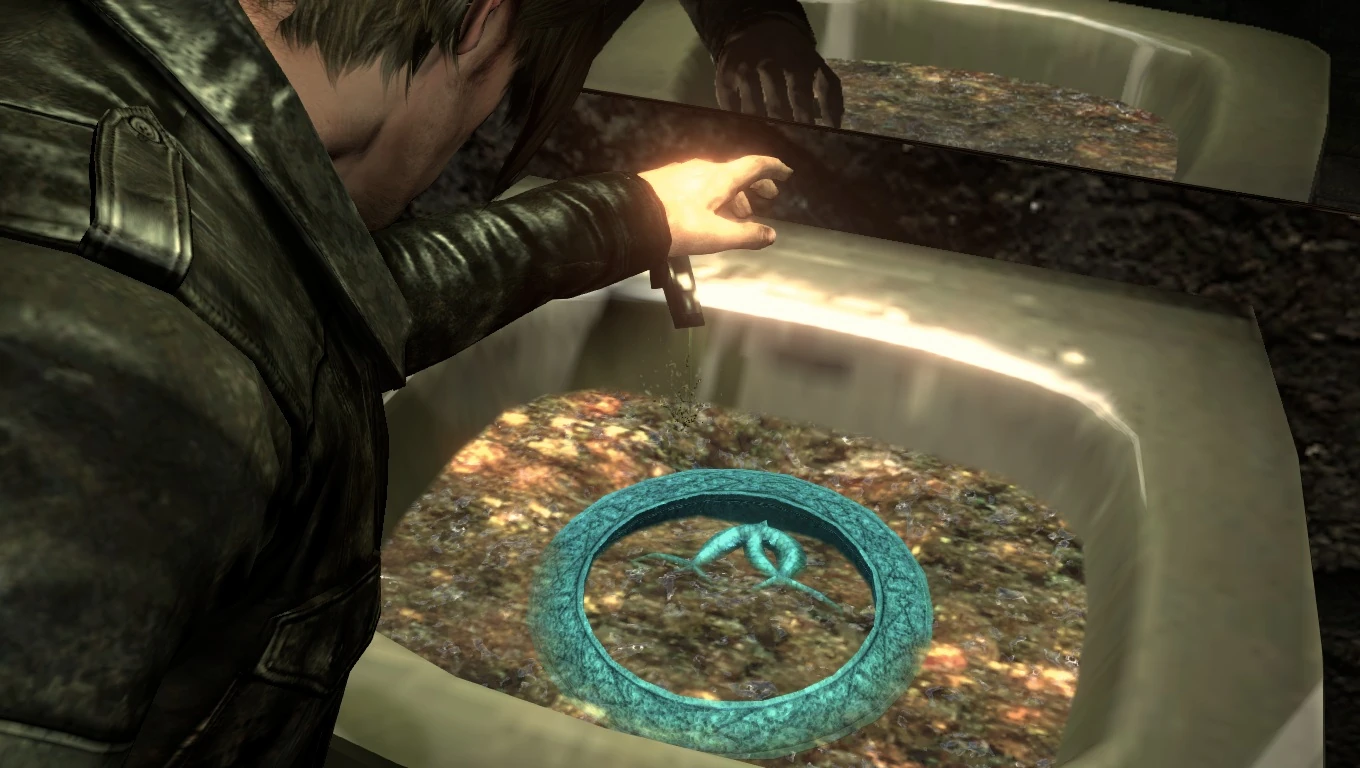
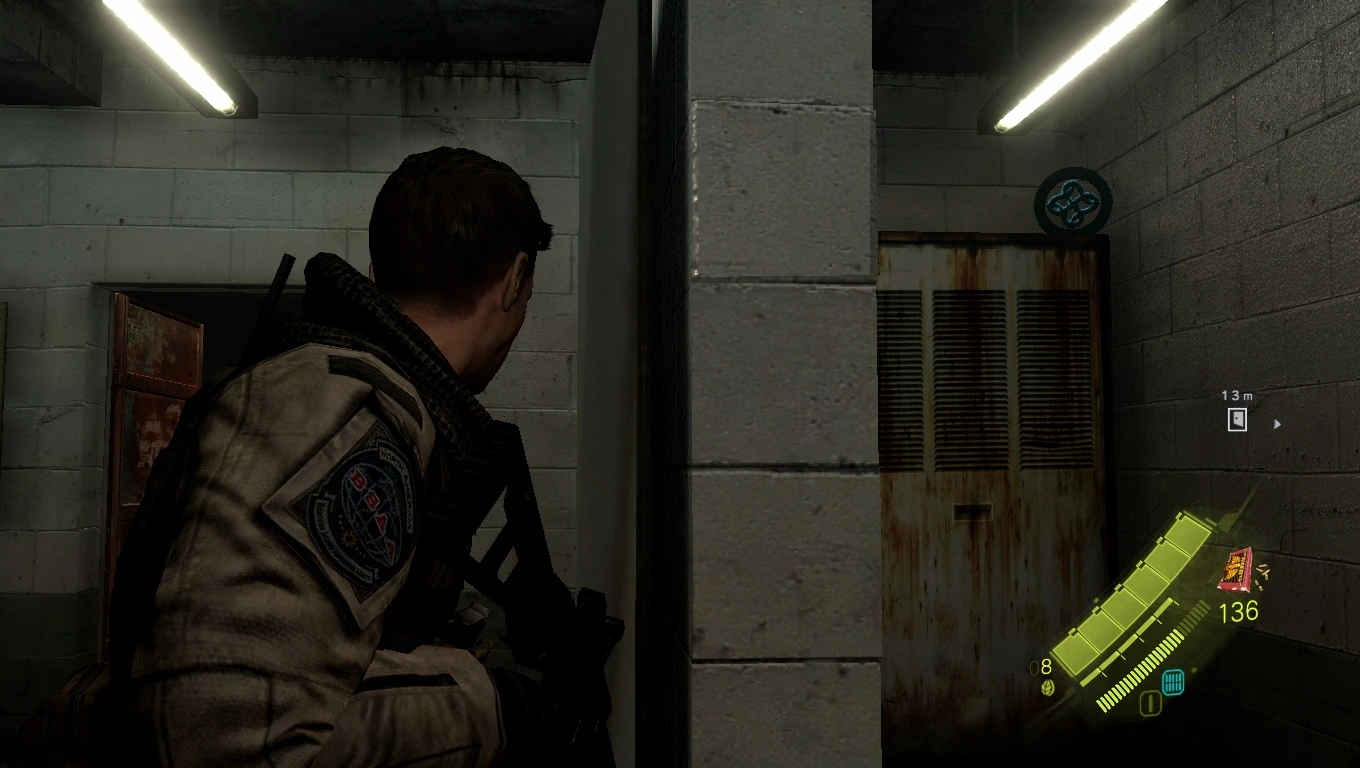
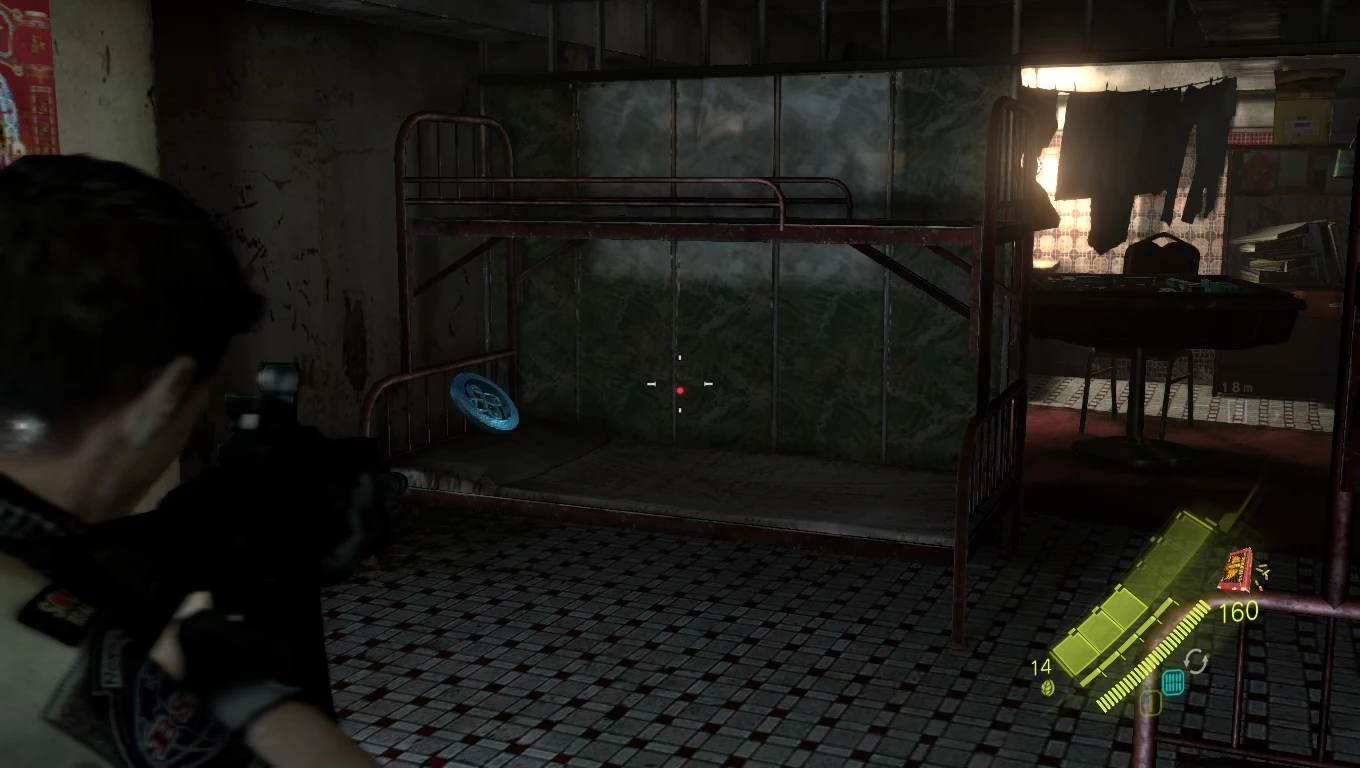
Emblem 7 - In the Underground Lab area, after you get through the second set of rooms requiring passcodes you will cut through a small lab (the body of a woman can be found on one of the beds). Follow the path until the turn the corner, where you will start seeing rooms on either side. The second door to the right will lead to a bathroom. Directly across from the door (you will be able to see Leon or Helena, depending on who you are playing, in a mirror on the wall) is a sink full of water. Drain it and it will reveal the Emblem.
Emblem 8 - During the search for Deborah Harper, you will find yourself sliding deeper into the caverns. As you follow your path, you will have to slide or crawl under two low overpasses (the floor will be partially filled with water). As you rise from the second one, you should be able to see the Emblem just beyond the barrier in front of you.
If you obtained all four Emblems in this chapter, you will unlock the Helena Harper figures.
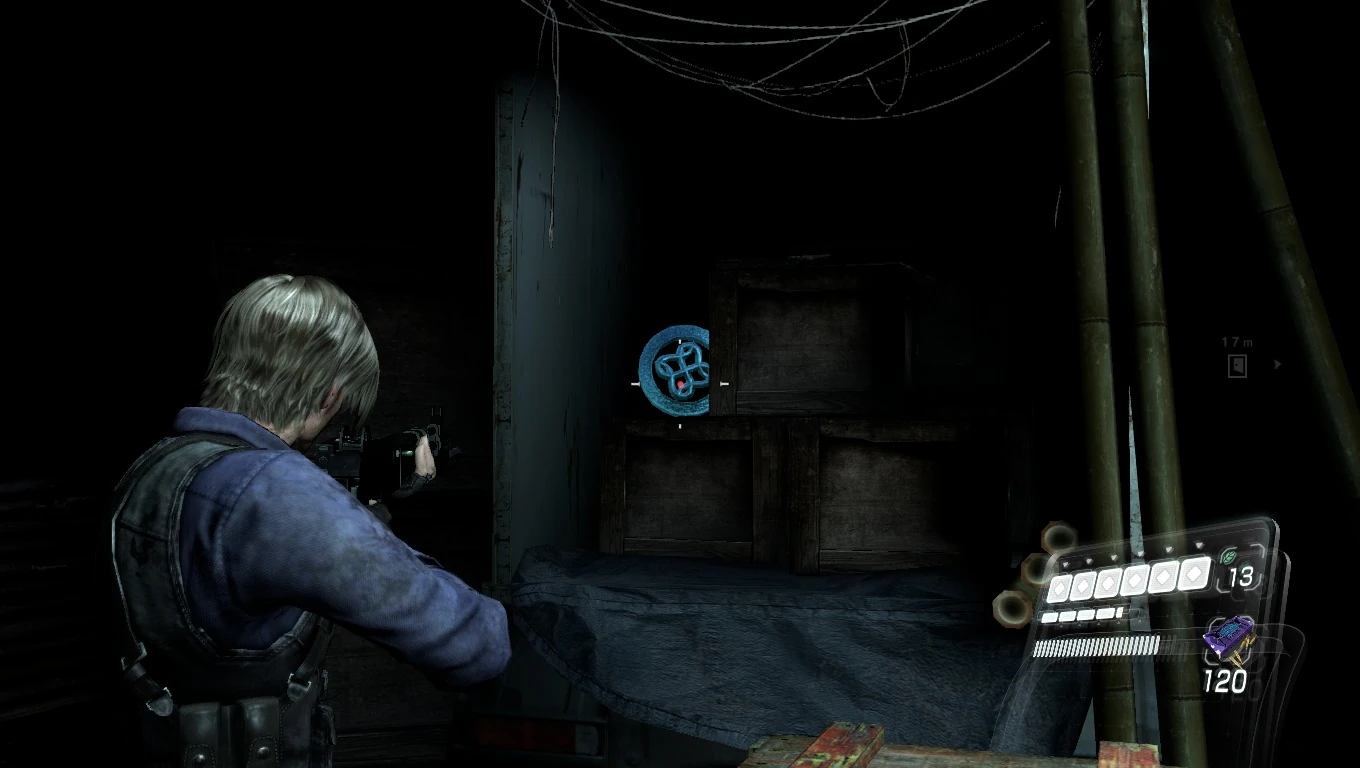
Leon emblem 9
Emblem 9 - When the chapter begins, follow the path to the large set of double doors and the switch on either side. Before opening them via the switches, turn around and look to one of the small openings just above and to the right of the entryway you came through.
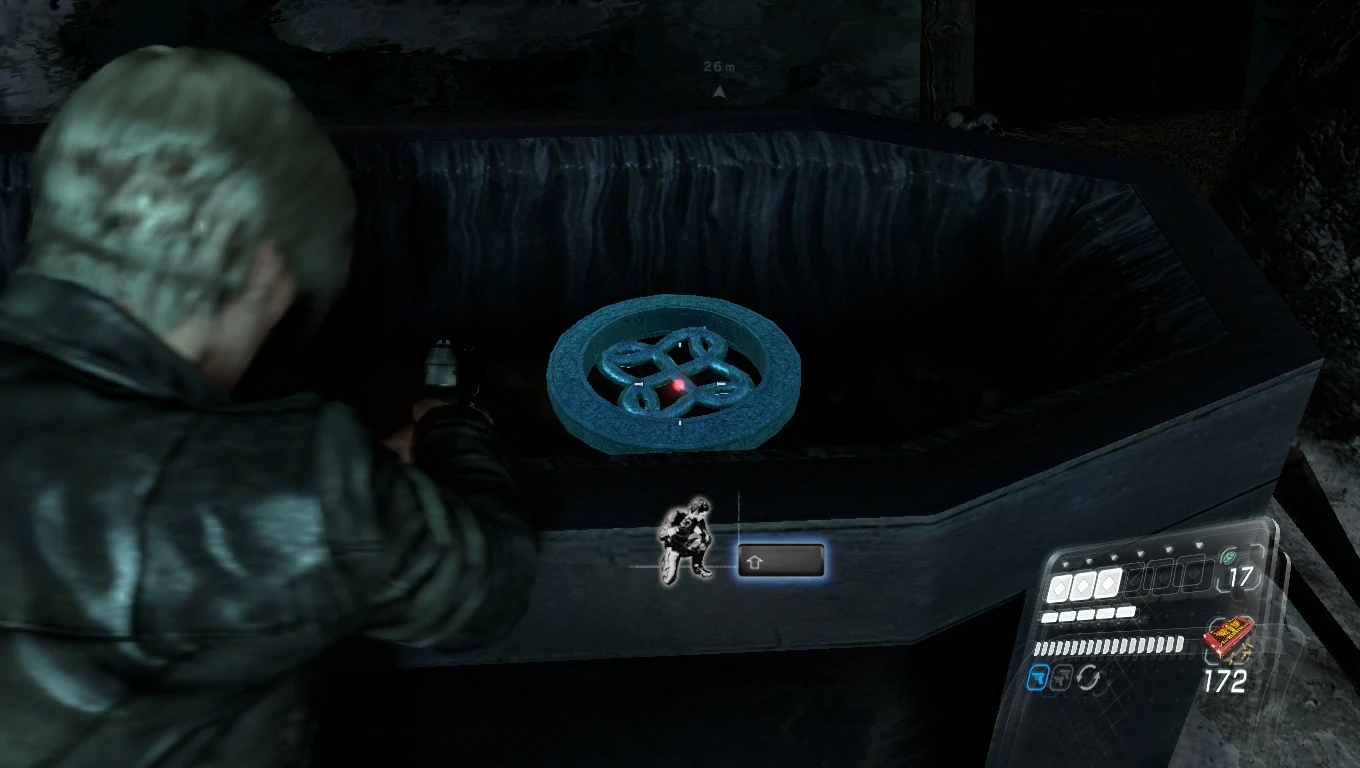
Emblem 10 - While wading through the water in The Catacombs and making your way to the waypoint, you'll find a path that leads up out of the water. Follow it to the center of the bend where you can find a crypt you can pull open. Inside will be the Emblem. Those familiar with The Catacombs as The Mercenaries map will recognize this area as being just above where the generator is.
Emblem 11 - After jointly pushing the boulder into the gap, jump over the gap and continue down the walkway. You will walk over a grouping of blanks that bridges the gap on the left side, followed by hopping over a downed pillar and then another set of planks. Immediately after walking over this second set, the Emblem can be seen faintly just slightly to the right (if you are looking ahead of you).
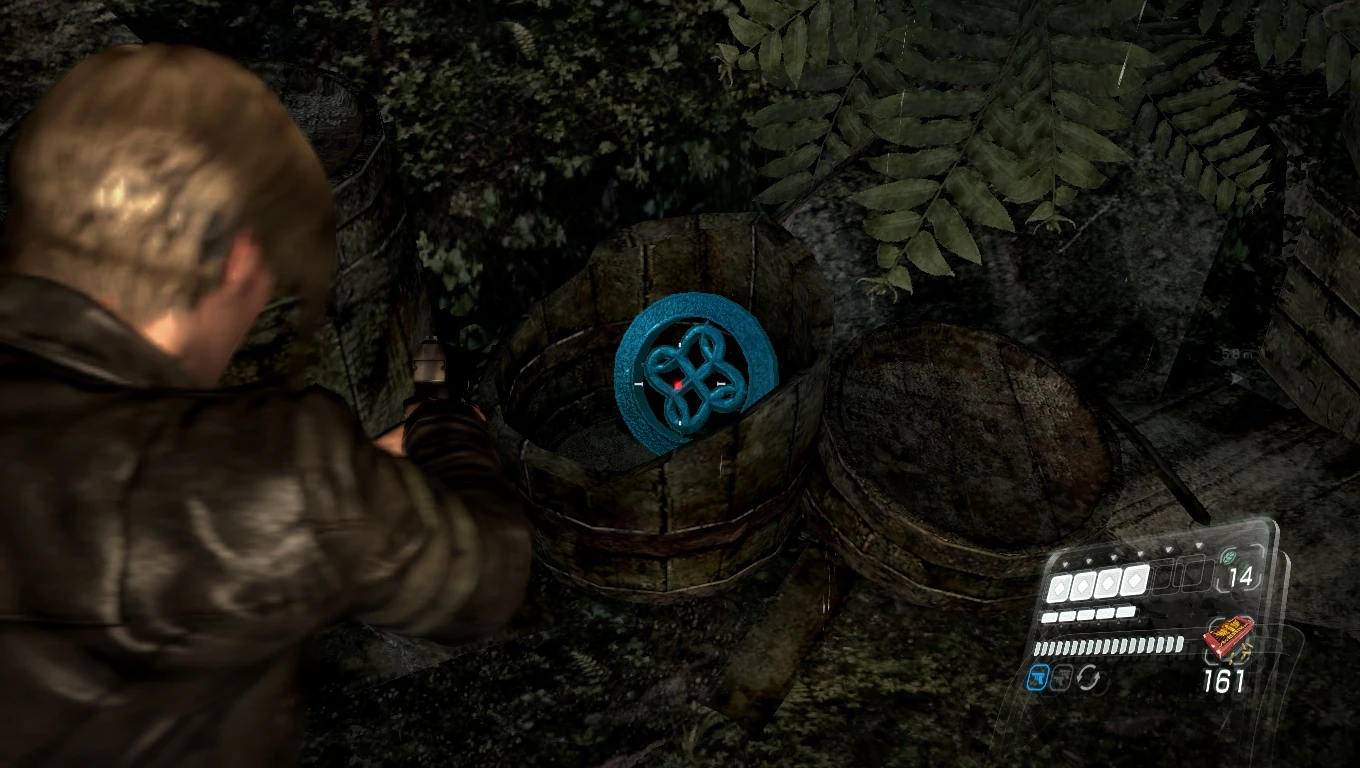
Emblem 12 - After Leon is rescued from the Brzak in his swimming portion, circle back around the path Helena had to follow. After crossing over the three bridges, this final Emblem of the chapter can be found sitting inside a broken bucket in a group of buckets in a corner. As Helena, this Emblem can be gotten prior to saving Leon.
If you obtained all four emblems in this chapter, you will unlock the Derek C. Simmons figures.
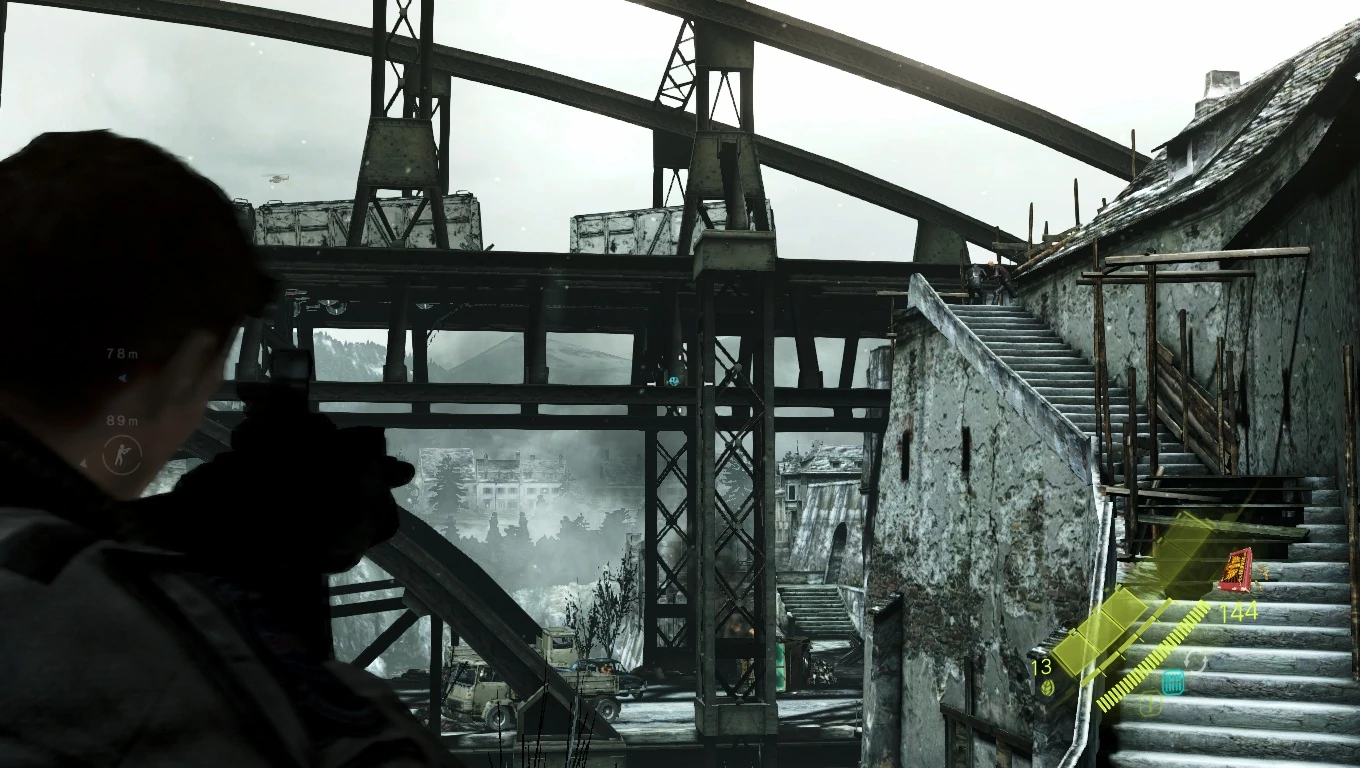
Leon emblem 13
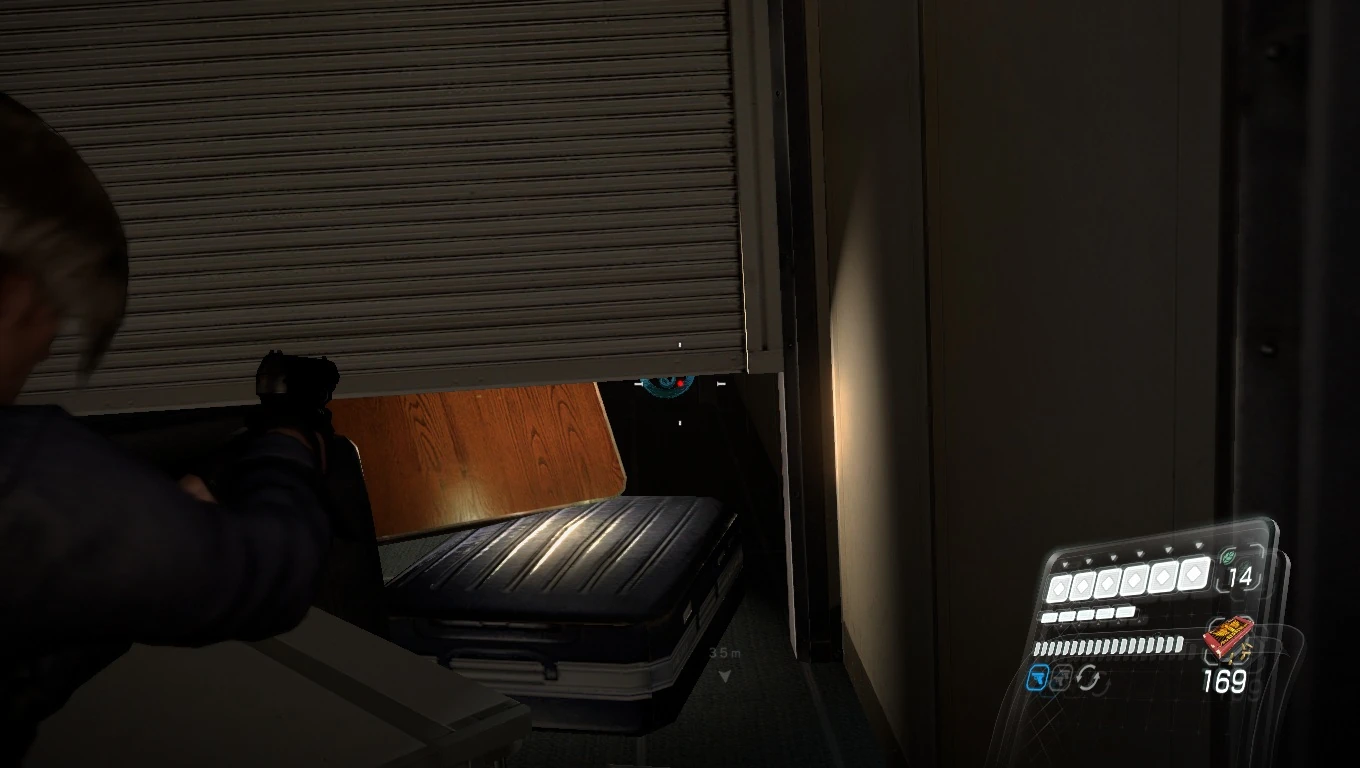
Emblem 13 - When the Lepotica flees from the cockpit and you must make your way back, head down stairs and go to the right. You will find a shutter that is partially open with suitcases stuff inside. This Emblem can be spotted in the bottom right side next to the suitcases.
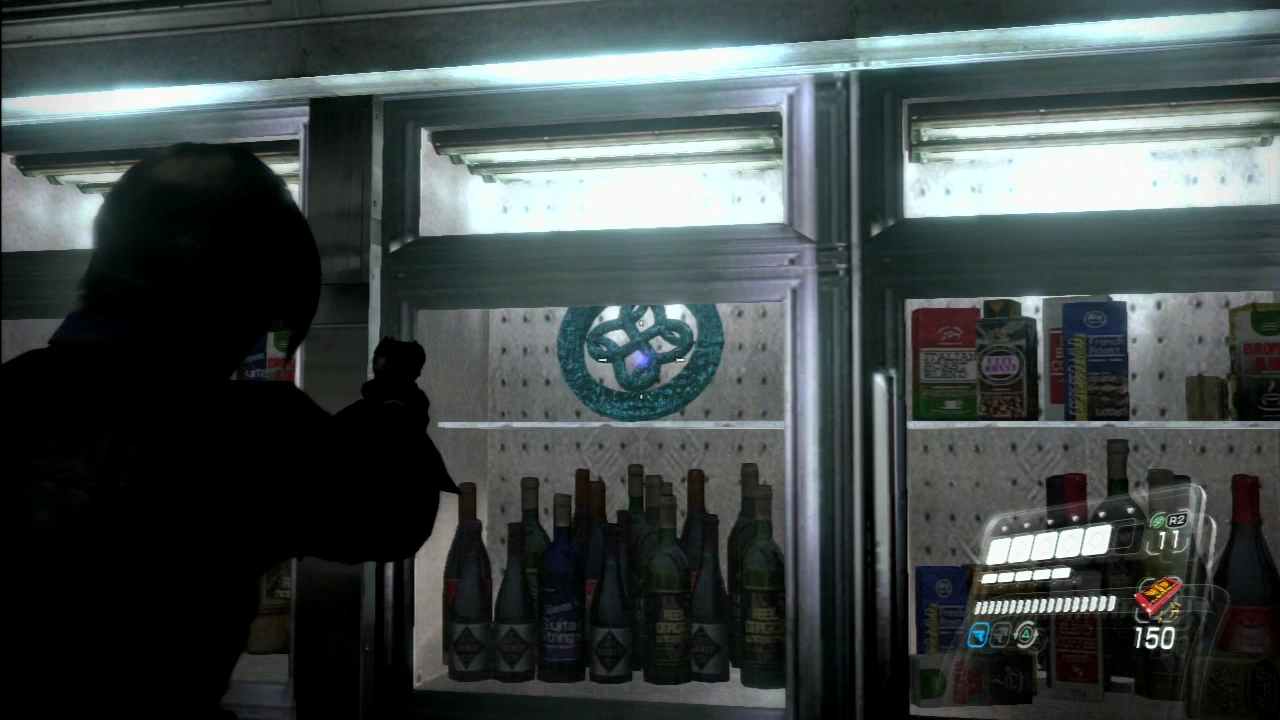
Emblem 14 - Shortly after Emblem 13, continue down the next set of stairs. There will be a set of glass cabinets to your right as you pass buy filled with mostly bottles, a few boxes, and one lonely Serpent Emblem.
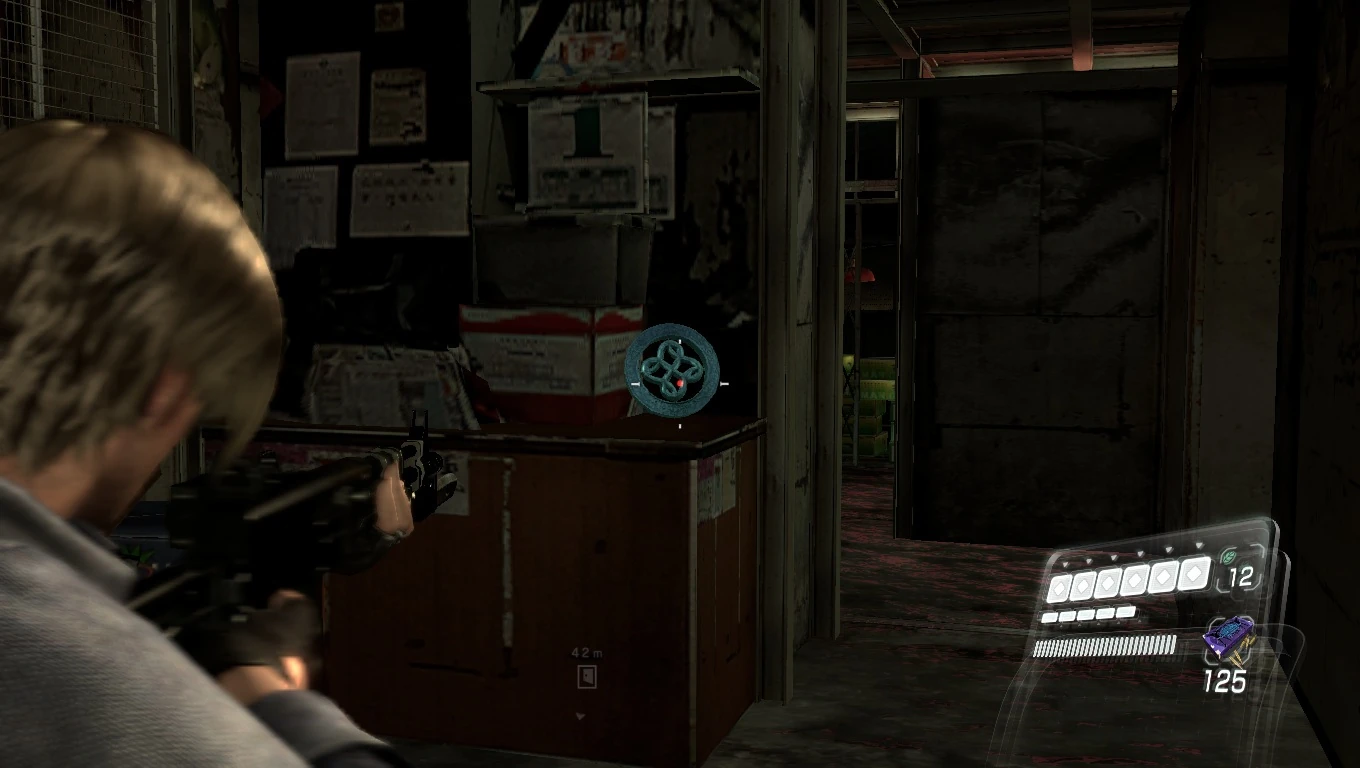
Emblem 15 - In the market (after fighting Ustanak), you will encounter a Rasklapanje attacking a civilian. After your character automatically turns the corner, make the first right and then the very next right. The Emblem will be sitting clearly on the desk to the left of the doorway.
Leon emblem 16
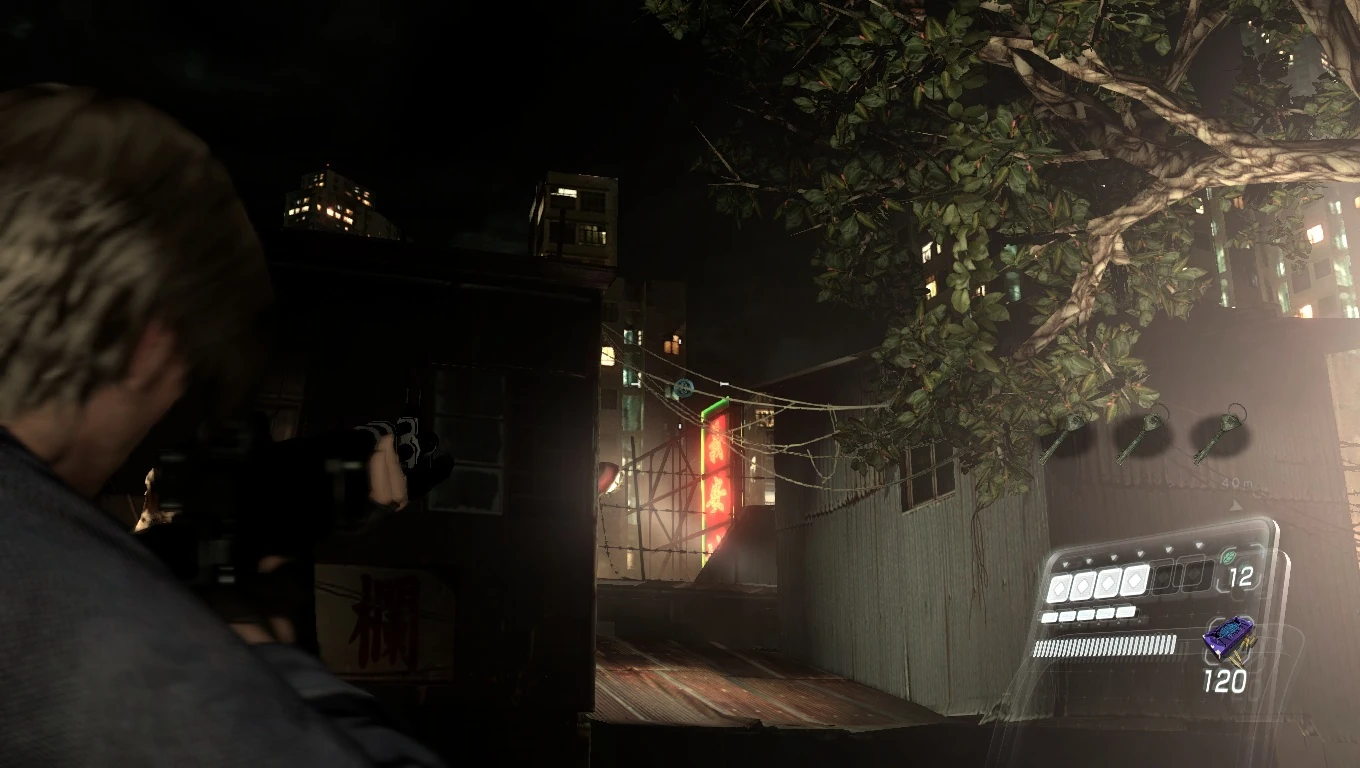
Emblem 16 - When on the rooftops of the market (while searching for keys) there will be a partner prompt where Leon will have to throw Helena across the gap. Before (or after) doing this, look up and to the right between some buildings. You will be able to see the top of a neon sign with bright red lettering and a green outline. The Emblem is sitting on top of some wires right next to this sign.
If you obtained all four emblems in this chapter, you will unlock the Adam Benford figures.
Leon emblem 17
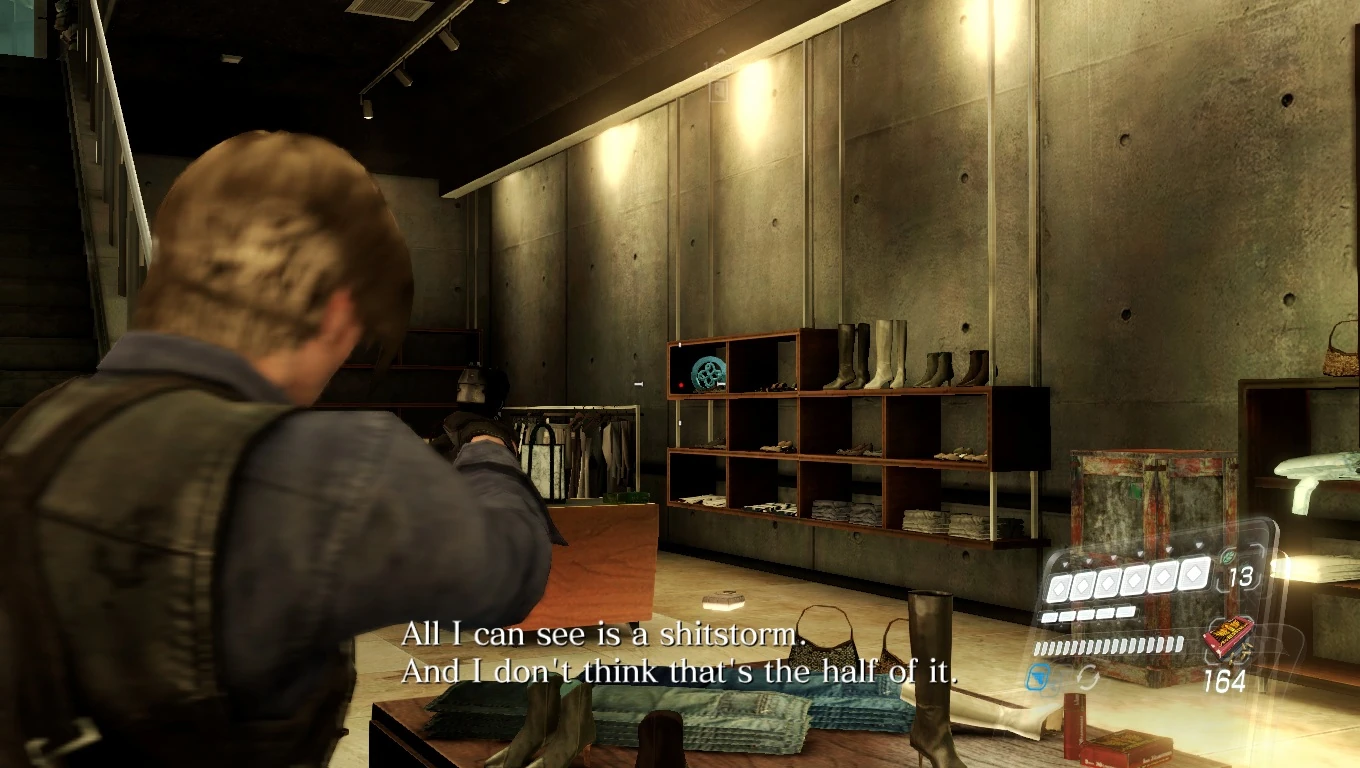
Emblem 17 - While running from the blue fog, Leon and Helena will be directed into a clothing store. You only have a few minutes of peace so immediately look for the Emblem against a wall to the right inside of a shelf. If you don't plan on risking collecting items, shoot it from as much of a distance as you can so you can race right up the stairs.
If you obtained all five emblems in this column (the first in every chapter), you will unlock the Whopper and Whopper Supreme figures.
Leon emblem 18
Emblem 18 - You'll come across your first B.S.A.A. zombie in a very familiar area - the area where Leon had to acquire an herb for Helena in the Prelude. After disposing of the zombie (who is right by the truck just as in the Prelude), look inside the back of the truck to your left. The Emblem will be sitting there, quite neatly, waiting for you to destroy it.
If you obtained all five Emblems in this column (the second in every chapter), you will unlock the Bloodshot figure.
Leon emblem 19
Emblem 19 - After crashing the chopper into the Quad Tower, this Emblem can be found sitting inside of one of a series of cubby holes to the right of the doors you are to go through. The Emblem is behind a barrier of golden bars, but an easy shot to make.
If you obtained all five Emblems in this column (the third in every chapter), you will unlock the Shrieker figure.
Leon emblem 20
Emblem 20 - Before heading up the stairs after taking out Simmons briefly when he tries to stop you, go behind the stairs and look through the bars. The final Emblem of the campaign will be sitting on top of a bench and easy enough to see and shoot.
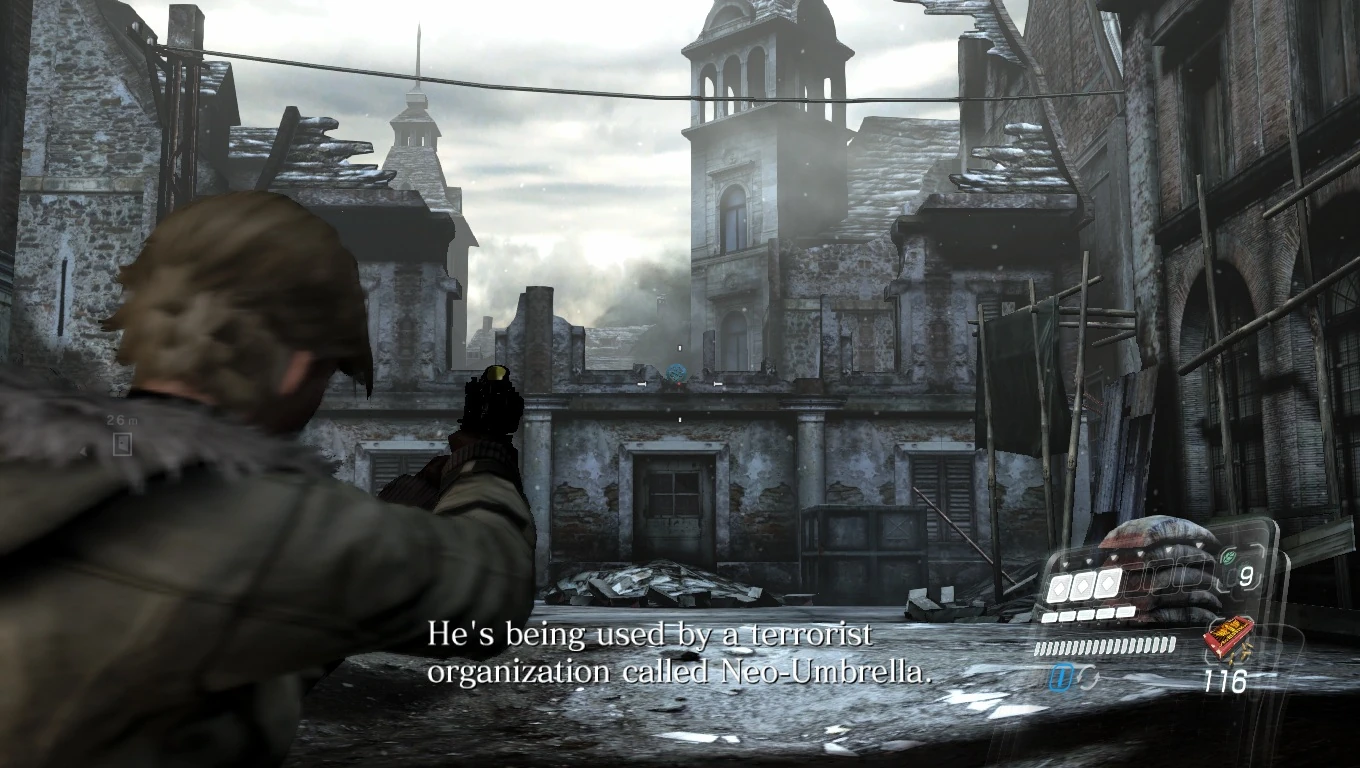
Emblem 3 - On the rooftop after the cutscene showing you the tenement building. turn around. It is found on top of a pole but it is quite tricky to shot at it as it is far away. Unless you are a crack shot with your Nine-Oh-Nine or Chris' Assault Rifle, you'll need the Sniper Rifle in Chapter 5 and come back in this chapter later on.
If you obtained all four emblems in this chapter, you will unlock the Chris Redfield figures.
Chris emblem 5
Emblem 5 - At the part where you have to defend Finn while he is setting the charges to destroy the object blocking their way, go to the far end where J'avo spawn and look through the window where the emblem is.
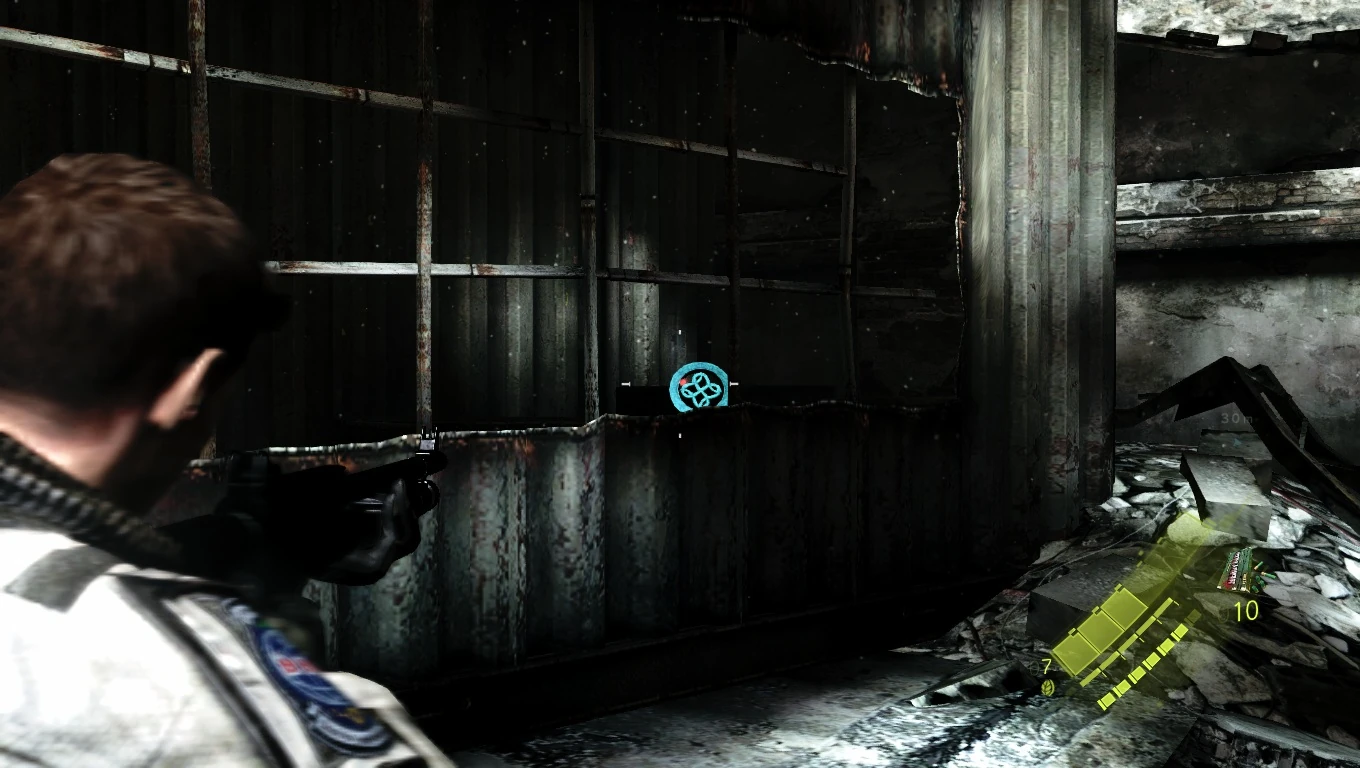
Emblem 6 - After destroying the tank on the bridge as Piers, look to the right and you'll see the emblem above the bridge's lower beam. You can also destroy the emblem as Chris after climbing the ladder.
Emblem 7 - Upon entering the room full of Chrysalids, run to the other side of it to find a hidden corridor beneath the stairs. You will find the emblem hanging on the wall between two paintings.
Emblem 8 - Immediately after meeting Carla Radames, instead of following her through a red door, locate a hidden half-room to the right where the emblem will be, resting atop a locker.
If you obtained all four emblems in this chapter, you will unlock the Piers Nivans figures.
Chris emblem 9
Emblem 9 - While pursuing the giant snake BOW, you'll pass by a playground to your left and then go through a gate to enter a section of a closed-off street. The emblem will be on the left side of it, in the farthermost corner.
Emblem 10 - Your pursuit of the snake eventually leading into a tenement building, you will find the emblem in a small sleeping room behind a table set up for a game of mahjongg.
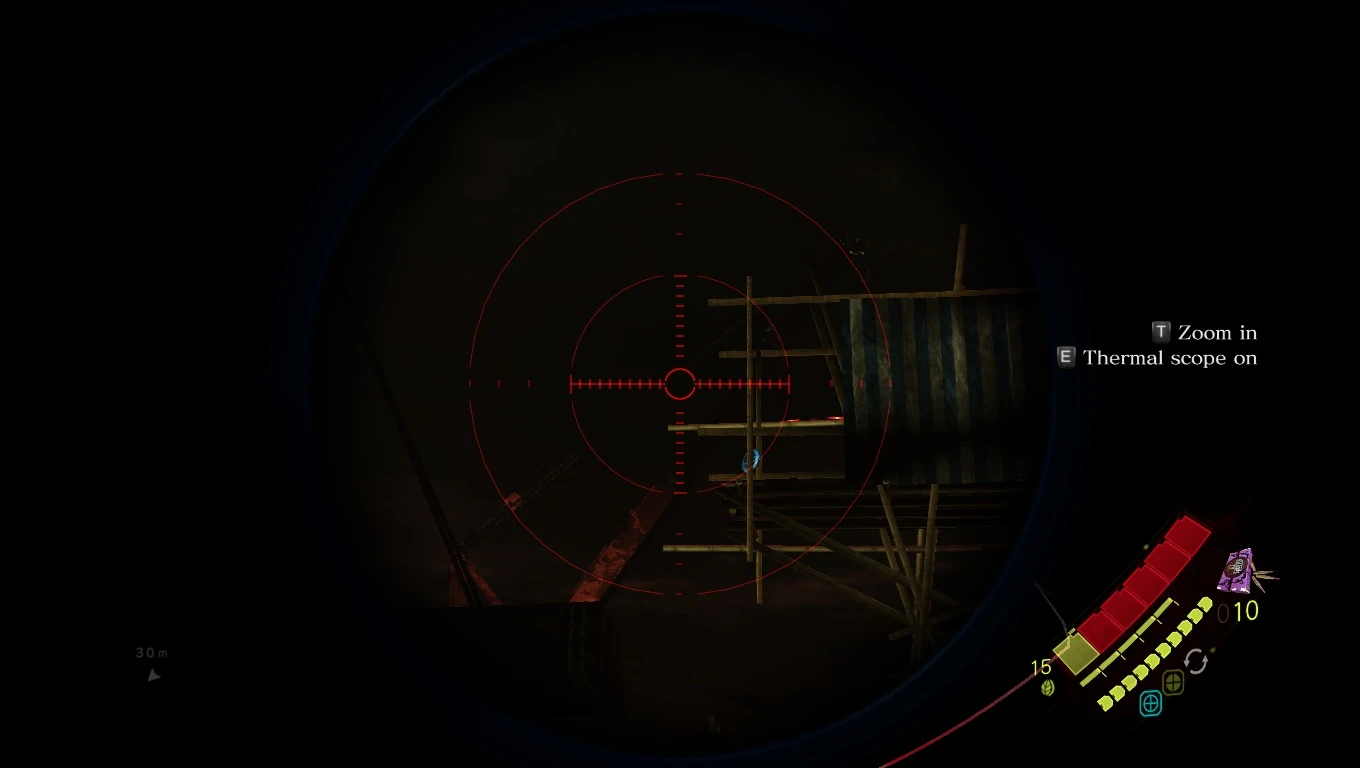
Emblem 11 - While being pursued by a helicopter across a trail of boats and floats, you will eventually see the scaffolding with the emblem on top at about the same time when two Noga-Skakanje try to block your way. The best way to shoot it without being taken out by the helicopter is to do it immediately before reaching safety.
Emblem 15 - After a sequence where Piers has to cover Chris for him to extend a service ladder, you will climb it and end up in a room with a staircase, behind which you'll see the emblem.
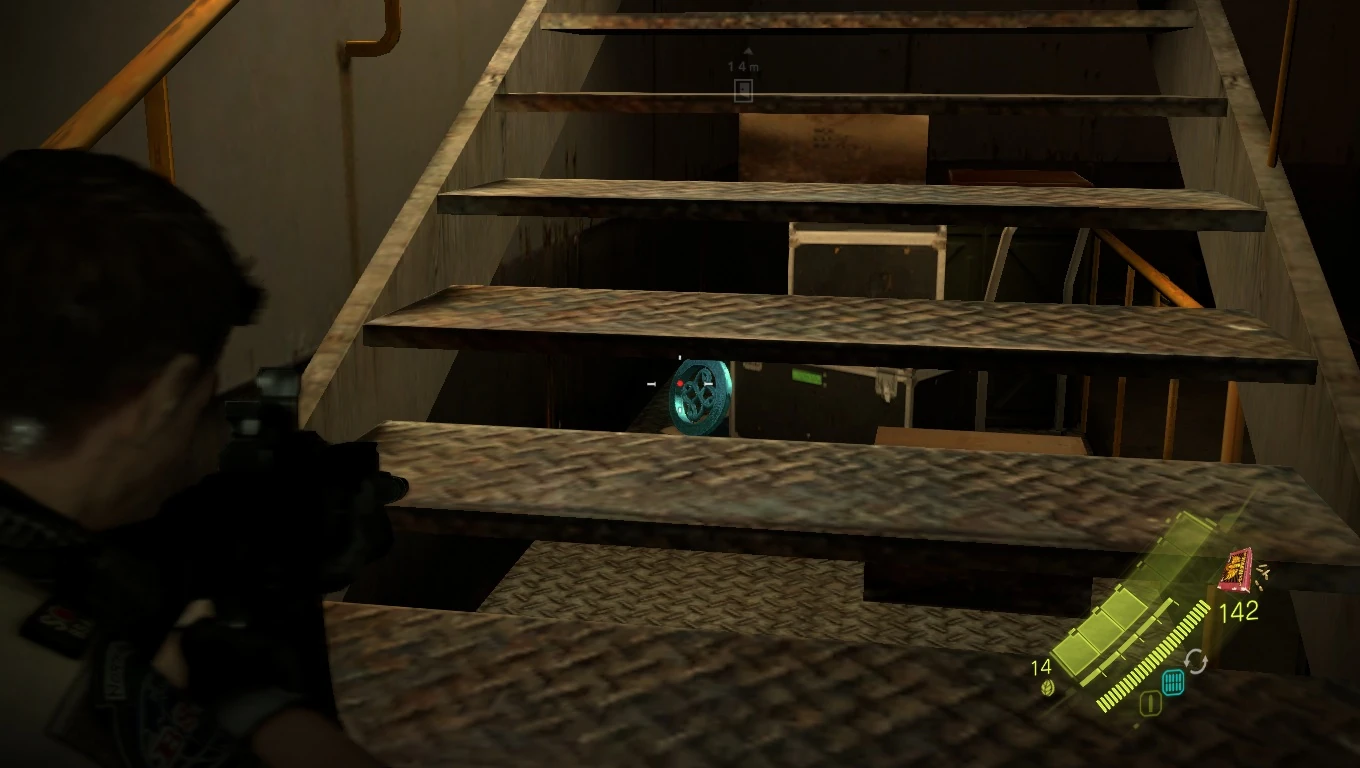
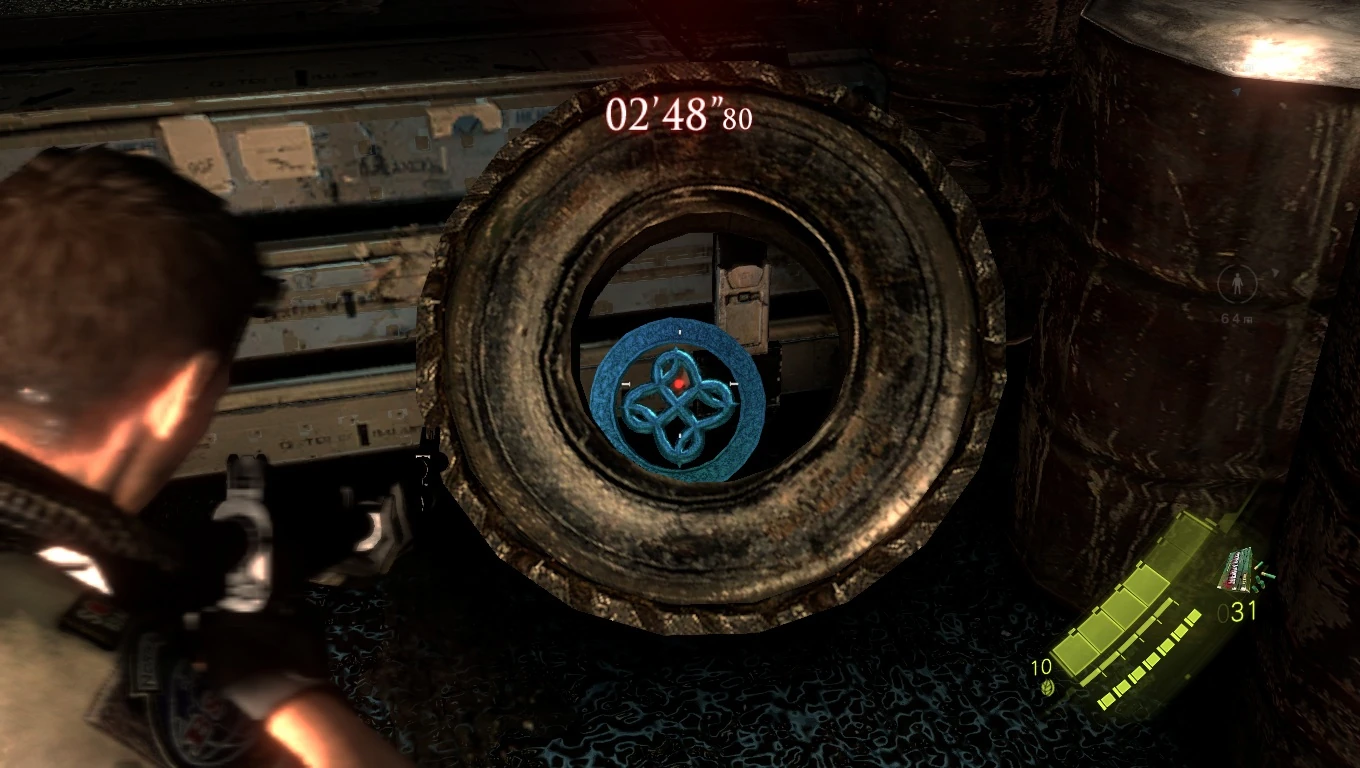
Emblem 16 - Only accessible with Piers, the emblem will be on the aircraft carrier that you will have to sprint through while demolishing obstacles. The emblem will be located inside a tire soon after blowing up the first obstacle.
If you obtained all four emblems in this chapter, you will unlock the Gnezdo figure.
Chris emblem 17
Emblem 17 - During the sequence where Chris is crawling through vents while Piers has to disable the fans within them, you can either destroy the emblem while crawling as Chris or through a floor grate as Piers.
Emblem 01 - Early on, while fleeing from the BSAA and B.O.W.s alike, you'll emerge from a building into a street. Turning left, you'll see the emblem above the doorway.
Jake emblem 02
Emblem 02 - While navigating a stone building on the side of a cliff, you'll see the emblem atop a metal beam in the distance, behind a swing bar that Jake will use to leap across a chasm.
Jake emblem 03
Emblem 03 - Easily obtainable as Sherry, the emblem is located on the second floor of a bathroom you'll come across after evading the Ustanak for the first time. Jake will need to boost Sherry up to the second floor of the bathroom.
Jake can acquire this emblem from the bottom floor of the bathroom with any type of grenade. The emblem is located from Jake point of view, opposite side the broken ladder (where he boost Sherry), to the right side of the hole above him.
Jake emblem 04
Emblem 04 - After walking through dark corridors as Jake reminisces about his mercenary experiences and expresses his convictions, you'll come out to daylight again and spot the emblem on the roof of a weathered building on the other side of the small square.
Emblem 01: Past the room with the alarm cut-scene, there is a small bunkroom atop the short stairs. The emblem is in plain sight of those tiny living quarters.
Emblem 01: Found behind the gravestone Ada drops down at the start of the level.
Rewards[]
Aside from the files given by each emblem as stated above, the following are awarded by collecting all of them:
"Heirlooms" emblem for the Dog Tag and Heirlooms achievement/trophy.


