No edit summary |
No edit summary |
||
| Line 14: | Line 14: | ||
|- |
|- |
||
|[[File:RE6 Campaign (Chapter-specific) Loading screen1.jpg|150px]] |
|[[File:RE6 Campaign (Chapter-specific) Loading screen1.jpg|150px]] |
||
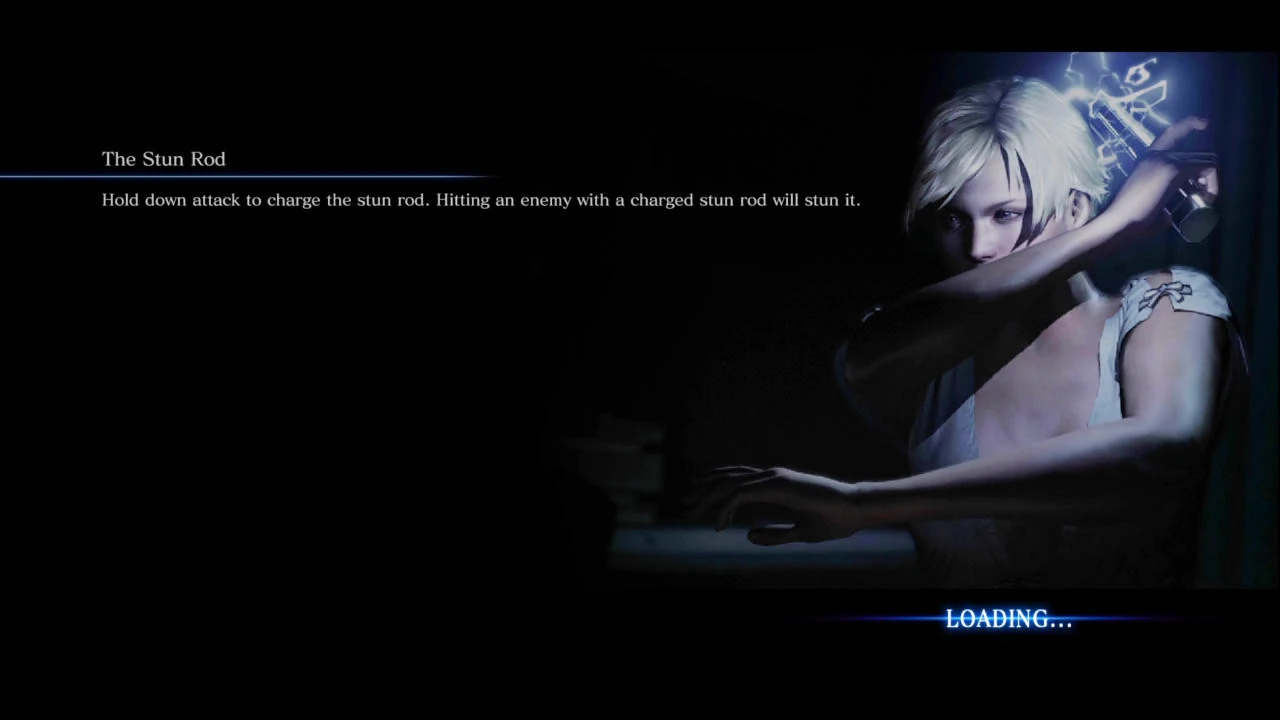
| − | |<center>(Sherry, [[Jake Chapter 3]])</center> |
+ | |<center>(Sherry, [[Jake Chapter 3]])</center> |
| + | {{Quote|The Stun Rod<br>Hold down attack to charge the stun rod. Hitting an enemy with a charged stun rod will stun it.}} |
||
| + | |- |
||
| + | |[[File:RE6 Campaign (Chapter-specific) Loading screen2.jpg|150px]] |
||
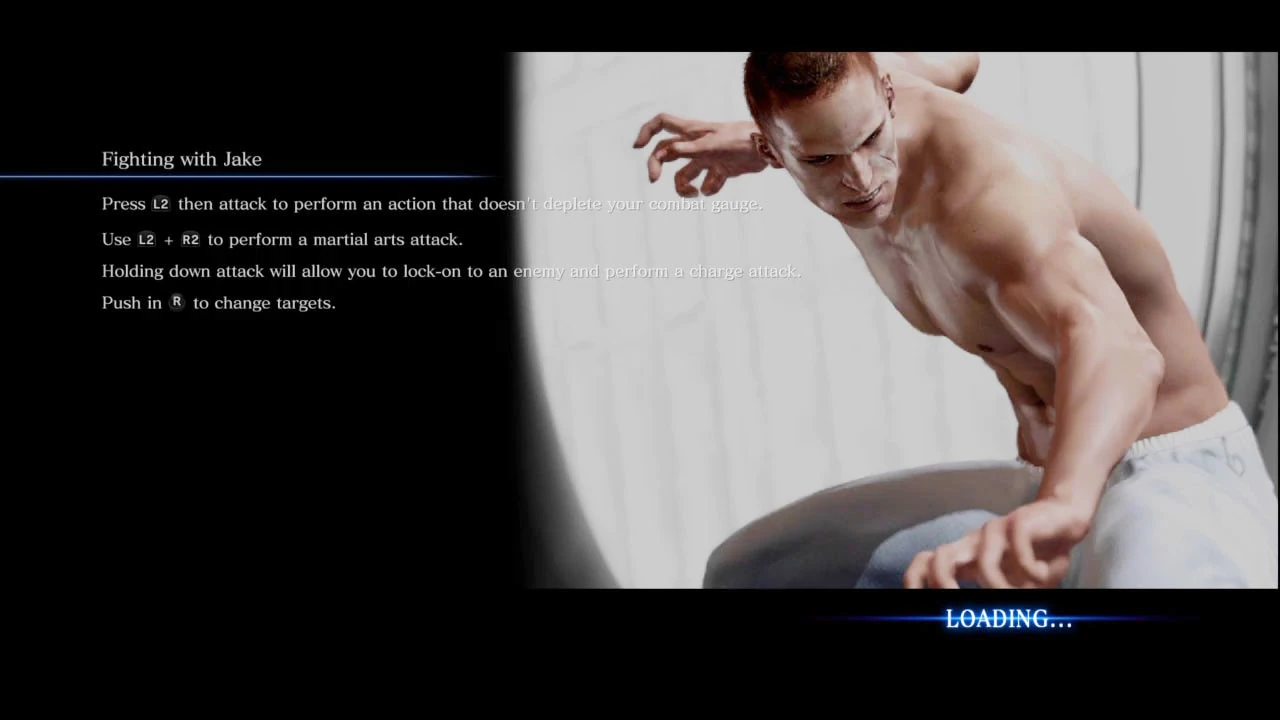
| + | |<center>(Jake, [[Jake Chapter 3]])</center> |
||
| + | {{Quote|Fighting with Jake<br>Press L2 then attack to perform an action that doesn't deplete your combat gauge.<br>Use L2 + R2 to perform a martial arts attack.<br>Holding down attack will allow you to lock-on to an enemy and perform a charge attack.<br>Push in R to change targets.}} |
||
|} |
|} |
||
| Line 52: | Line 57: | ||
|[[File:RE6 Campaign Loading screen10.jpg|150px]] |
|[[File:RE6 Campaign Loading screen10.jpg|150px]] |
||
|{{Quote|Dying<br>When dying, you can ready your weapon with L2 and attack.}} |
|{{Quote|Dying<br>When dying, you can ready your weapon with L2 and attack.}} |
||
| + | |- |
||
| + | |[[File:RE6 Campaign Loading screen21.jpg|150px]] |
||
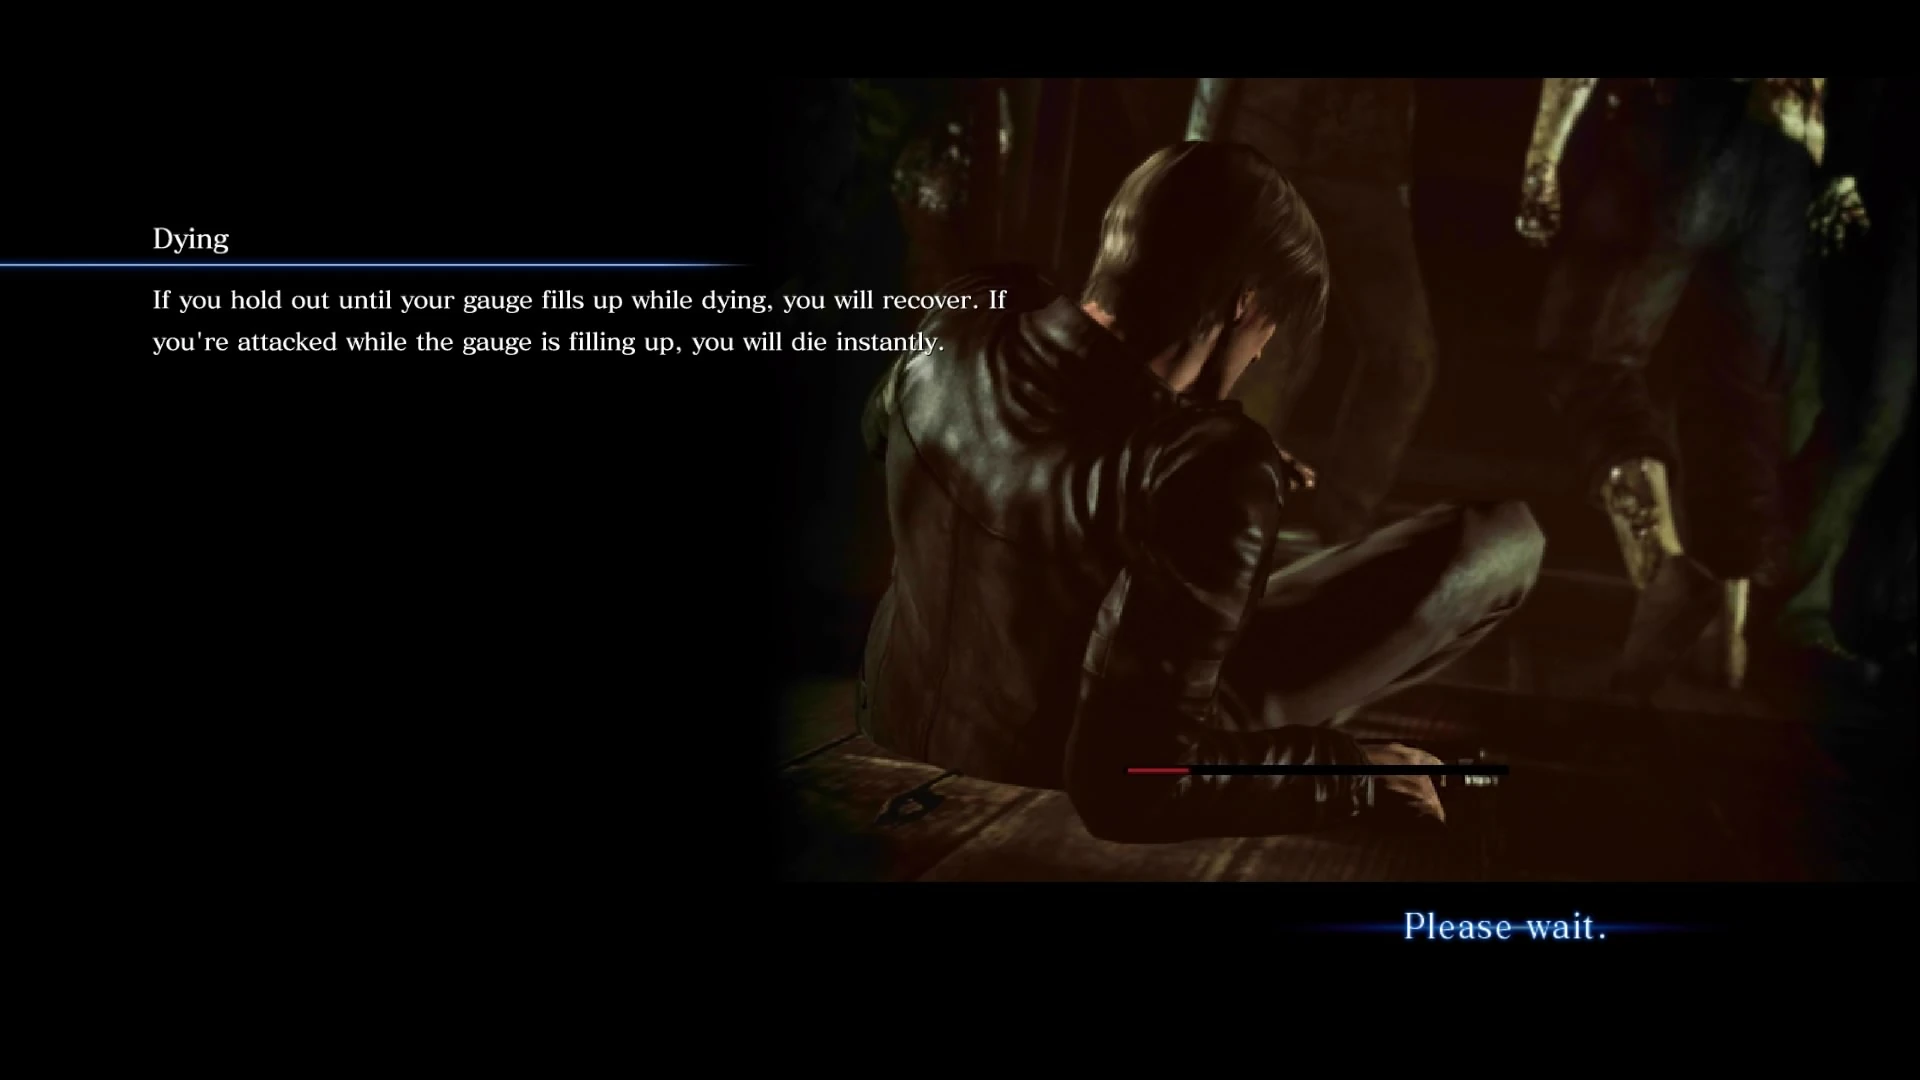
| + | |{{Quote|Dying<br>If you hold out until your gauge fills up while dying, you will recover. If you're attacked while the gauge is filling up, you will die instantly.}} |
||
|- |
|- |
||
|[[File:RE6 Campaign Loading screen11.jpg|150px]] |
|[[File:RE6 Campaign Loading screen11.jpg|150px]] |
||
| Line 73: | Line 81: | ||
|[[File:RE6 Campaign Loading screen17.jpg|150px]] |
|[[File:RE6 Campaign Loading screen17.jpg|150px]] |
||
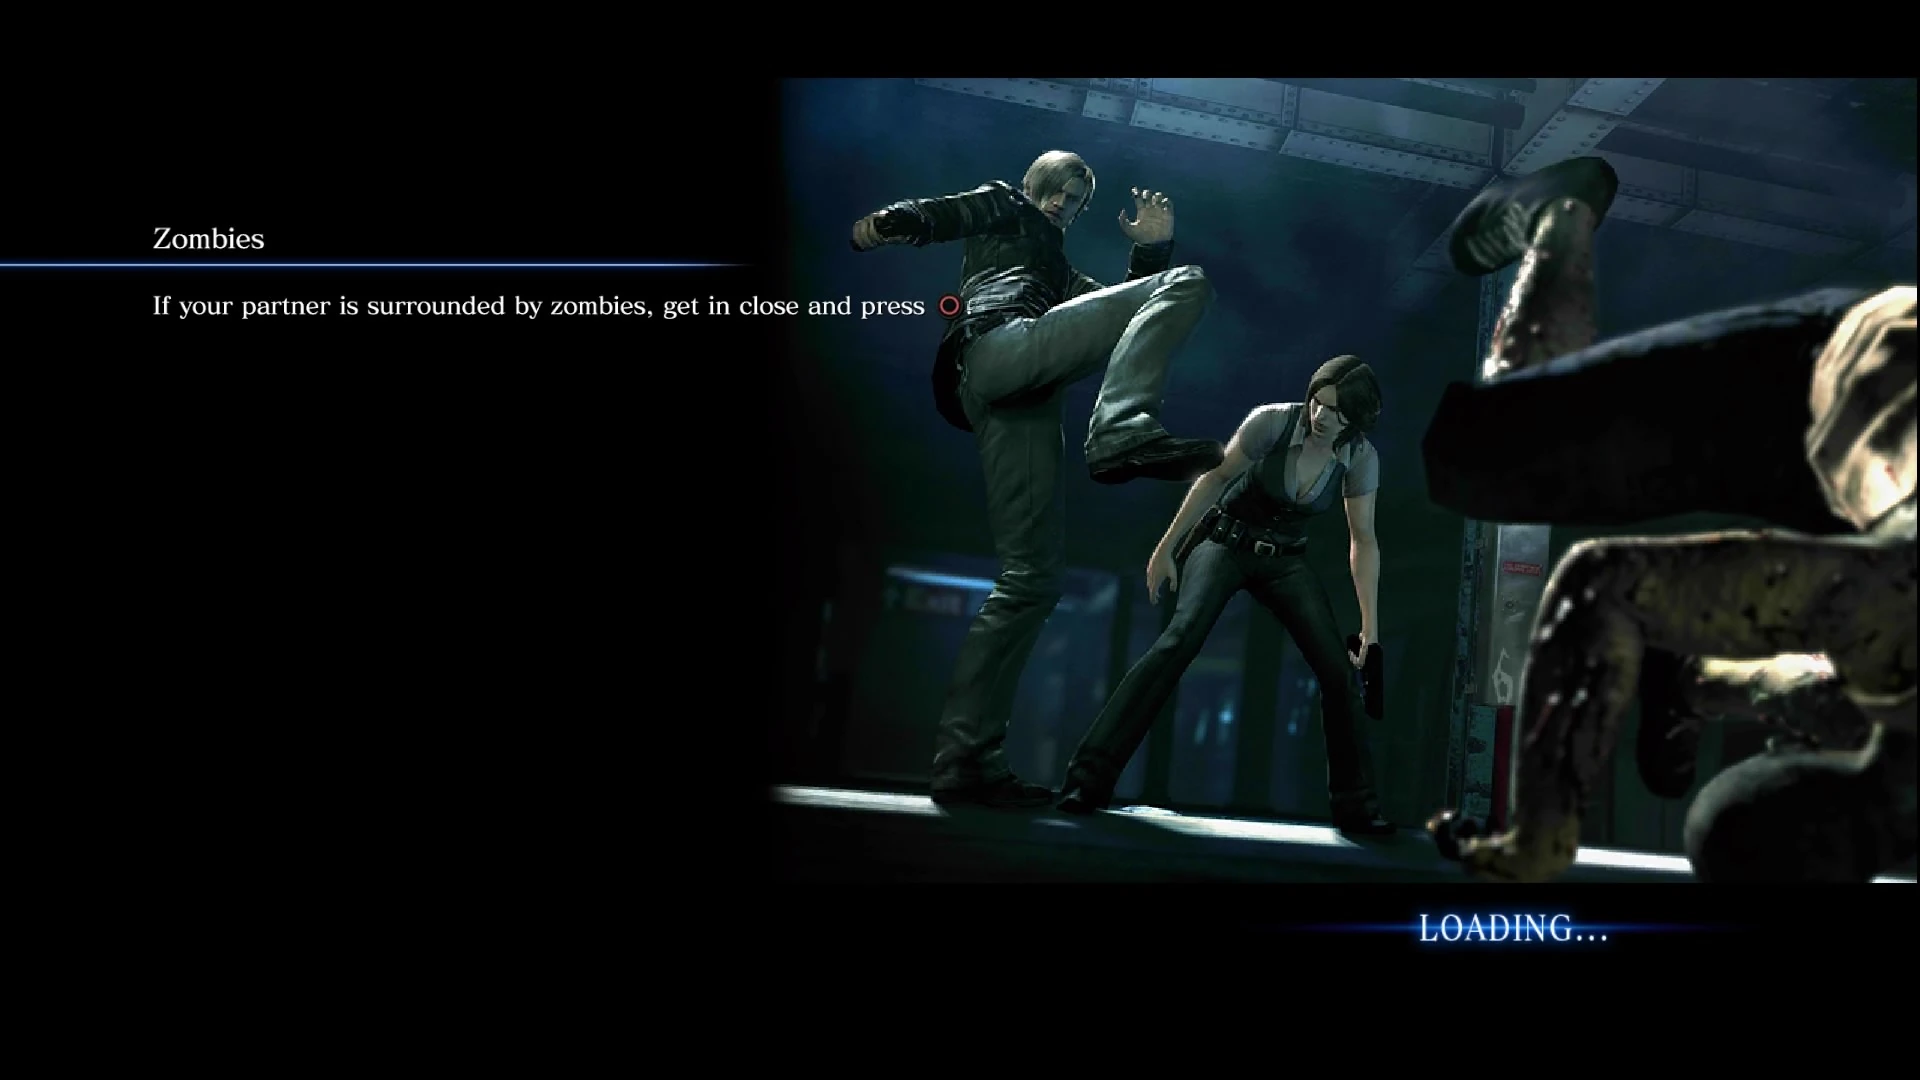
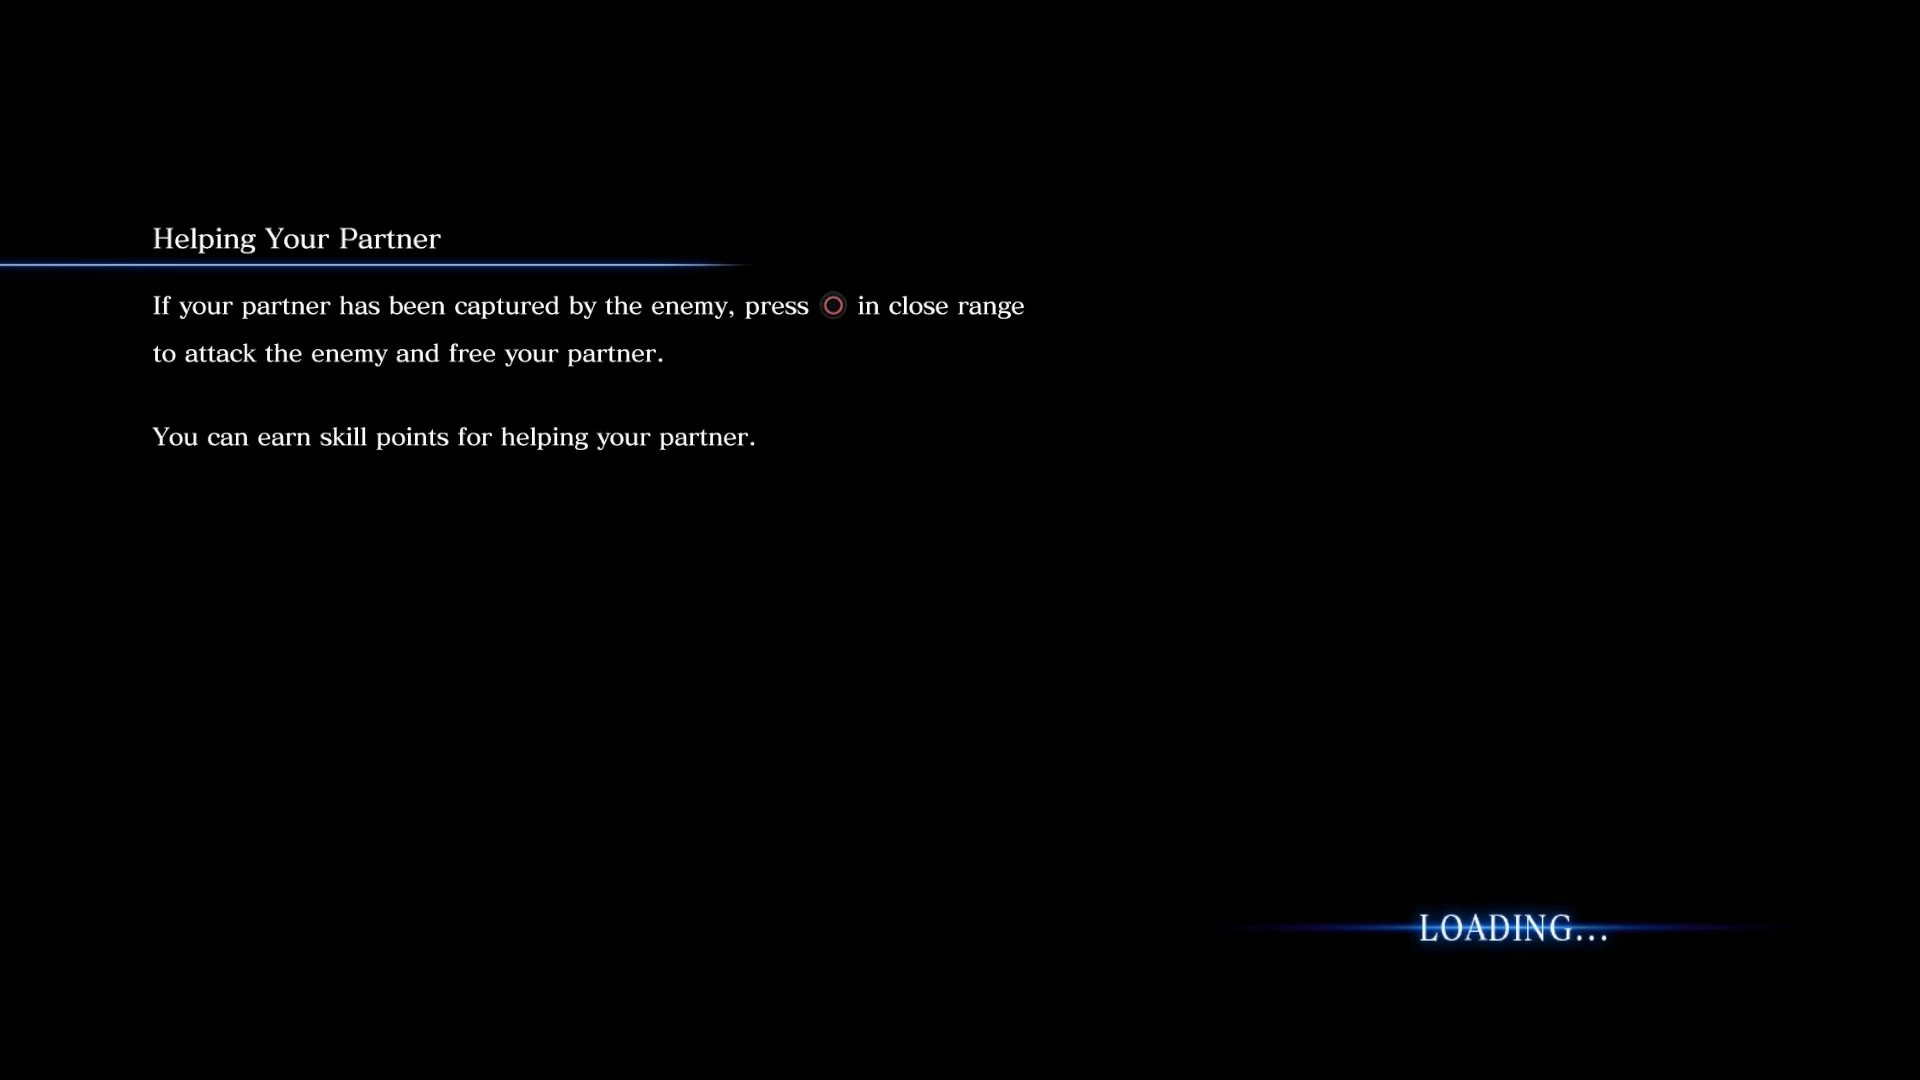
|{{Quote|Helping Your Partner<br>If your partner has been captured by the enemy, press O in close range to attack the enemy and free your partner.<br>You can earn skill points for helping your partner.}} |
|{{Quote|Helping Your Partner<br>If your partner has been captured by the enemy, press O in close range to attack the enemy and free your partner.<br>You can earn skill points for helping your partner.}} |
||
| + | |- |
||
| + | |[[File:RE6 Campaign Loading screen20.jpg|150px]] |
||
| + | |{{Quote|Finding Your Partner<br>Hold down O to find out where your partner is.}} |
||
|- |
|- |
||
|[[File:RE6 Campaign Loading screen18.jpg|150px]] |
|[[File:RE6 Campaign Loading screen18.jpg|150px]] |
||
| Line 79: | Line 90: | ||
|[[File:RE6 Campaign Loading screen19.jpg|150px]] |
|[[File:RE6 Campaign Loading screen19.jpg|150px]] |
||
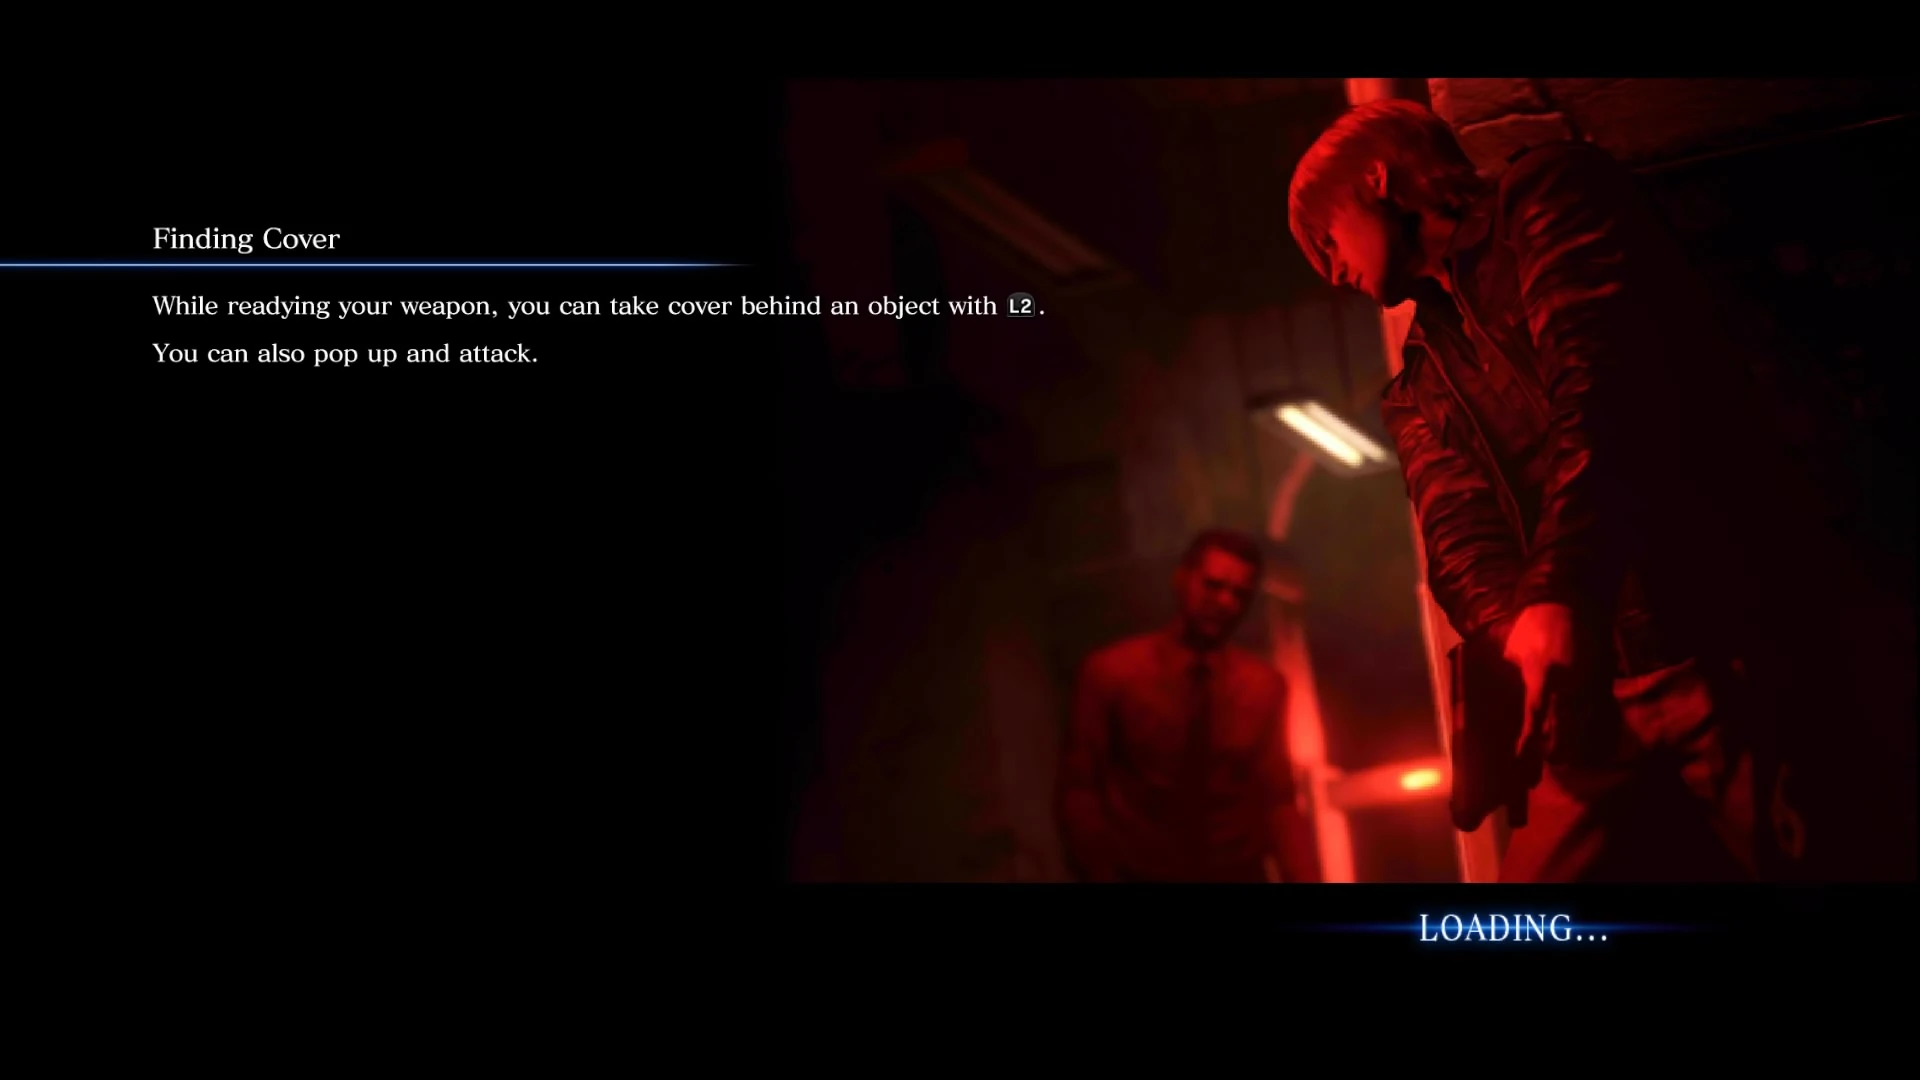
|{{Quote|Finding Cover<br>While readying your weapon, you can take cover behind an object with L2.<br>You can also pop up and attack.}} |
|{{Quote|Finding Cover<br>While readying your weapon, you can take cover behind an object with L2.<br>You can also pop up and attack.}} |
||
| + | |- |
||
| + | |||
|} |
|} |
||
==Extra Content== |
==Extra Content== |
||
Revision as of 02:42, 13 November 2018
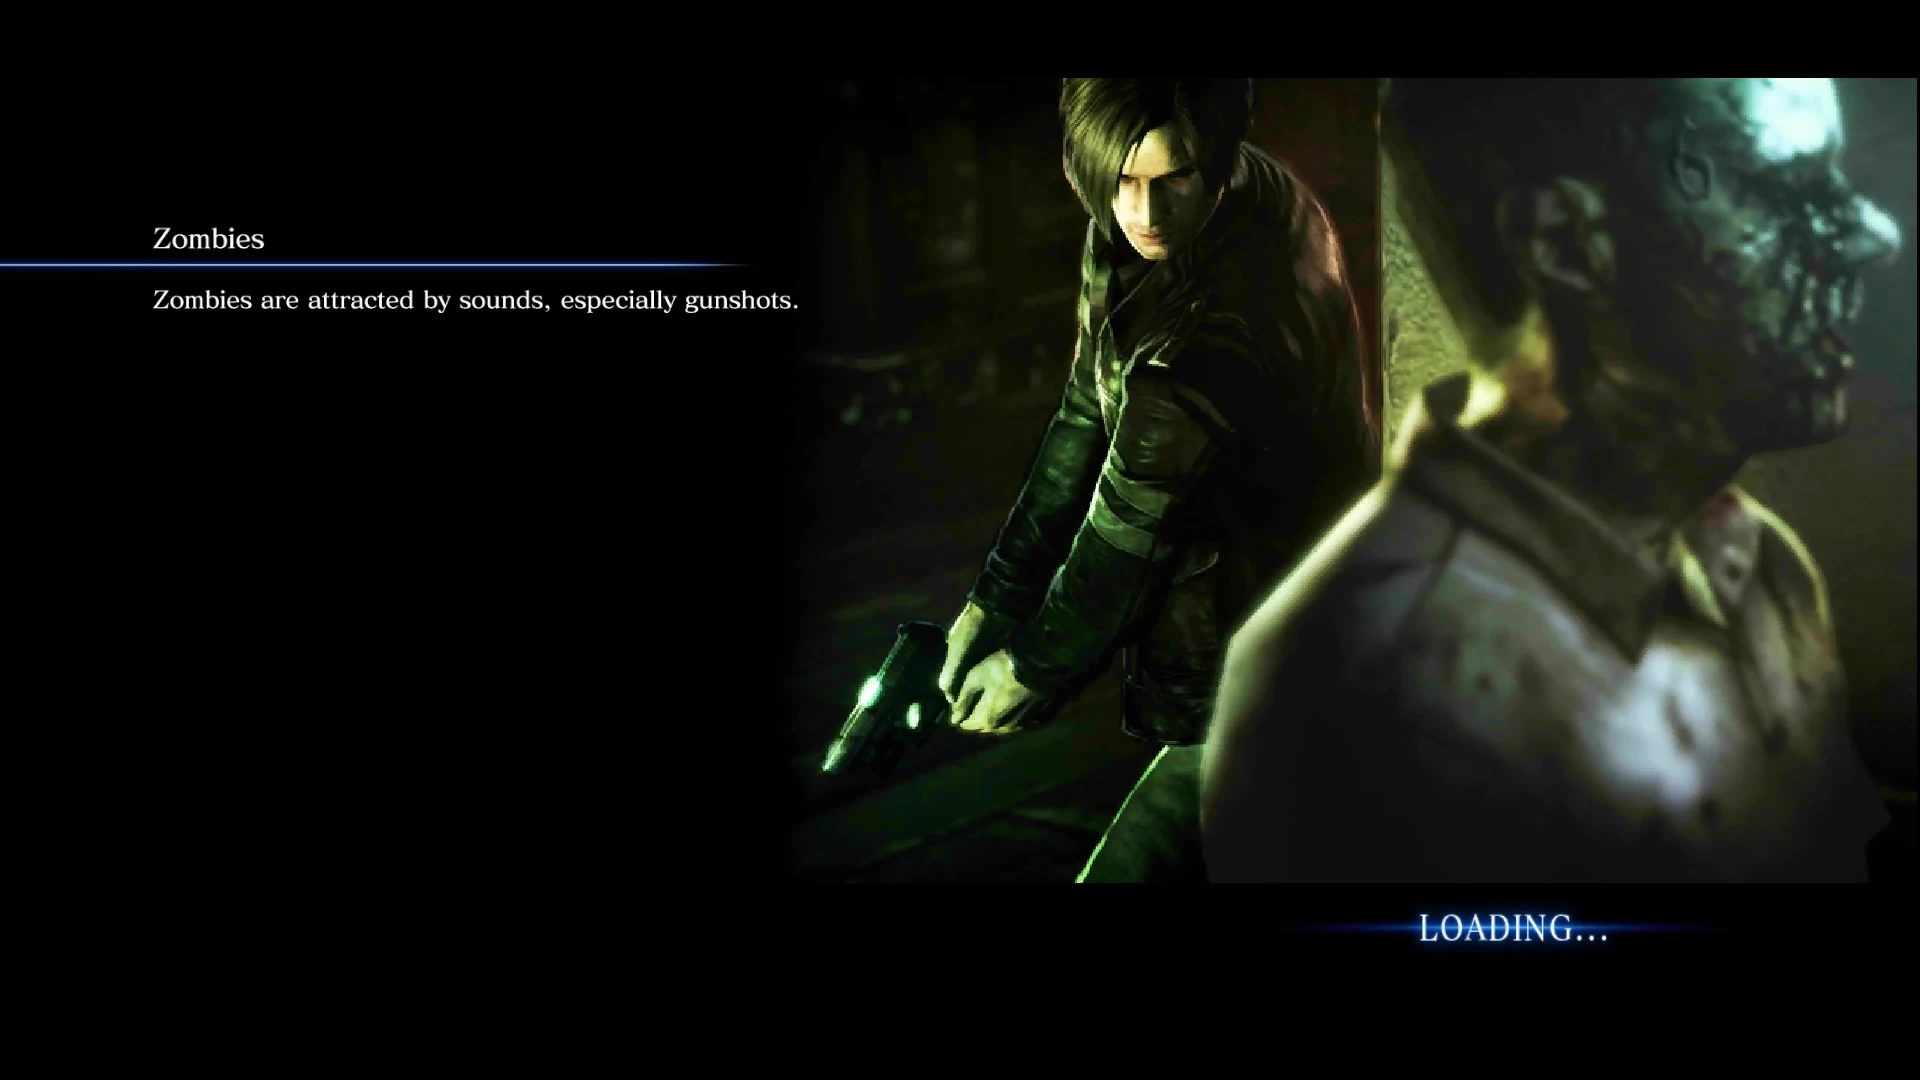
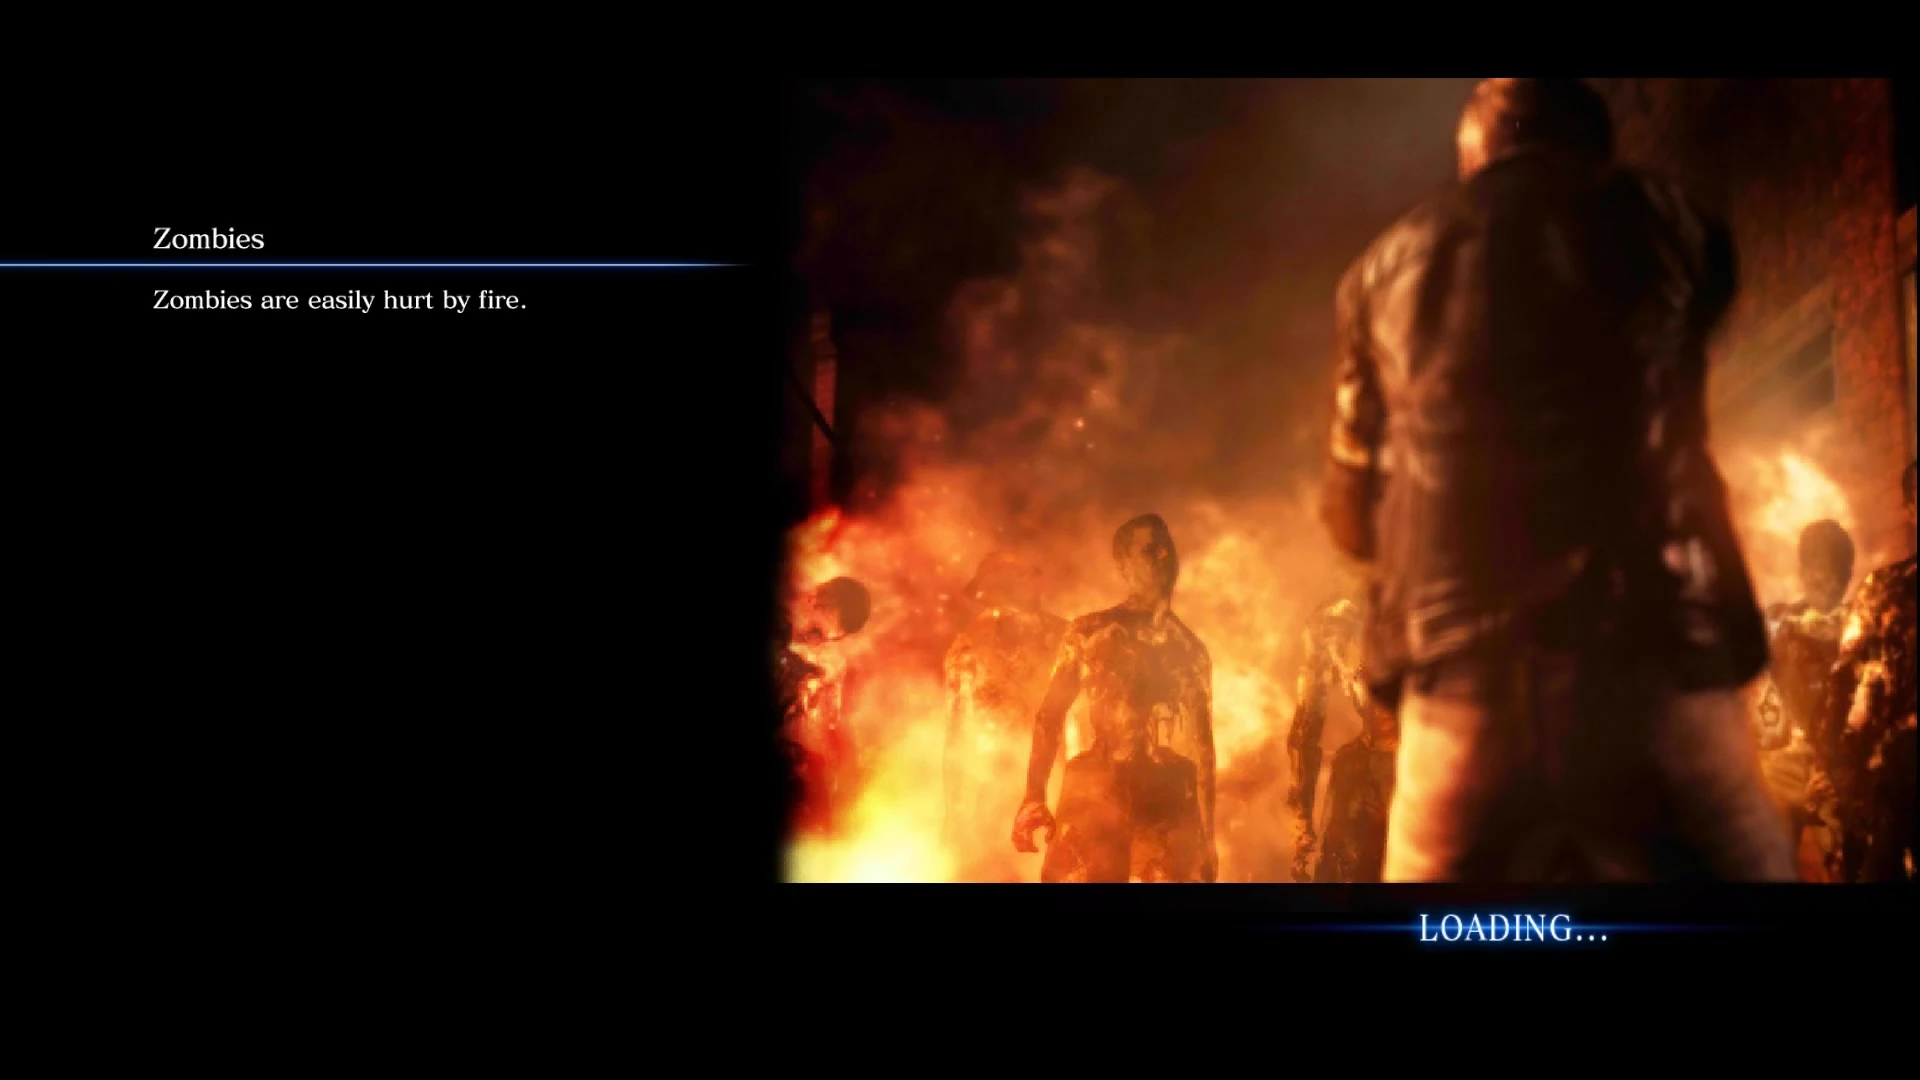
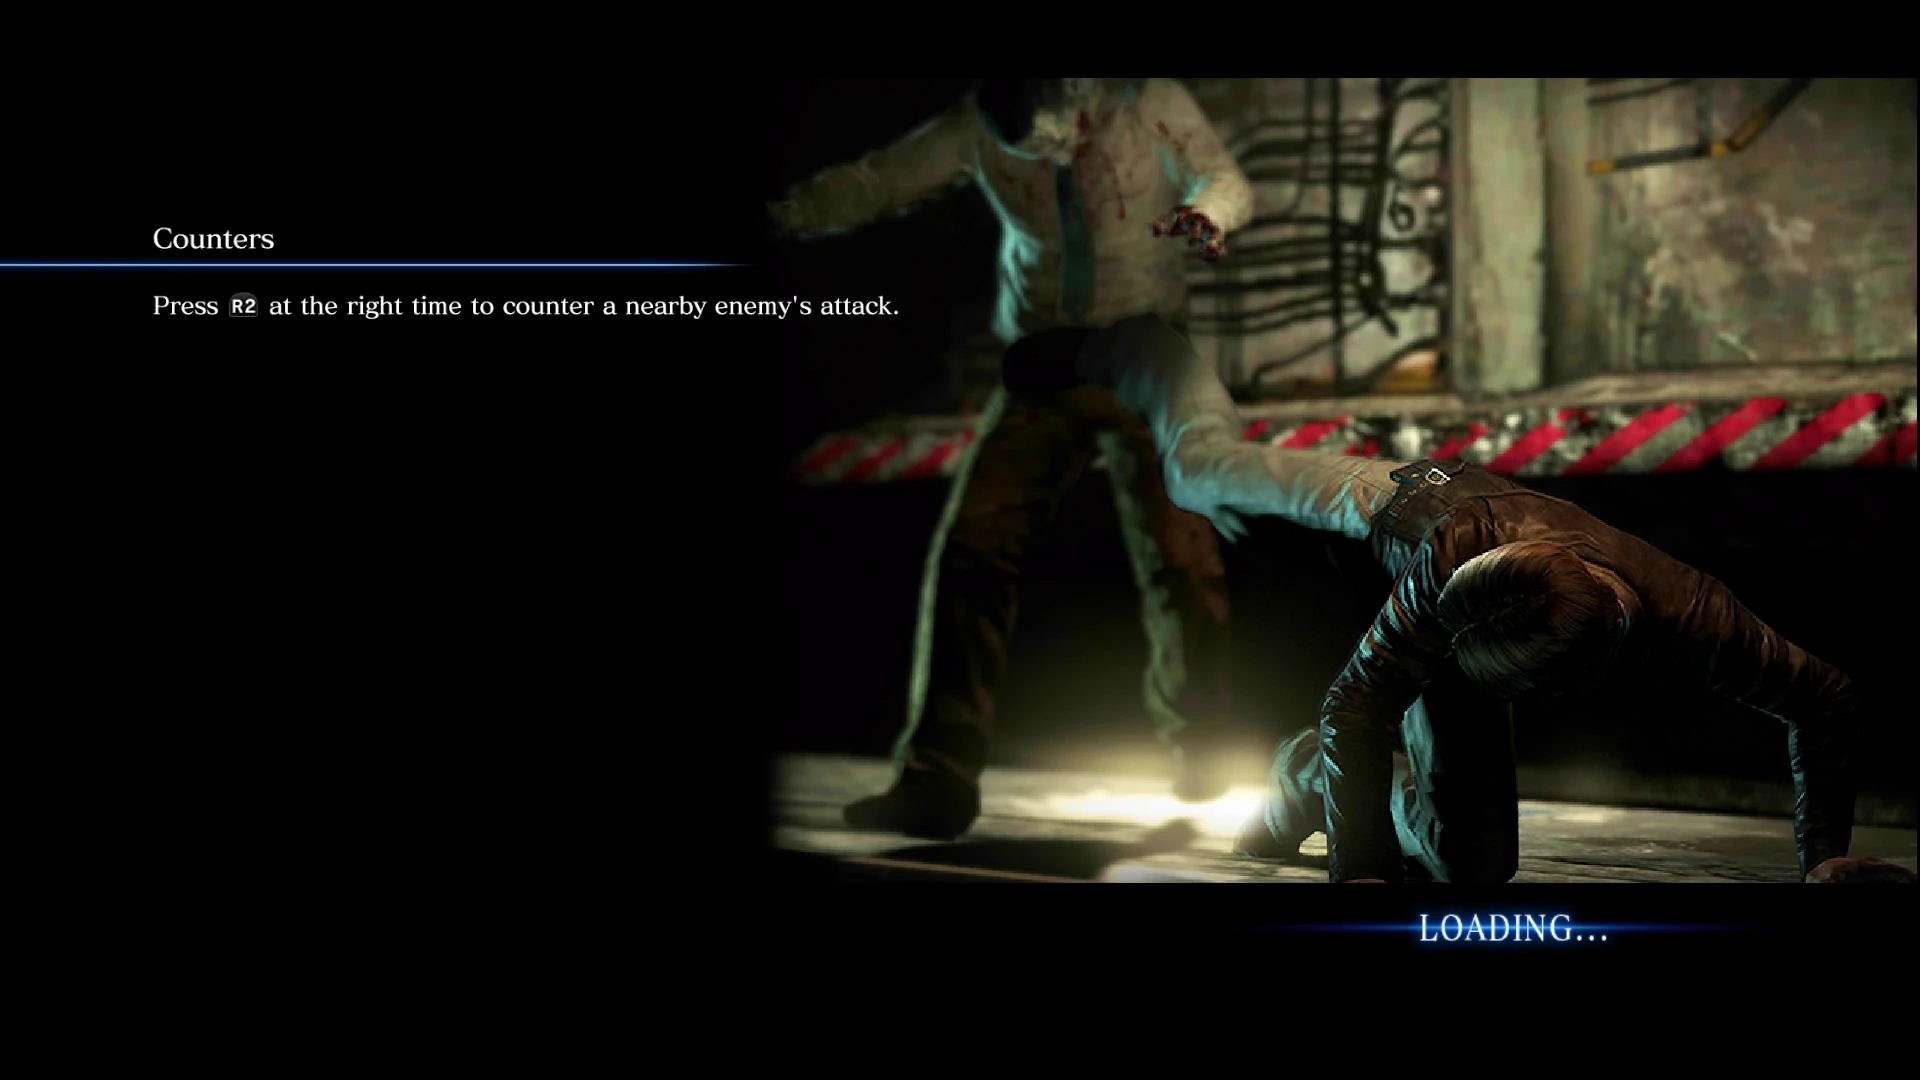
The Loading screens in Resident Evil 6 always feature one tip based on the current game mode being played.
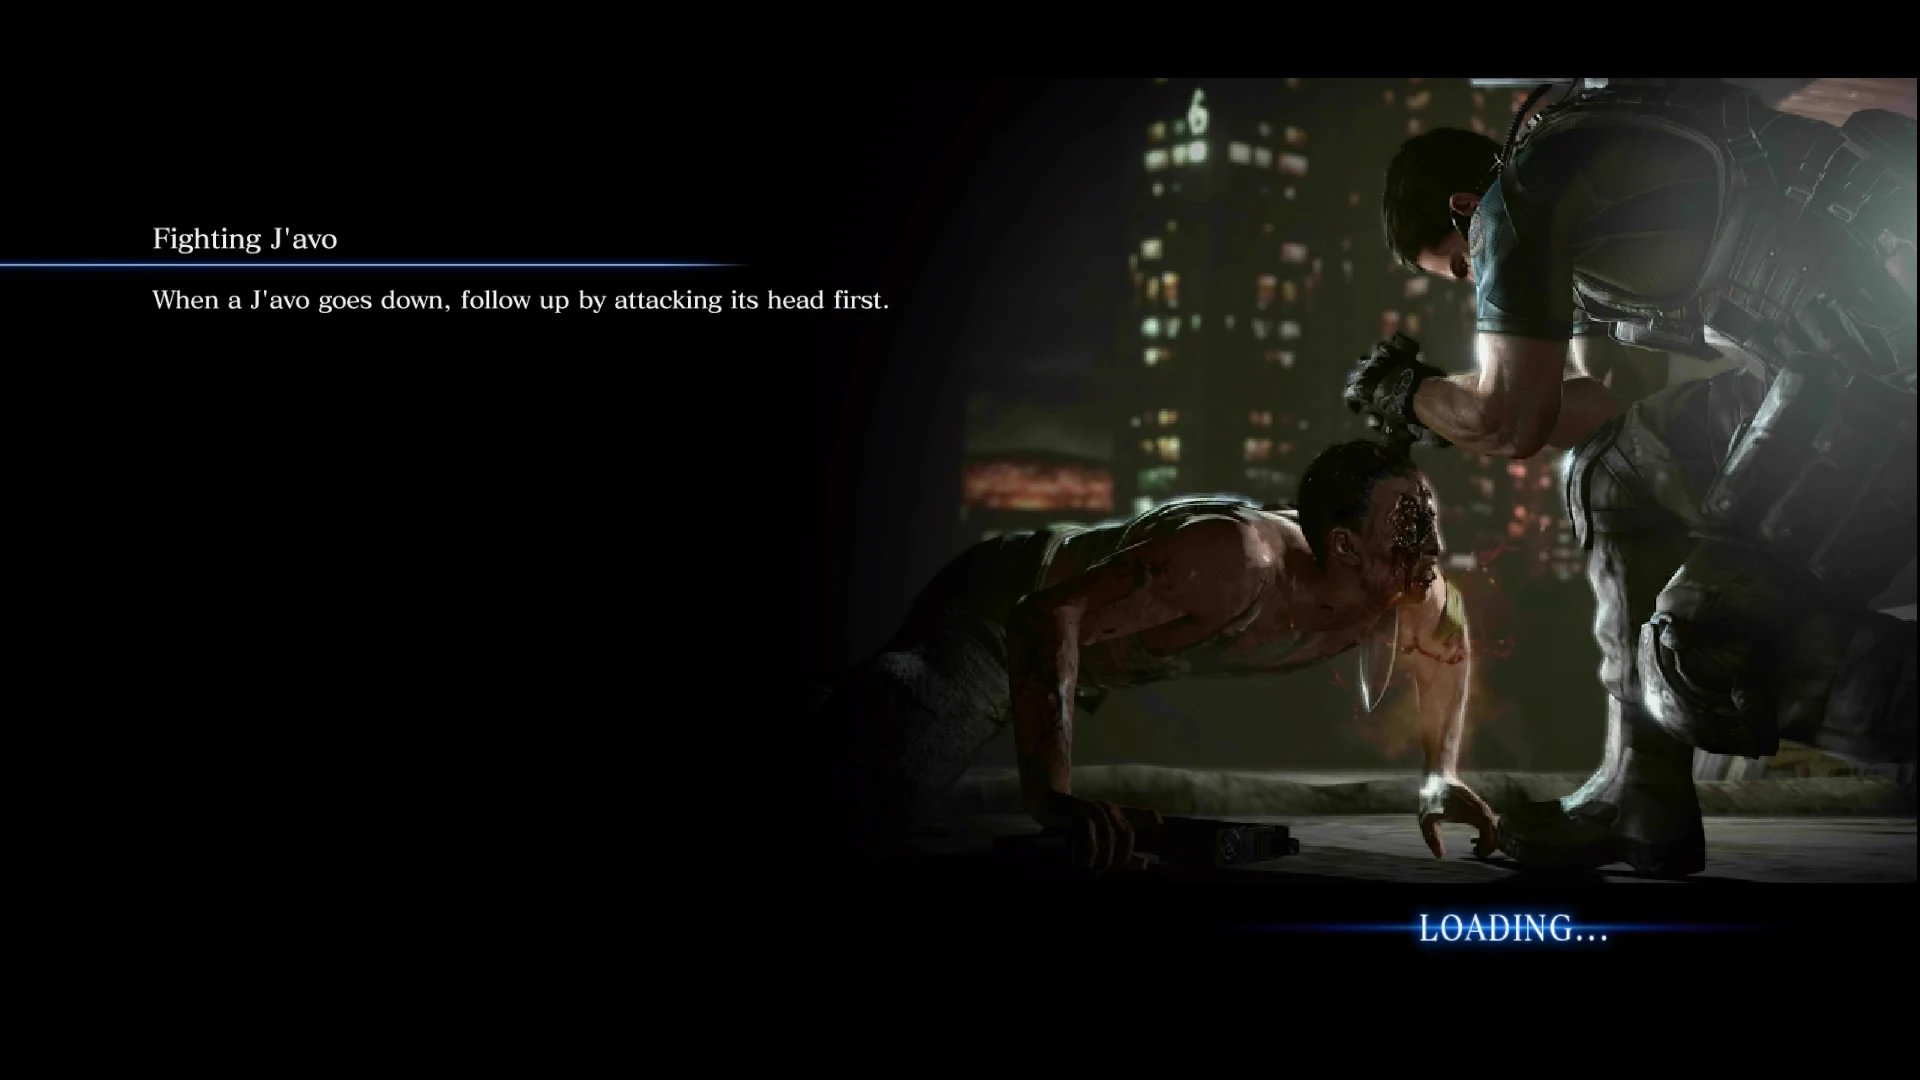
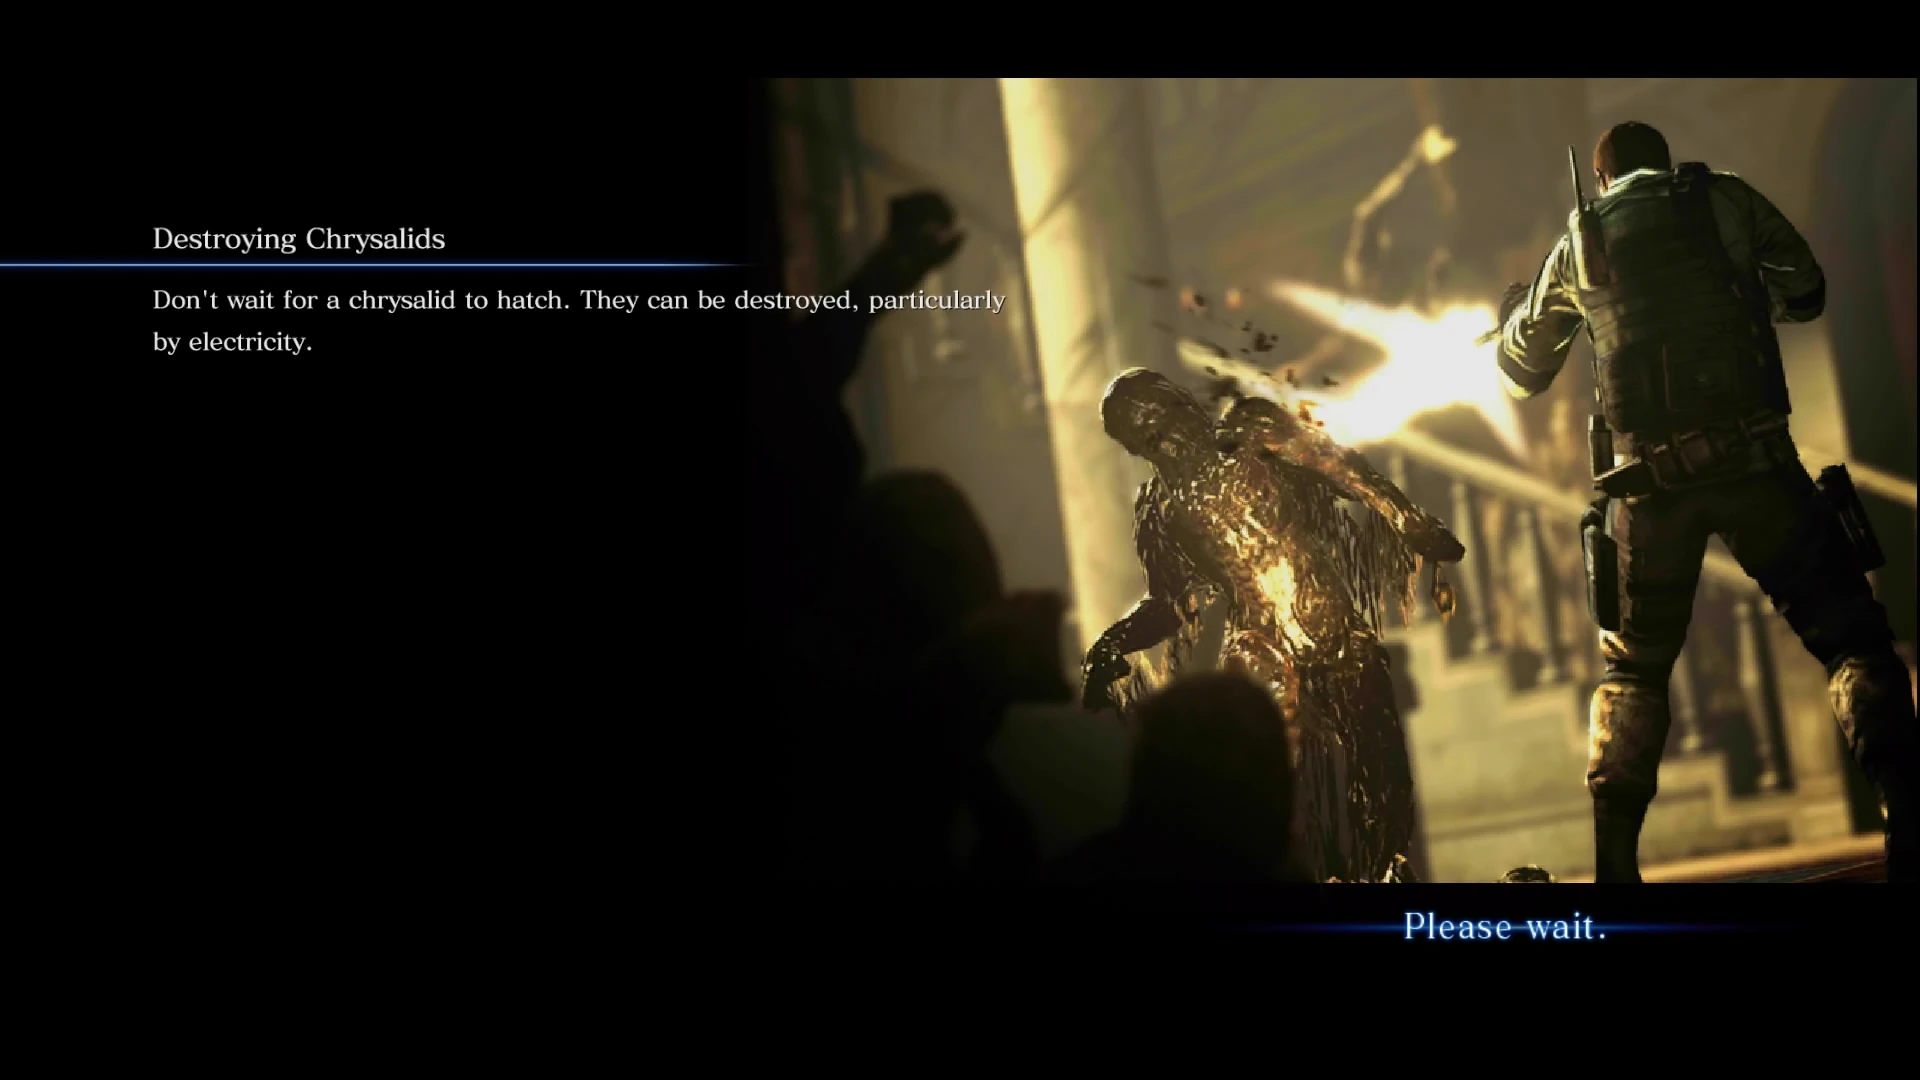
When playing the Campaign, most screens will have one gameplay image with a hidden "6" on it, these images are also usually related to the tip written on the screen. Every Extra Mode however has the screen completely black, with only the tip being displayed. It's also possible to skip to the next tip by pressing the sprint button.
All screenshots and descriptions are based on the PS4 version of the game.
Campaign
Chapter-specific
Some screens will only show up in specific chapters.
| Preview | Information | |
|
| |
|
|
General
| Preview | Information | |
|
| |

|
| |
|
| |

|
| |
|
| |
|
| |
|
| |
|
| |
|
| |

|
| |
|
| |
|
| |
|
| |
|
| |
|
||
|
| |
|
| |
|
| |
|
| |
|
| |
|
|
Extra Content
Agent Hunt
The Mercenaries & The Mercenaries No Mercy
| Preview | Information | |

|
|
Survivors
Onslaught
Predator
Siege
Undefined
| Preview | Information | |
|
|
| ||||||||
| |||||||||||||||||||||||||