| (9 intermediate revisions by 2 users not shown) | |||
| Line 20: | Line 20: | ||
|<center>(Jake, [[Jake Chapter 3|Jake Chapter 3-1]], Research Facility - Detention Center)</center> |
|<center>(Jake, [[Jake Chapter 3|Jake Chapter 3-1]], Research Facility - Detention Center)</center> |
||
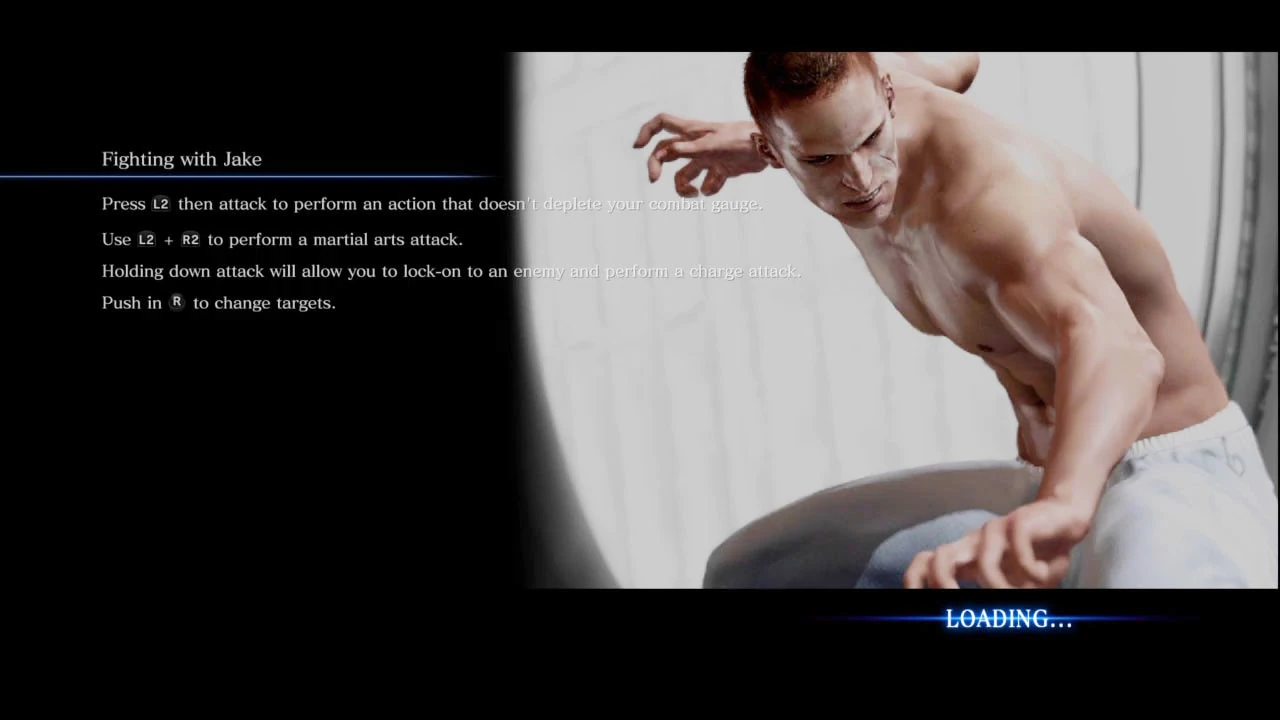
{{Quote|Fighting with Jake<br>Press L2 then attack to perform an action that doesn't deplete your combat gauge.<br>Use L2 + R2 to perform a martial arts attack.<br>Holding down attack will allow you to lock-on to an enemy and perform a charge attack.<br>Push in R to change targets.}} |
{{Quote|Fighting with Jake<br>Press L2 then attack to perform an action that doesn't deplete your combat gauge.<br>Use L2 + R2 to perform a martial arts attack.<br>Holding down attack will allow you to lock-on to an enemy and perform a charge attack.<br>Push in R to change targets.}} |
||
| + | |- |
||
| + | |[[File:RE6 Campaign (Chapter-specific) Loading screen5.jpg|150px]] |
||
| + | |<center>([[Chris Chapter 2|Chris Chapter 2-2]], The Bridge)</center> |
||
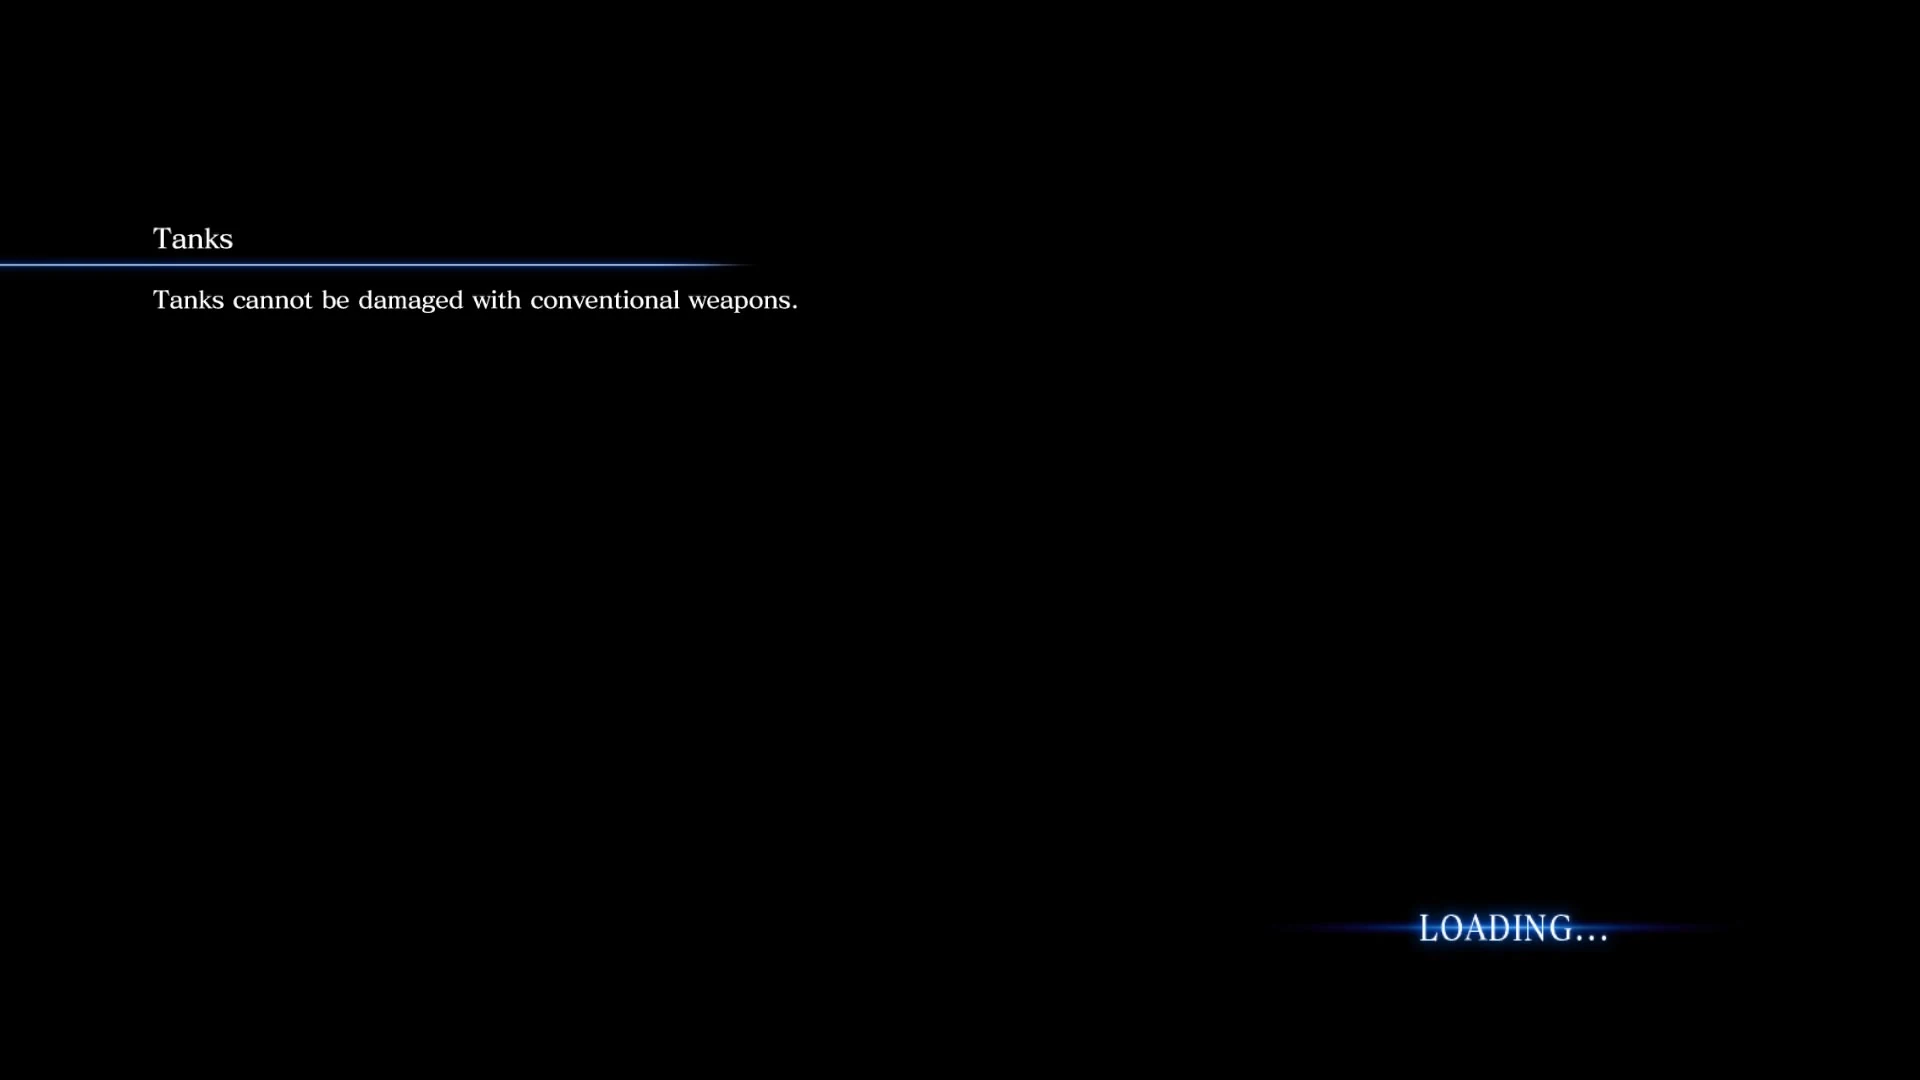
| + | {{Quote|Tanks<br>Tanks cannot be damaged with conventional weapons.}} |
||
|- |
|- |
||
|[[File:RE6 Campaign (Chapter-specific) Loading screen3.jpg|150px]] |
|[[File:RE6 Campaign (Chapter-specific) Loading screen3.jpg|150px]] |
||
| Line 55: | Line 59: | ||
|- |
|- |
||
|[[File:RE6 Campaign Loading screen5.jpg|150px]] |
|[[File:RE6 Campaign Loading screen5.jpg|150px]] |
||
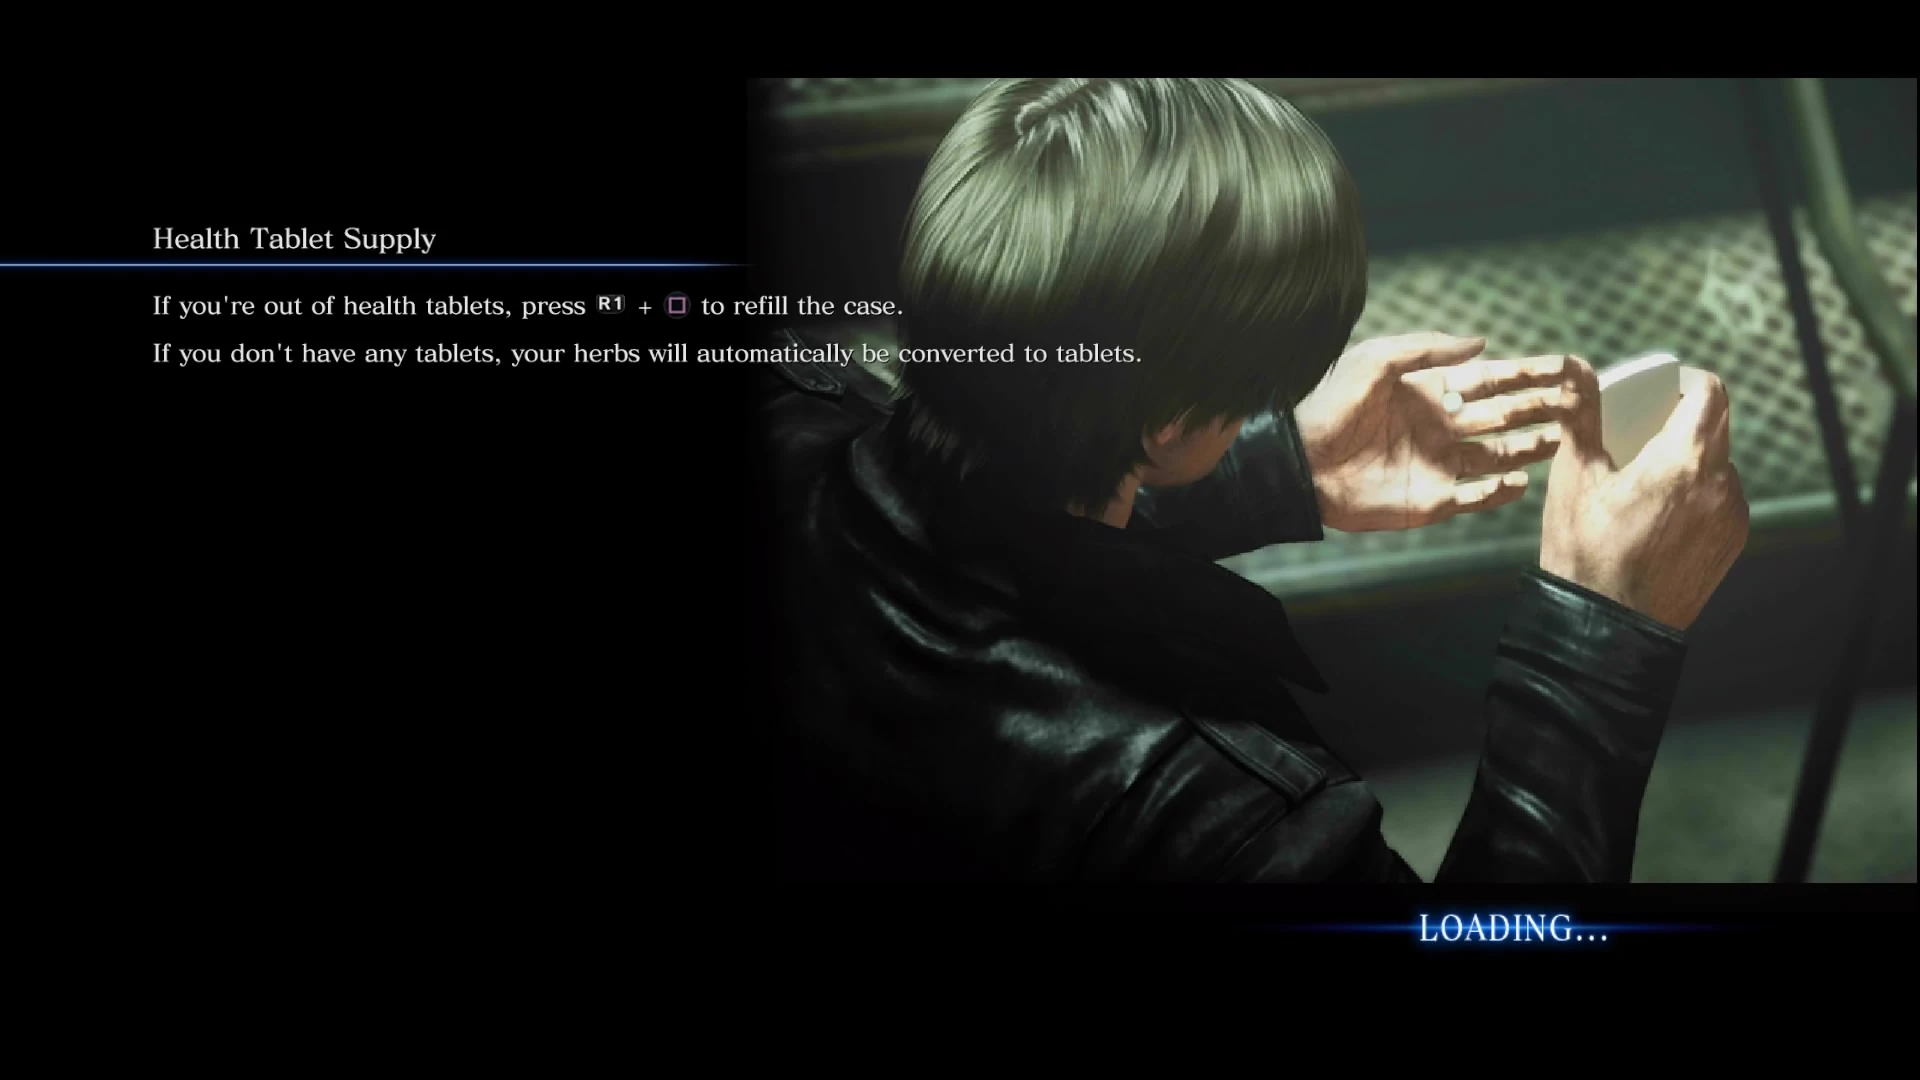
| − | |{{Quote|[[Health Tablet]] Supply<br>If you're out of health tablets, |
+ | |{{Quote|[[Health Tablet]] Supply<br>If you're out of health tablets, press R1 + square to refill the case.<br>If you don't have any tablets, your herbs will automatically be converted to tablets.}} |
|- |
|- |
||
|[[File:RE6 Campaign Loading screen6.jpg|150px]] |
|[[File:RE6 Campaign Loading screen6.jpg|150px]] |
||
| Line 64: | Line 68: | ||
|- |
|- |
||
|[[File:RE6 Campaign Loading screen9.jpg|150px]] |
|[[File:RE6 Campaign Loading screen9.jpg|150px]] |
||
| − | |{{Quote|Story Intersections<br>Every campaign has its own story and its own ending. Each protagonist's campaign, however, will intersect with the others', providing you with a richer understanding of the events behind Resident Evil 6.}} |
+ | |{{Quote|[[Story Intersections]]<br>Every campaign has its own story and its own ending. Each protagonist's campaign, however, will intersect with the others', providing you with a richer understanding of the events behind Resident Evil 6.}} |
| + | |- |
||
| + | |[[File:RE6 Campaign Loading screen37.jpg|150px]] |
||
| + | |{{Quote|Story Intersections<br>At the beginning of a stage, you will automatically be matched with other players so up to 4 of you can play together during story intersections.}} |
||
|- |
|- |
||
|[[File:RE6 Campaign Loading screen10.jpg|150px]] |
|[[File:RE6 Campaign Loading screen10.jpg|150px]] |
||
| Line 104: | Line 111: | ||
|[[File:RE6 Campaign Loading screen29.jpg|150px]] |
|[[File:RE6 Campaign Loading screen29.jpg|150px]] |
||
|{{Quote|Commands - Go<br>old O and press [up on d-pad] to direct your partner to attack an enemy in front of you, or one you've indicated with your laser sight.}} |
|{{Quote|Commands - Go<br>old O and press [up on d-pad] to direct your partner to attack an enemy in front of you, or one you've indicated with your laser sight.}} |
||
| + | |- |
||
| + | |[[File:RE6 Campaign Loading screen32.jpg|150px]] |
||
| + | |{{Quote|Comands - Wait<br>Hold O and press [left on d-pad] to direct your partner to stay in a certain location when not in battle.}} |
||
|- |
|- |
||
|[[File:RE6 Campaign Loading screen19.jpg|150px]] |
|[[File:RE6 Campaign Loading screen19.jpg|150px]] |
||
| Line 122: | Line 132: | ||
|[[File:RE6 Campaign Loading screen28.jpg|150px]] |
|[[File:RE6 Campaign Loading screen28.jpg|150px]] |
||
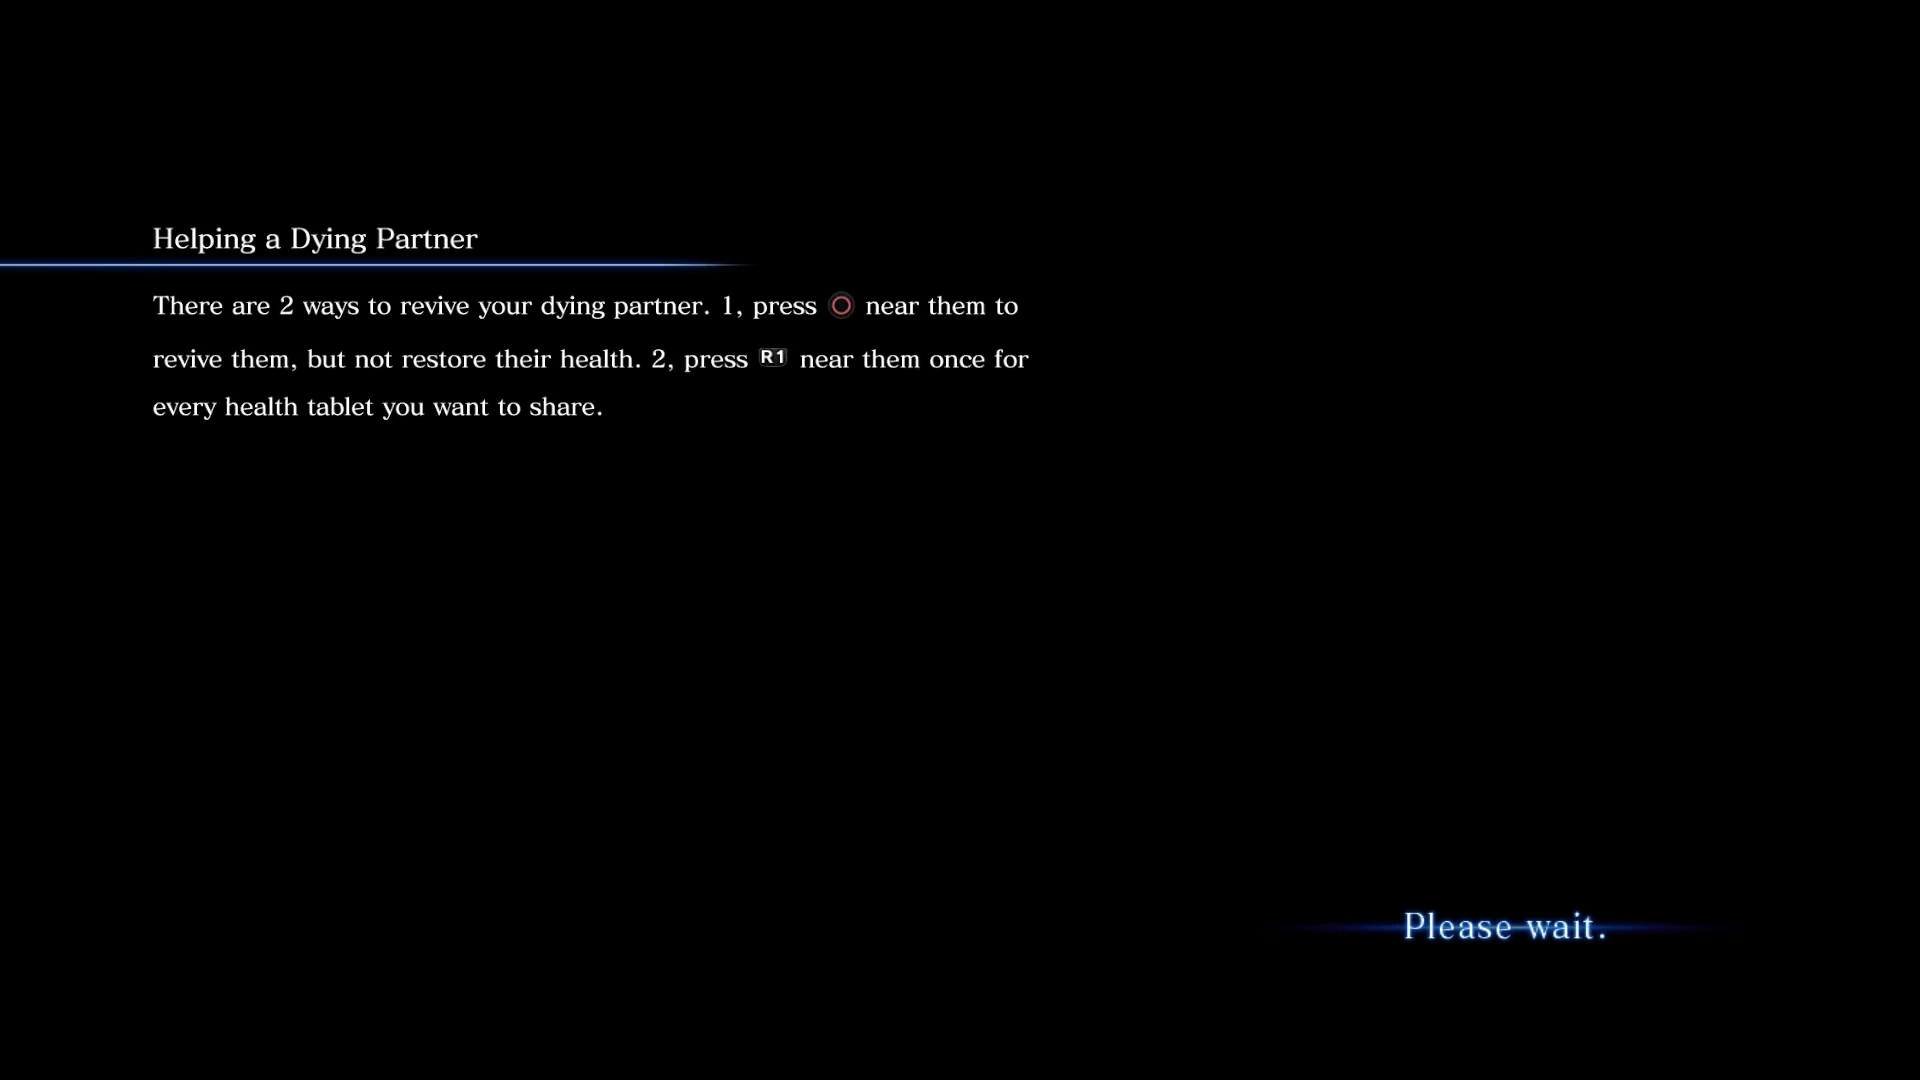
|{{Quote|Helping a Dying Partner<br>There are 2 ways to revive your dying partner. 1, press O near them to revive them, but not restore their health. 2, press R1 near them once for every health tablet you want to share.}} |
|{{Quote|Helping a Dying Partner<br>There are 2 ways to revive your dying partner. 1, press O near them to revive them, but not restore their health. 2, press R1 near them once for every health tablet you want to share.}} |
||
| + | |- |
||
| + | |[[File:RE6 Campaign Loading screen30.jpg|150px]] |
||
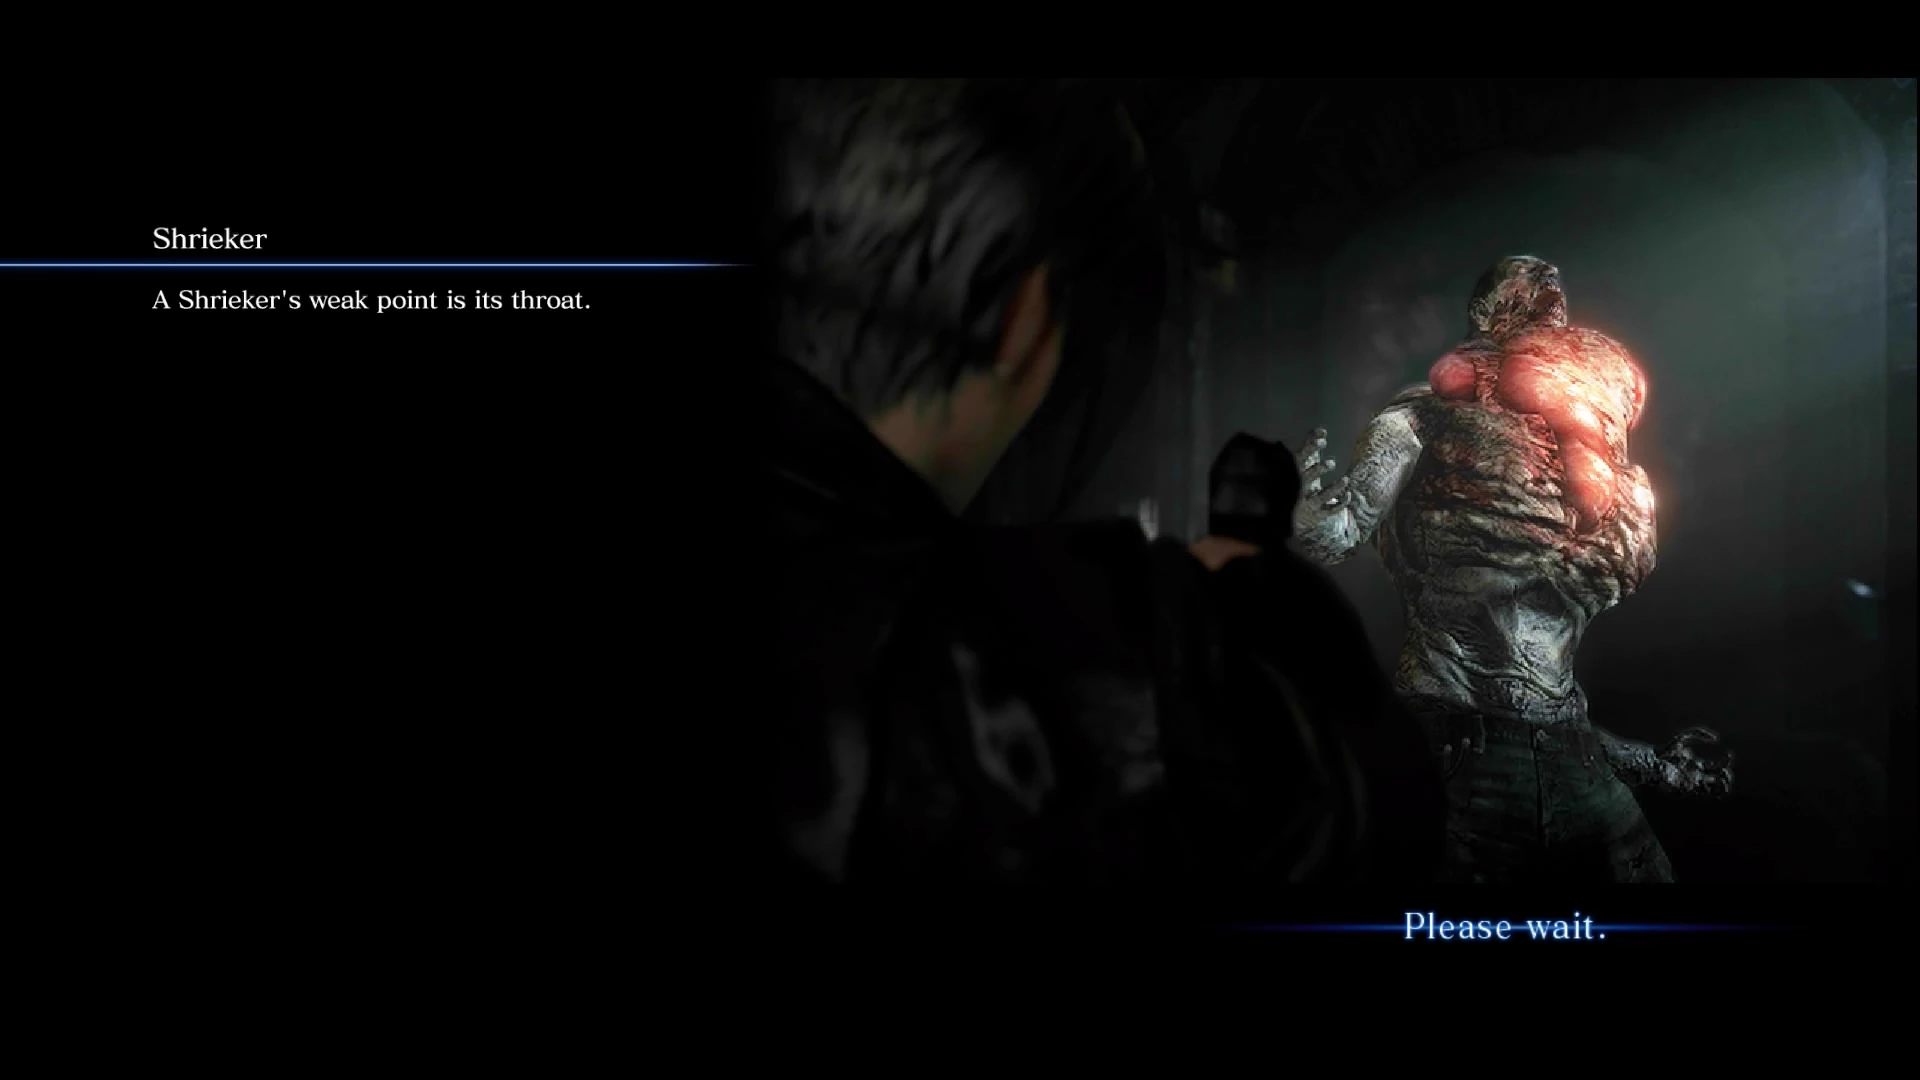
| + | |{{Quote|[[Shrieker]]<br>A Shrieker's weak point is its throat.}} |
||
| + | |- |
||
| + | |[[File:RE6 Campaign Loading screen31.jpg|150px]] |
||
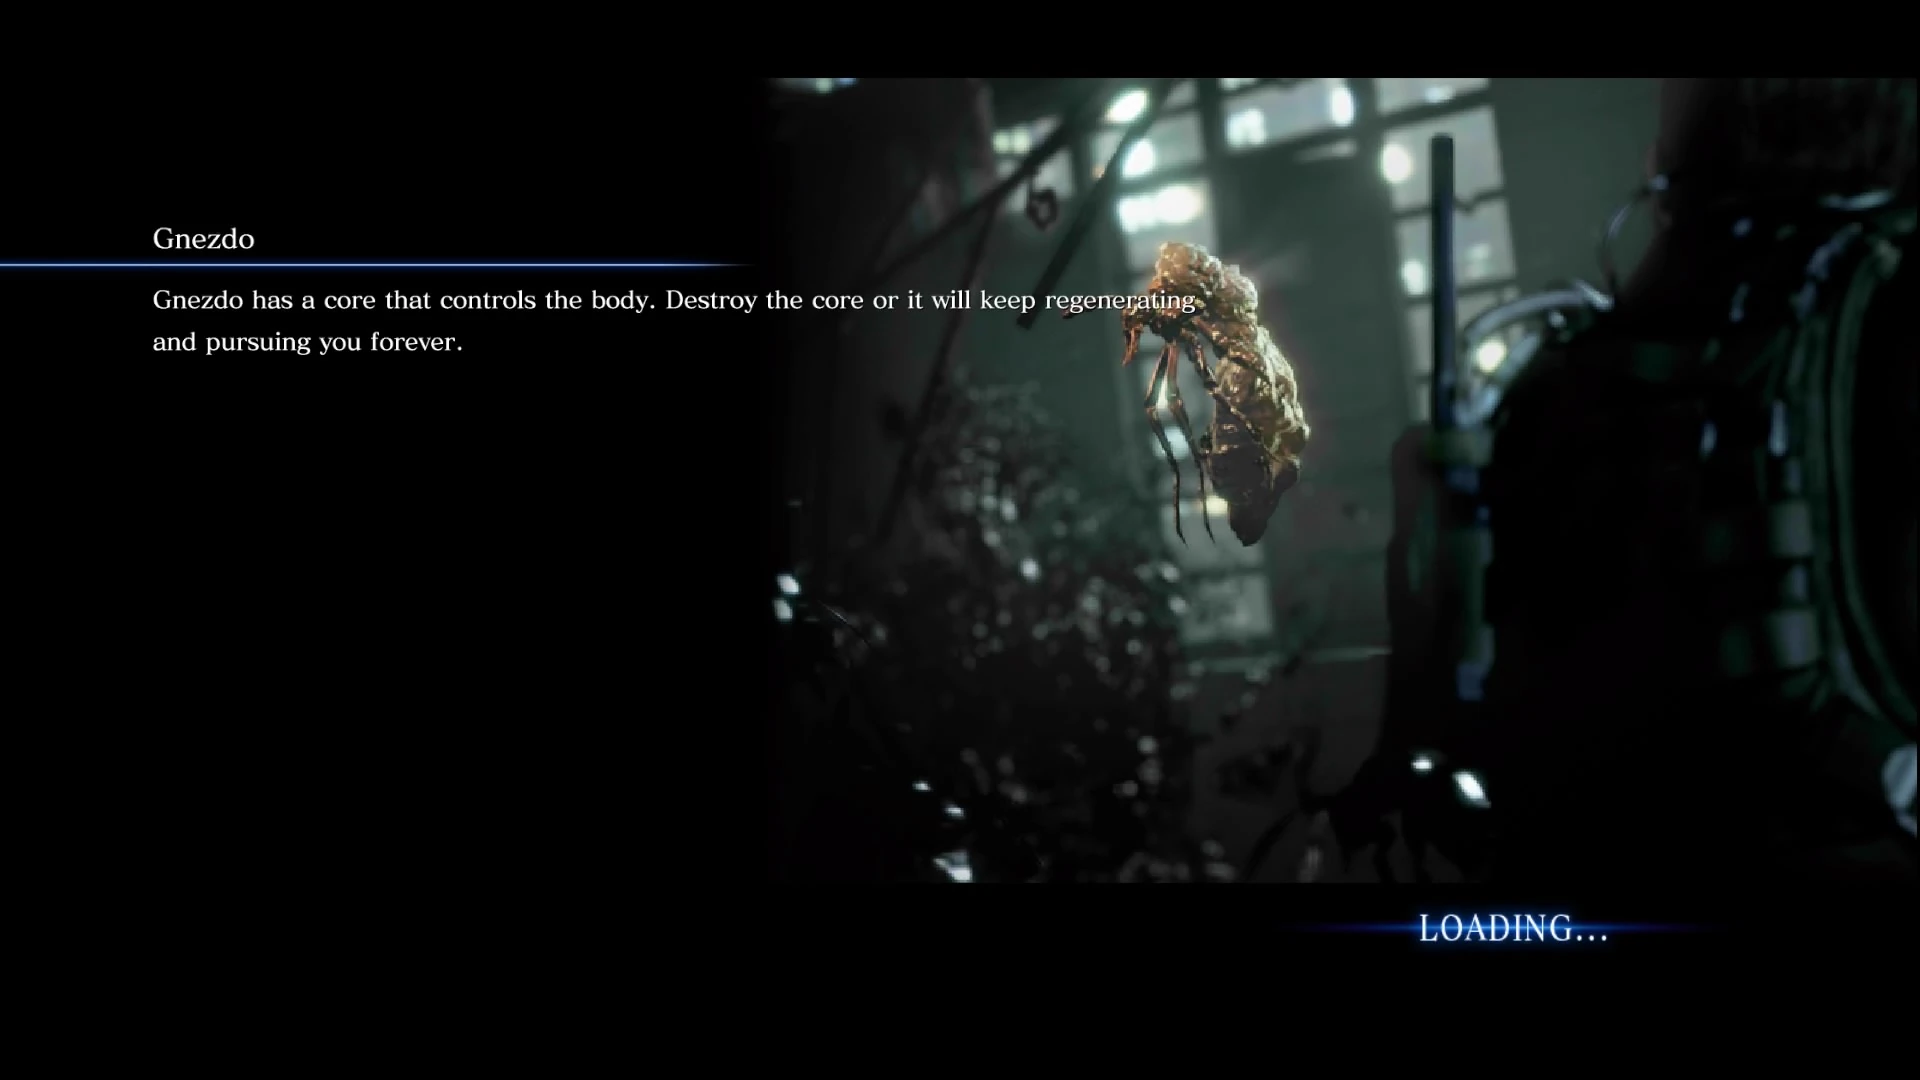
| + | |{{Quote|[[Gnezdo]]<br>Gnezdo has a core that controls the body. Destroy the core or it will keep regenerating and pursuing you forever.}} |
||
| + | |- |
||
| + | |[[File:RE6 Campaign Loading screen33.jpg|150px]] |
||
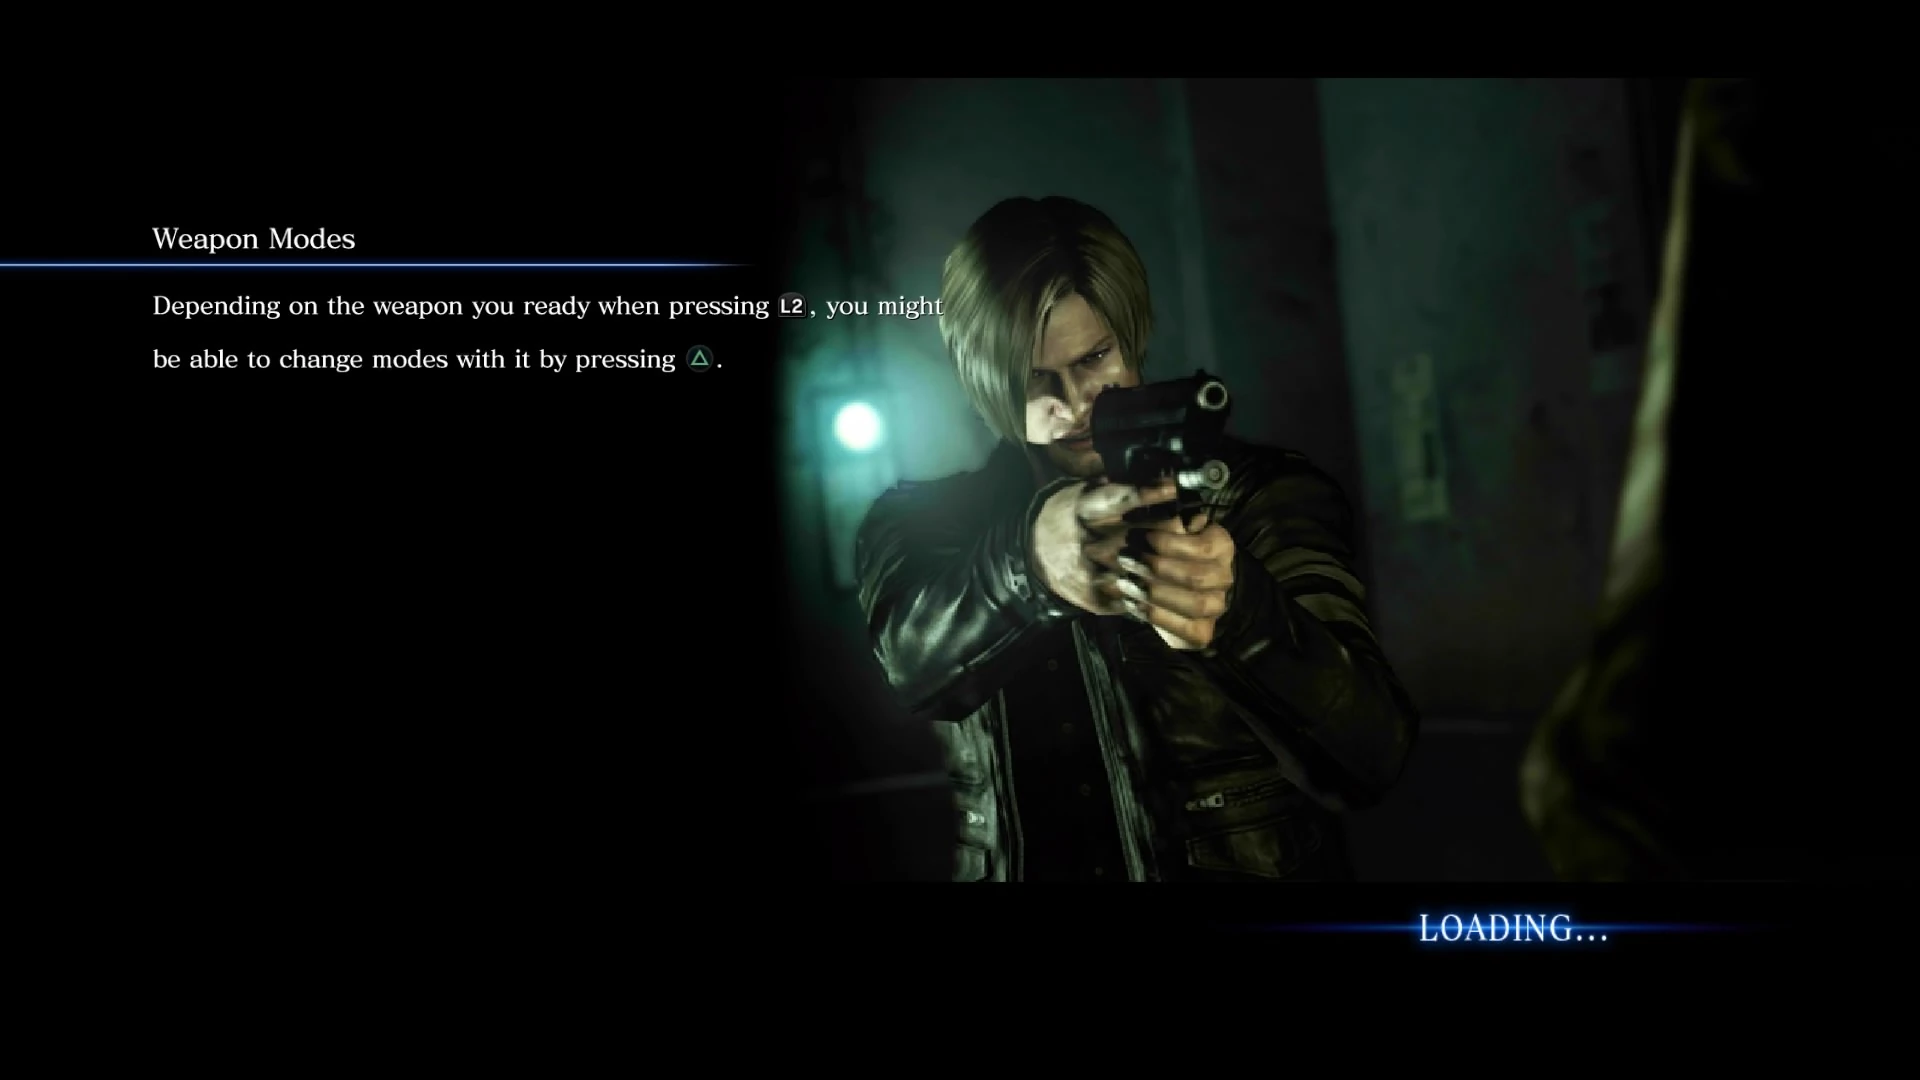
| + | |{{Quote|Weapon Modes<br>Depending on the weapon you ready when pressing L2, you might be able to change modes with it by pressing [triangle].}} |
||
| + | |- |
||
| + | |[[File:RE6 Campaign Loading screen34.jpg|150px]] |
||
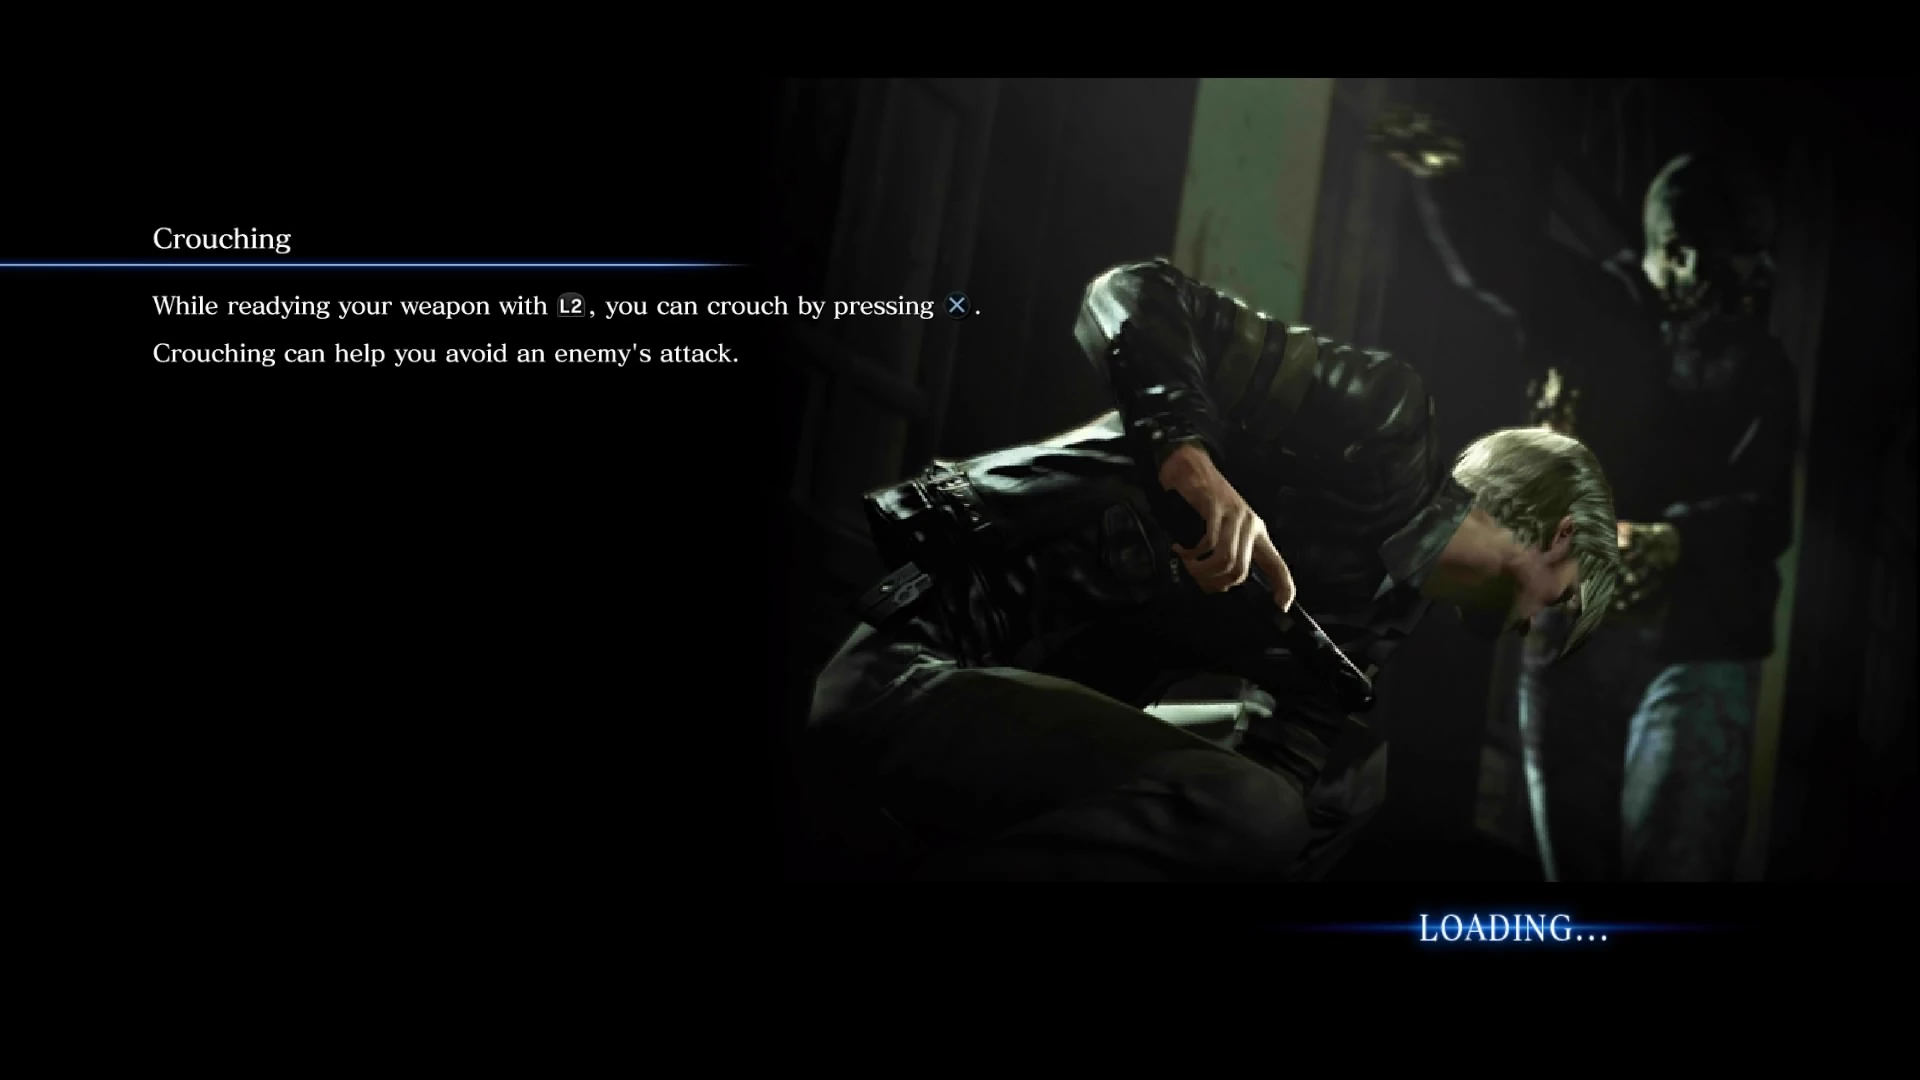
| + | |{{Quote|Crouching<br>While readying your weapon with L2, you can crouch by pressing X.<br>Crouching can help you avoid an enemy's attack.}} |
||
| + | |- |
||
| + | |[[File:RE6 Campaign Loading screen35.jpg|150px]] |
||
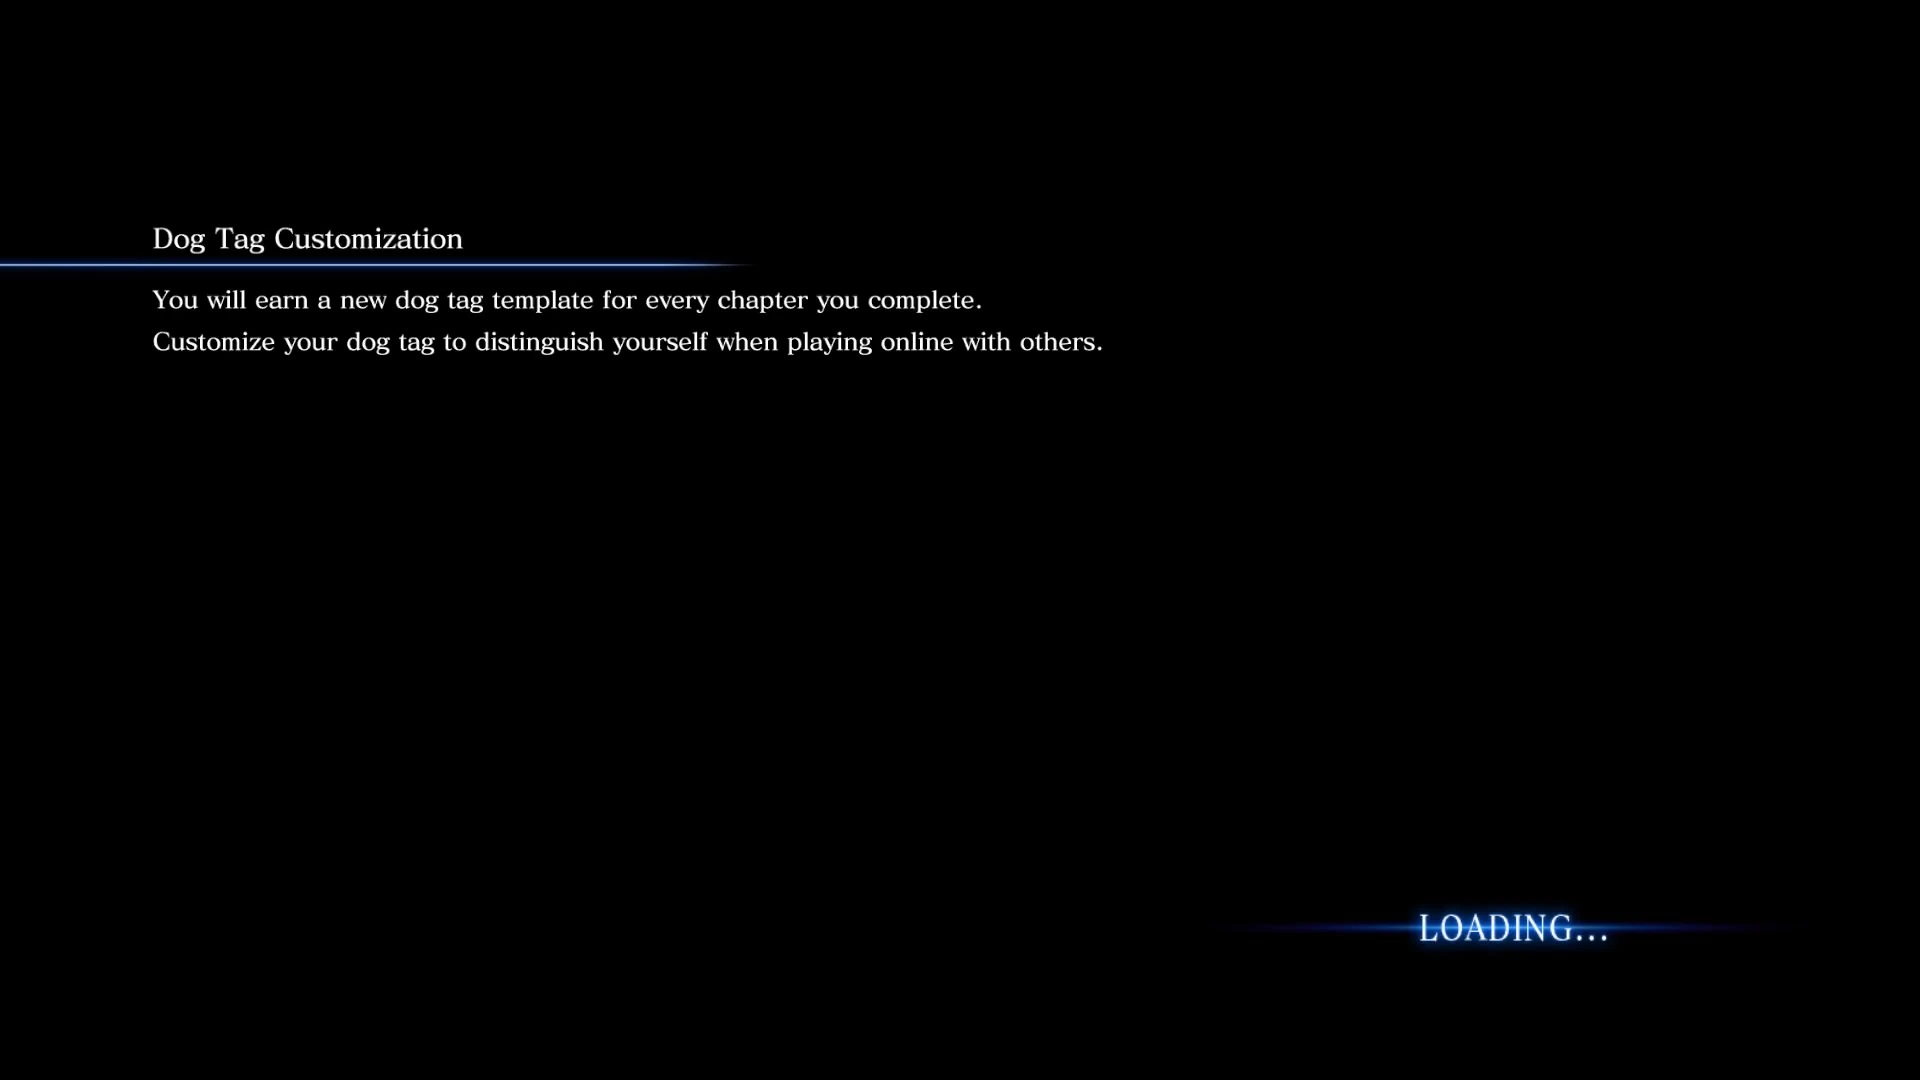
| + | |{{Quote|[[Dog Tag]] Customization<br>You will earn a new dog tag template for every chapter you complete.<br>Customize your dog tag to distinguish yourself when playing online with others.}} |
||
| + | |- |
||
| + | |[[File:RE6 Campaign Loading screen36.jpg|150px]] |
||
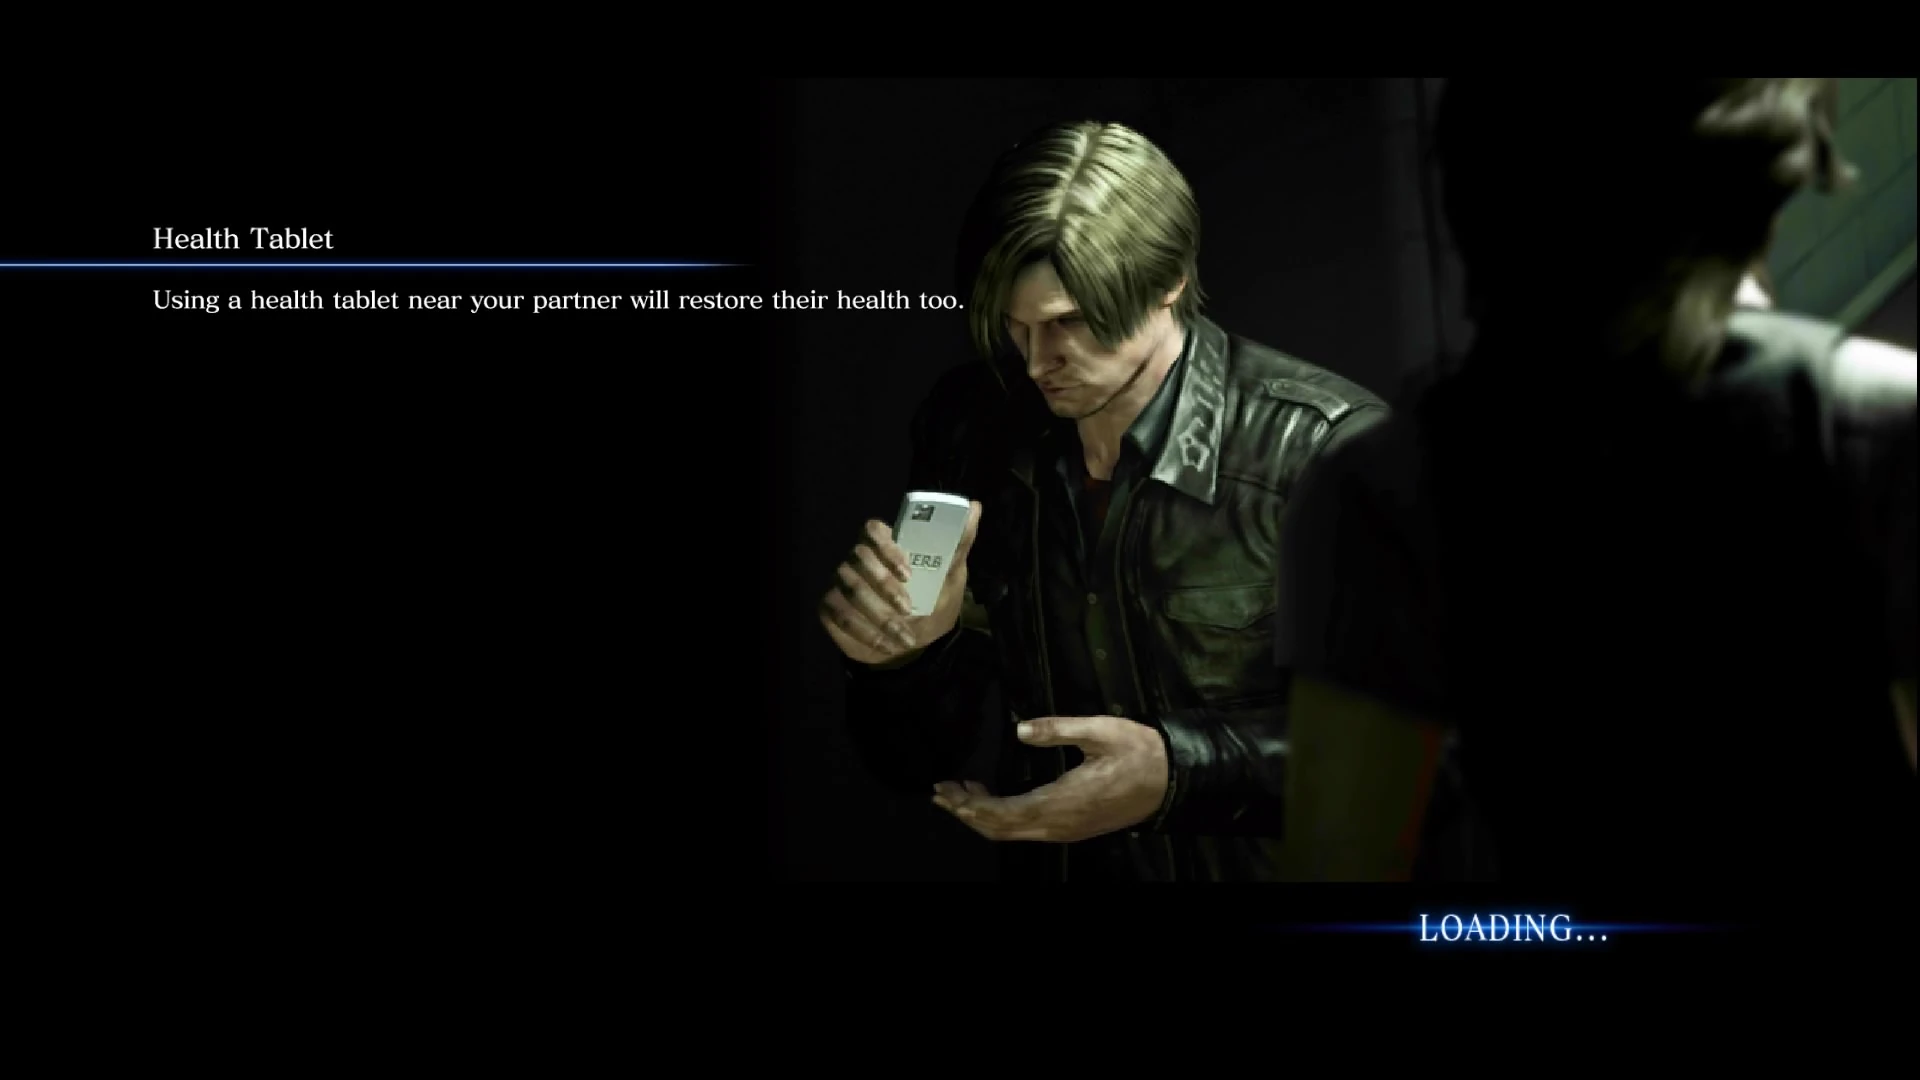
| + | |{{Quote|Health Tablet<br>Using a health tablet near your partner will restore their health too.}} |
||
| + | |- |
||
| + | |[[File:RE6 Campaign Loading screen38.jpg|150px]] |
||
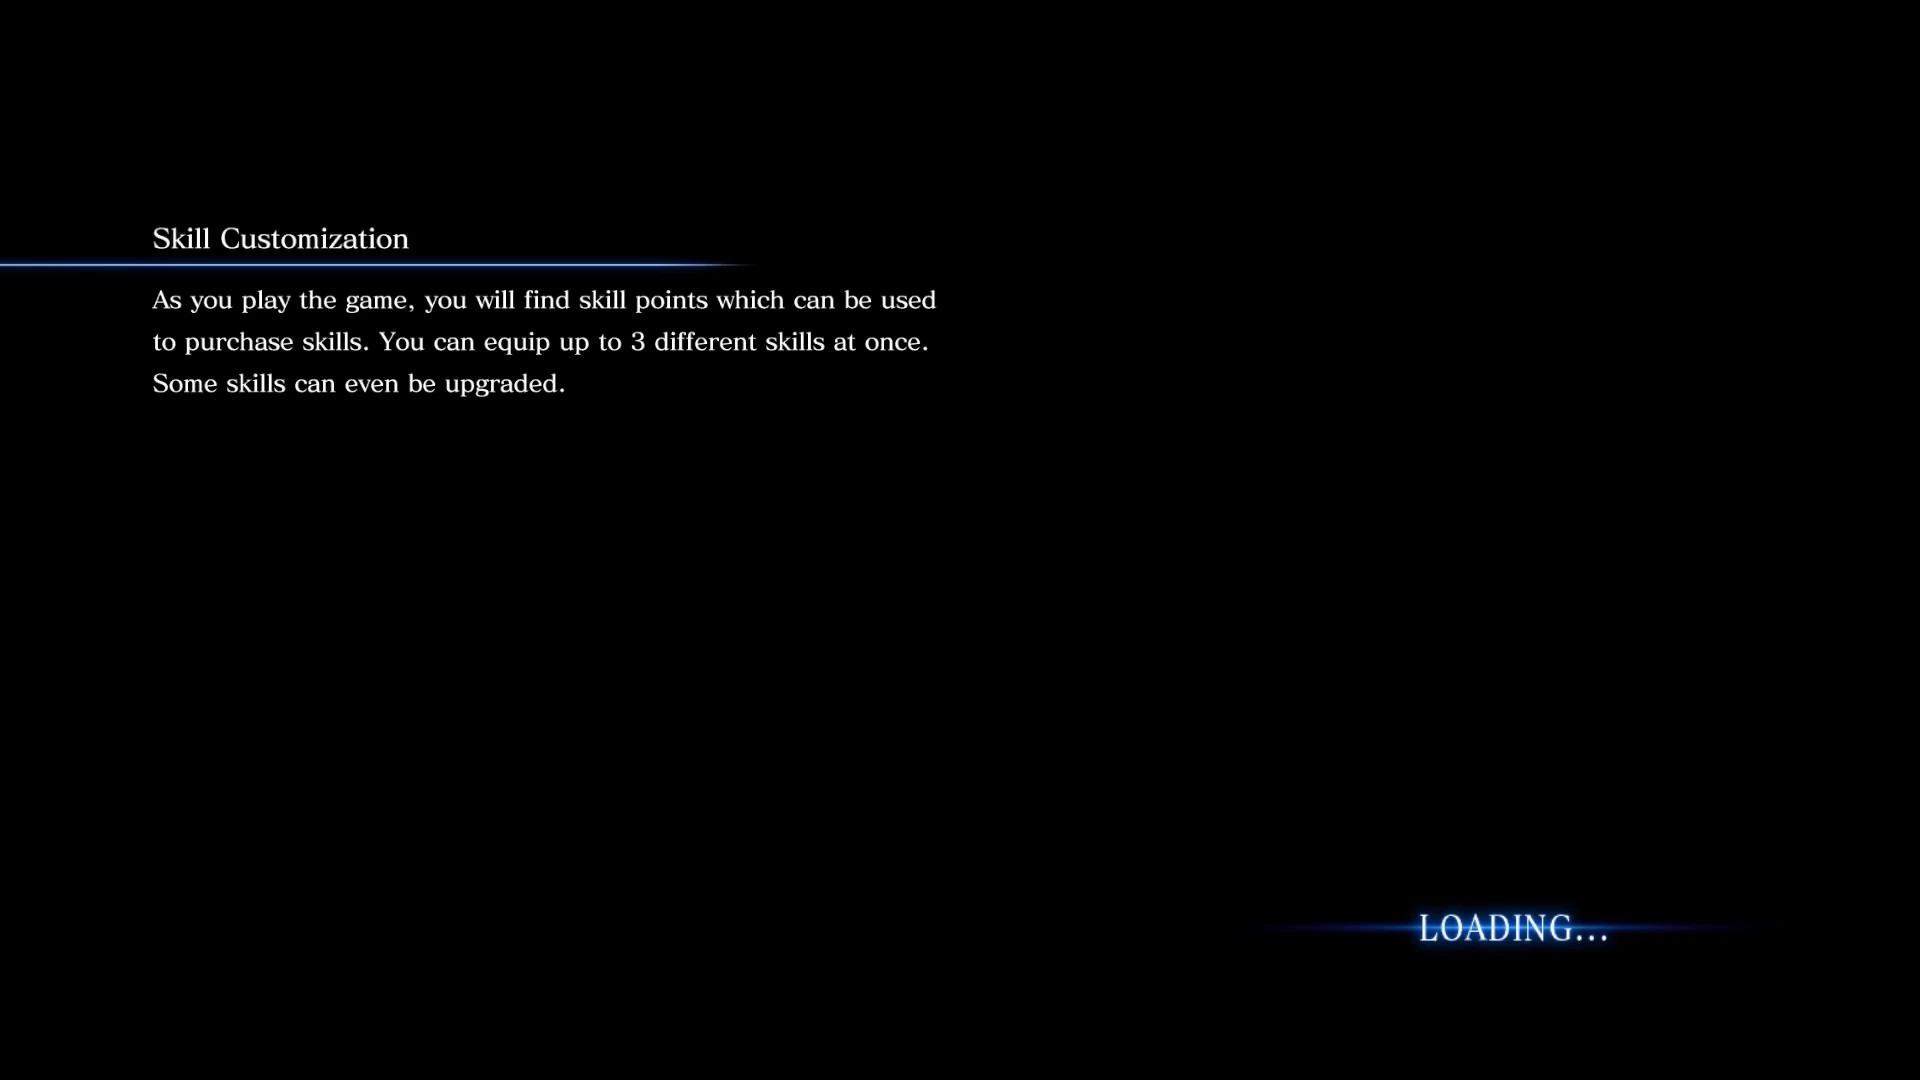
| + | |{{Quote|Skill Customization<br>As you play the game, you will find skill points which can be used to purchase skills. You can equip up to 3 different skills at once. Some skills can even be upgraded.}} |
||
| + | |- |
||
| + | |[[File:RE6 Campaign Loading screen39.jpg|150px]] |
||
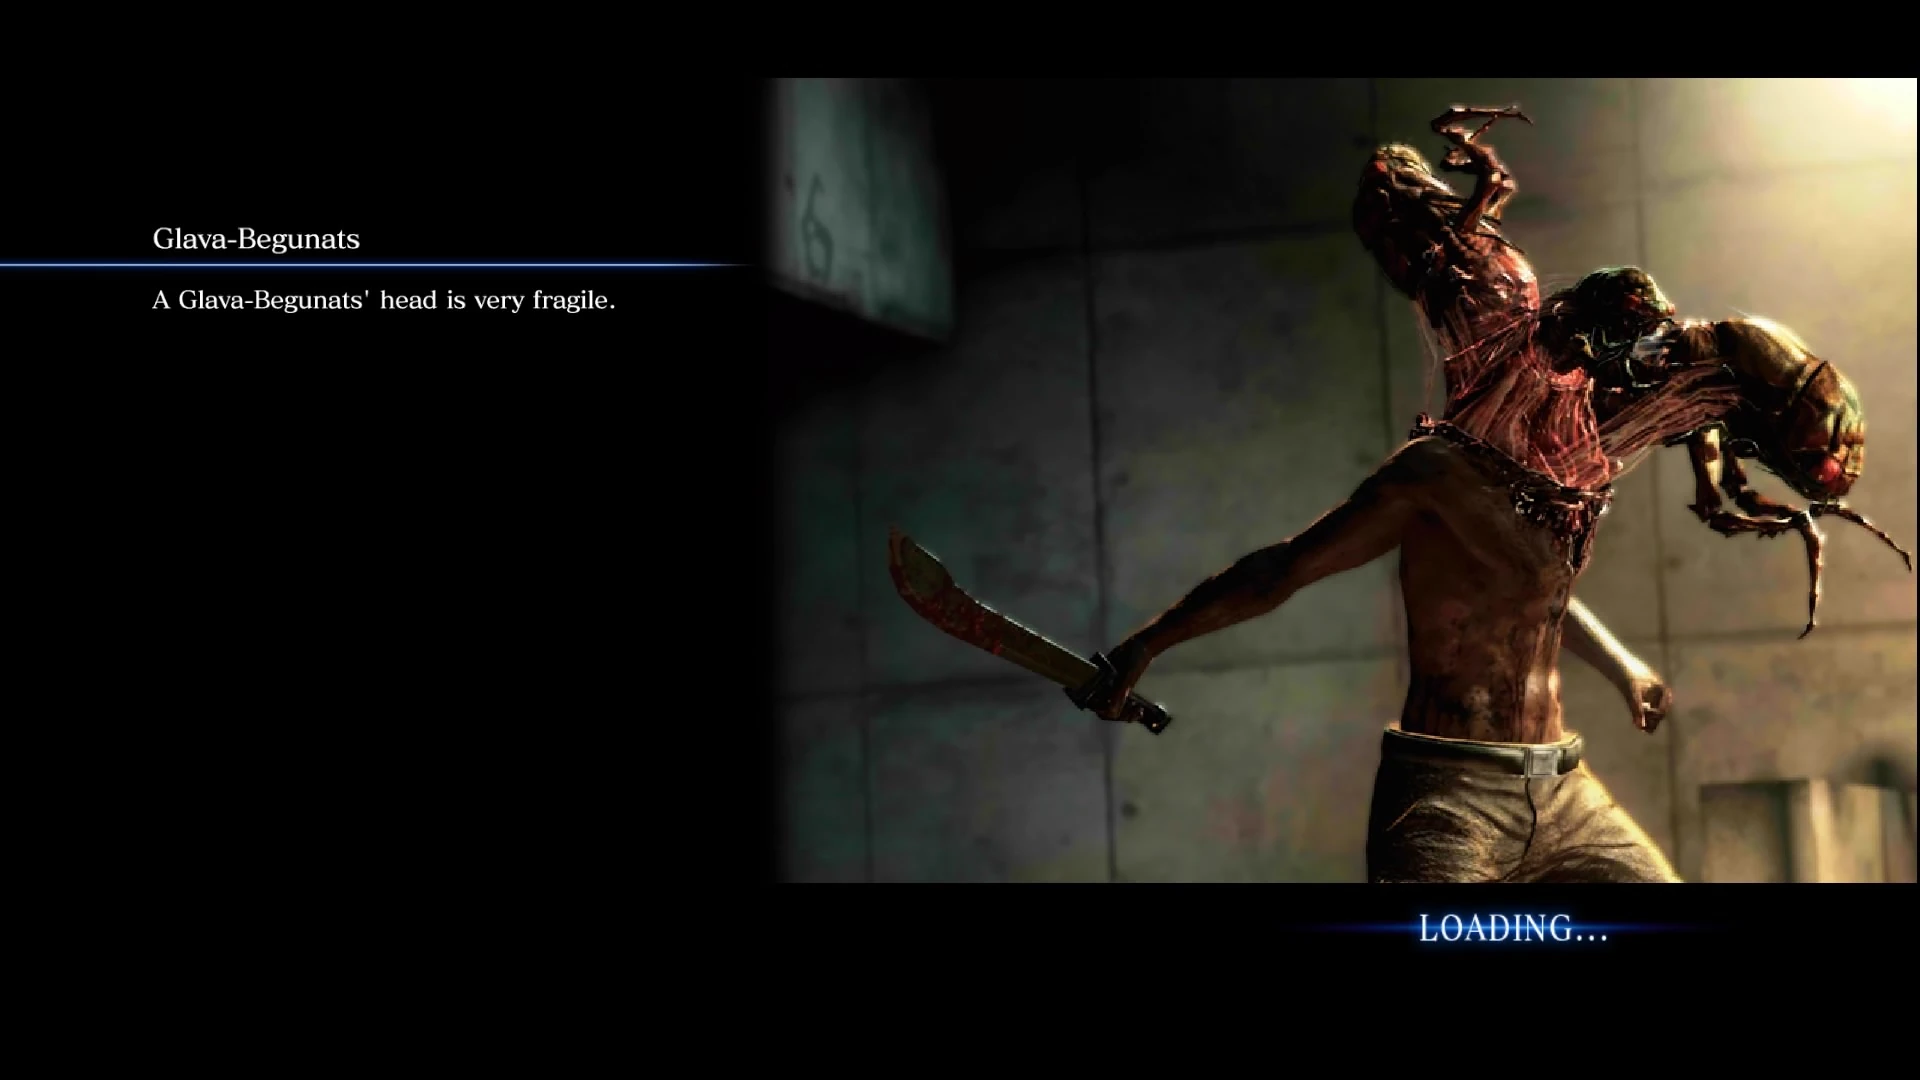
| + | |{{Quote|[[Glava-Begunats]]<br>A Glava-Begunats' head is very fragile.}} |
||
| + | |- |
||
| + | |[[File:RE6 Campaign Loading screen40.jpg|150px]] |
||
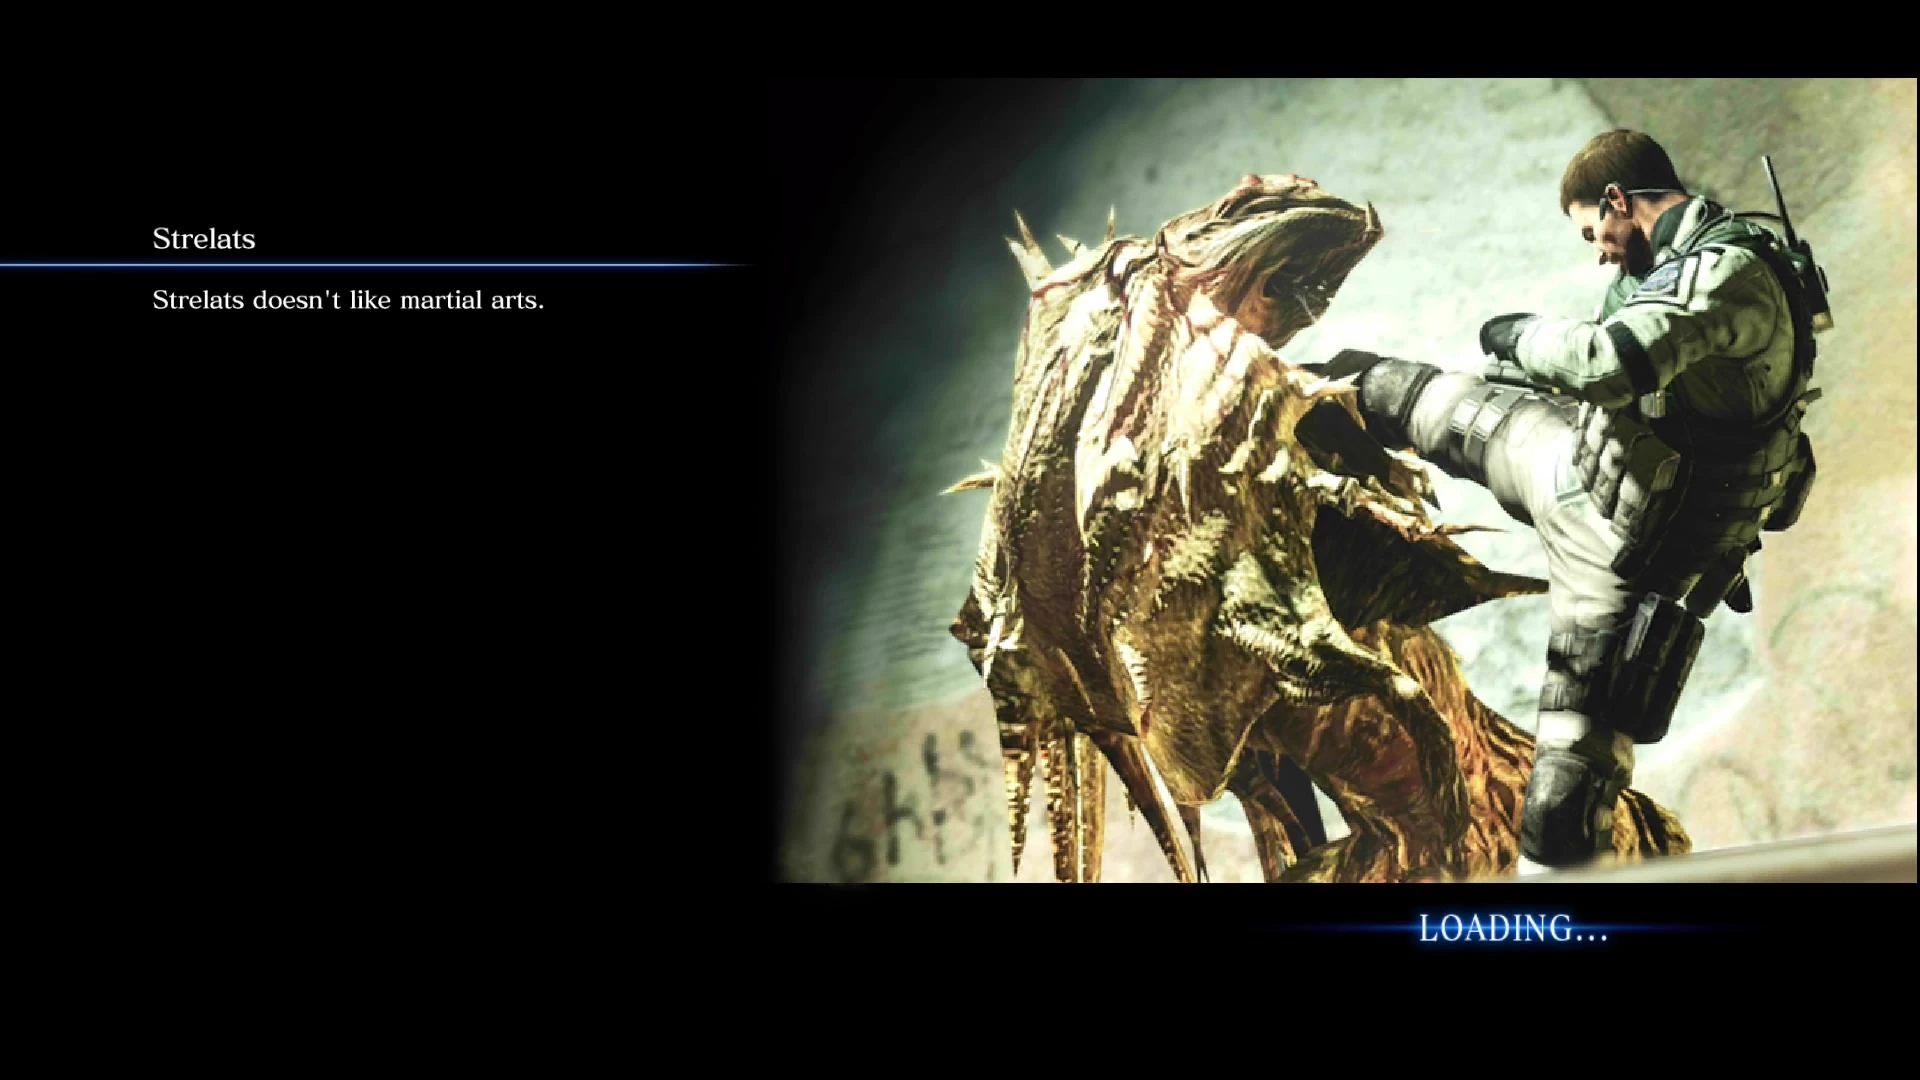
| + | |{{Quote|[[Strelats]]<br>Strelats doesn't like martial arts.}} |
||
| + | |- |
||
| + | |[[File:RE6 Campaign Loading screen41.jpg|150px]] |
||
| + | |{{Quote|First Aid Spray<br>Equip the first aid spray with [up on d-pad] or [down on d-pad], then press R2 to use it to restore your health and physical combat gauge. Use it near your partner to restore theirs too.}} |
||
|} |
|} |
||
| + | |||
==Extra Content== |
==Extra Content== |
||
| Line 184: | Line 225: | ||
|} |
|} |
||
===Survivors=== |
===Survivors=== |
||
| + | {| border="1" cellpadding="1" cellspacing="1" class="article-table" style="width: 660px;" |
||
| + | |- |
||
| + | |style="text-align: center;"|'''Information''' |
||
| + | |- |
||
| + | |{{Quote|Attacking<br>When you attack, other players will be temporarily aware of your location.}} |
||
| + | |- |
||
| + | |{{Quote|Bonuses<br>The players who last until the end will get the highest point totals.}} |
||
| + | |- |
||
| + | |{{Quote|Danger State<br>After dying you'll be in the danger state, but you will recover after 15 seconds.}} |
||
| + | |- |
||
| + | |{{Quote|Recovery<br>Defeat an Agent as a creature to return as an Agent.}} |
||
| + | |} |
||
===Onslaught=== |
===Onslaught=== |
||
| + | {| border="1" cellpadding="1" cellspacing="1" class="article-table" style="width: 660px;" |
||
| + | |- |
||
| + | |style="text-align: center;"|'''Information''' |
||
| + | |- |
||
| + | |{{Quote|Combo Bonus<br>Destroy the combo bonus marker for unlimited time to extend your combos.}} |
||
| + | |- |
||
| + | |{{Quote|Combos<br>Press L1 during a combo to stop the counter and send an enemy to your opponent.}} |
||
| + | |- |
||
| + | |{{Quote|Sending Enemies<br>The enemies you send will differ depending on your combo amount.}} |
||
| + | |- |
||
| + | |{{Quote|Opponent Status<br>Use the icon to view your opponent's status.<br>Choose the right time to send enemies their way!}} |
||
| + | |- |
||
| + | |{{Quote|Your Attacks<br>Performing a counter coup de grâce or a taunt will increase your attack power.}} |
||
| + | |- |
||
| + | |{{Quote|30-Combo Chain<br>Enemies will be sent to your opponent upon performing a 30-combo chain.<br>Many strong [[B.O.W.]]s will be included.}} |
||
| + | |} |
||
| + | |||
===Predator=== |
===Predator=== |
||
| + | {| border="1" cellpadding="1" cellspacing="1" class="article-table" style="width: 660px;" |
||
| + | |- |
||
| + | |style="text-align: center;"|'''Information''' |
||
| + | |- |
||
| + | |{{Quote|Physical Combat Gauge<br>As [[Ustanak]], throwing grenades and using Intimidation will consume the physical combat gauge.}} |
||
| + | |- |
||
| + | |{{Quote|Agent Weapons<br>Ustanak can destroy weapons that have been left for Agents in one attack.}} |
||
| + | |- |
||
| + | |{{Quote|Weapons<br>Weapons for Agents and tools for Ustanak will randomly appear throughout the stages.}} |
||
| + | |- |
||
| + | |{{Quote|Ustanak's Tools<br>Agents can destroy the tools that have been left for Ustanak using multiple physical attacks.}} |
||
| + | |- |
||
| + | |{{Quote|Freeing Your Teammates<br>Physical attacks work better than weapons to rescue your teammates from Ustanak.}} |
||
| + | |- |
||
| + | |{{Quote|[[Oko]]<br>While playing as an Agent, if Oko finds you it will tell Ustanak your location.}} |
||
| + | |- |
||
| + | |{{Quote|Oko<br>Oko are difficult to hit with physical attacks.}} |
||
| + | |- |
||
| + | |{{Quote|Ustanaks Intimidation<br>While playing as Ustanak, if you press (OPTIONS), you'll be able to see where nearby Agents are.}} |
||
| + | |} |
||
===Siege=== |
===Siege=== |
||
| + | {{Empty section|unknown|date=May 2019}} |
||
==Undefined== |
==Undefined== |
||
| + | <!--Mercenaries--> |
||
{| border="1" cellpadding="1" cellspacing="1" class="article-table" style="width: 660px;" |
{| border="1" cellpadding="1" cellspacing="1" class="article-table" style="width: 660px;" |
||
|- |
|- |
||
Revision as of 18:06, 15 September 2019
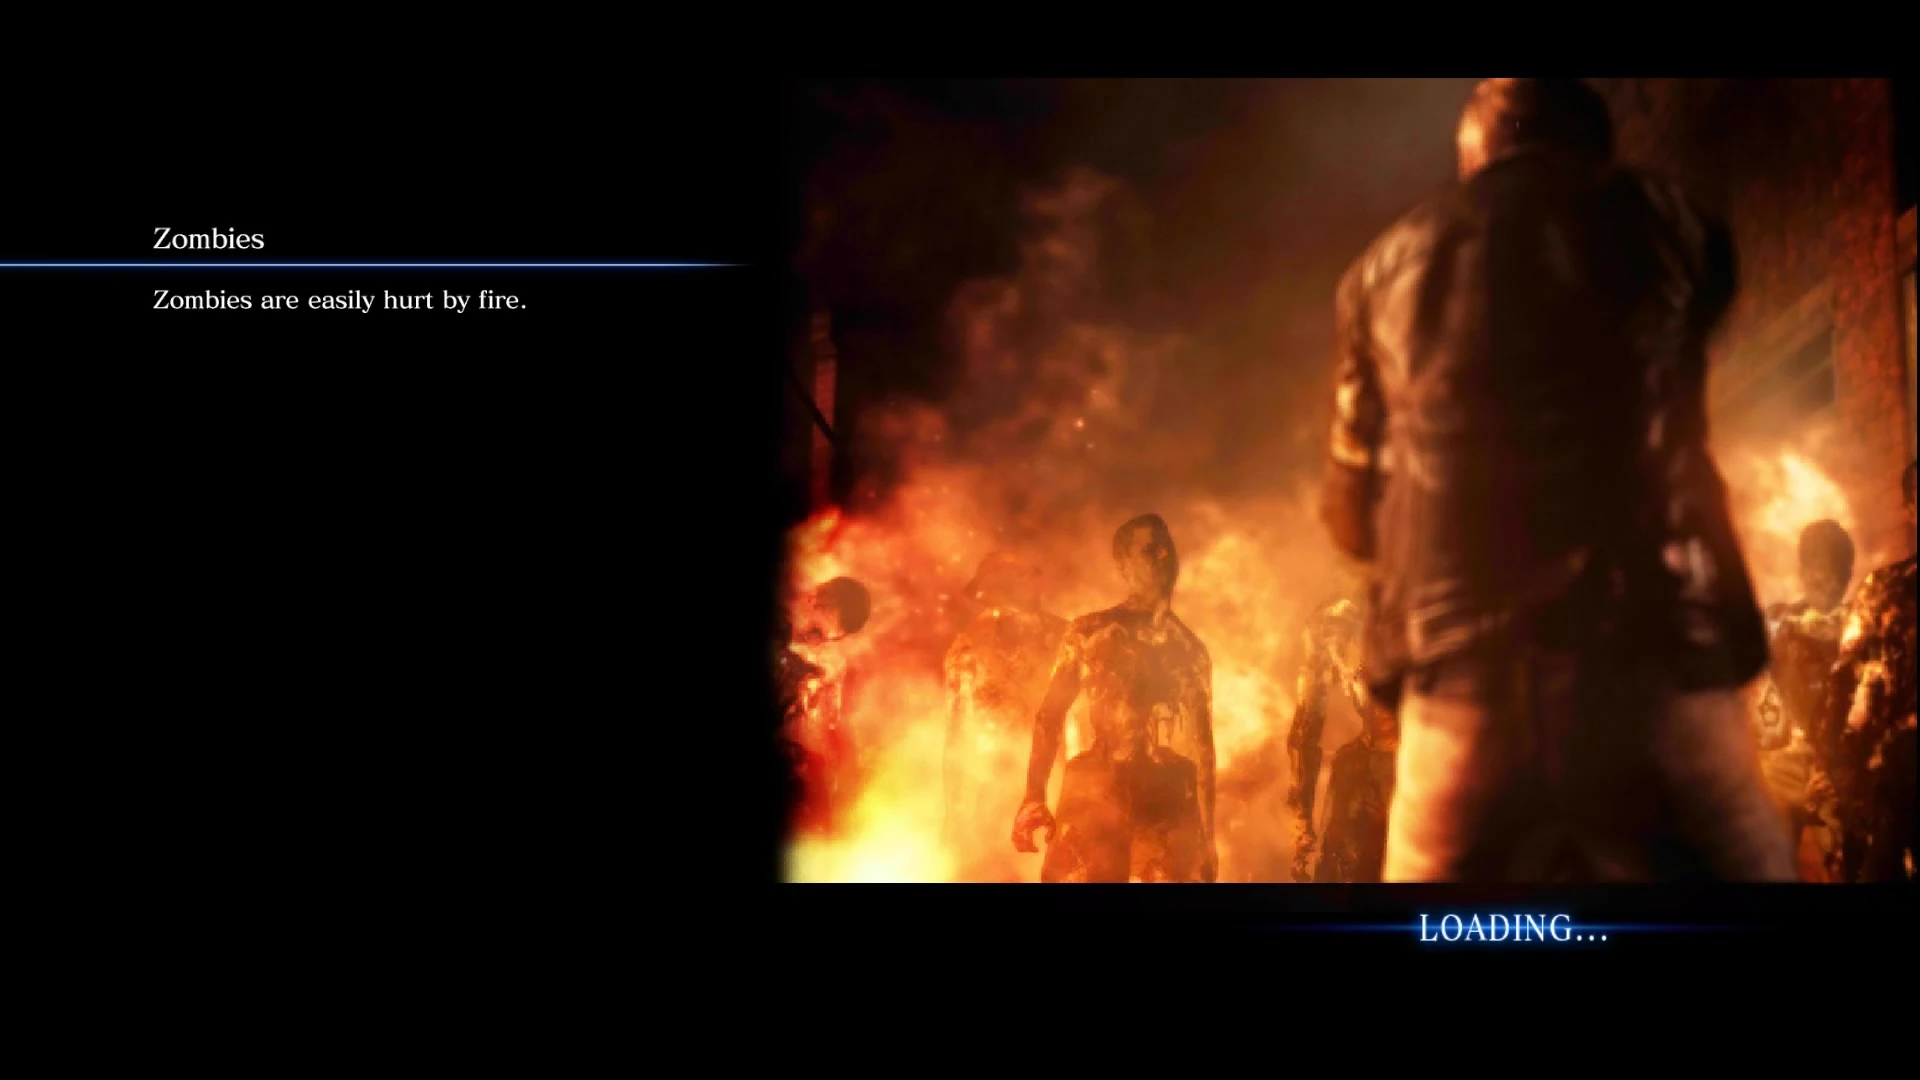
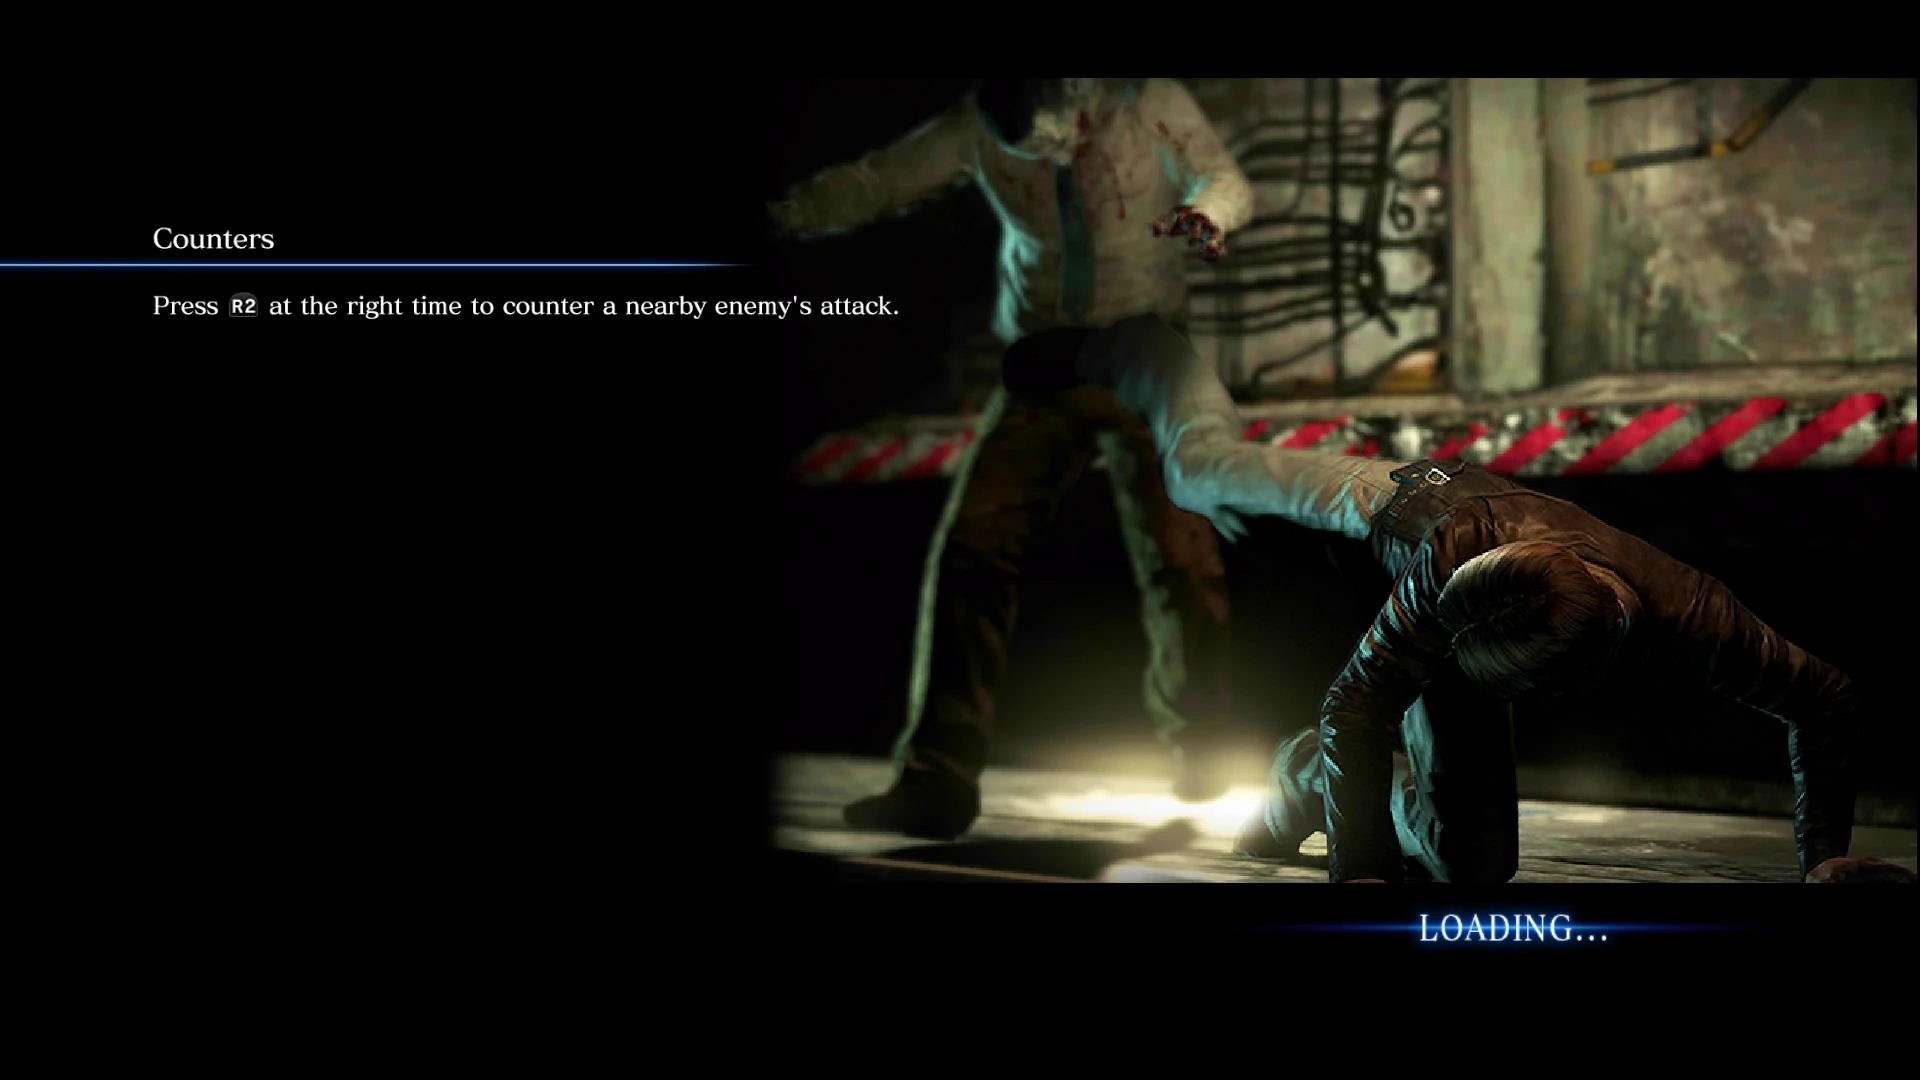
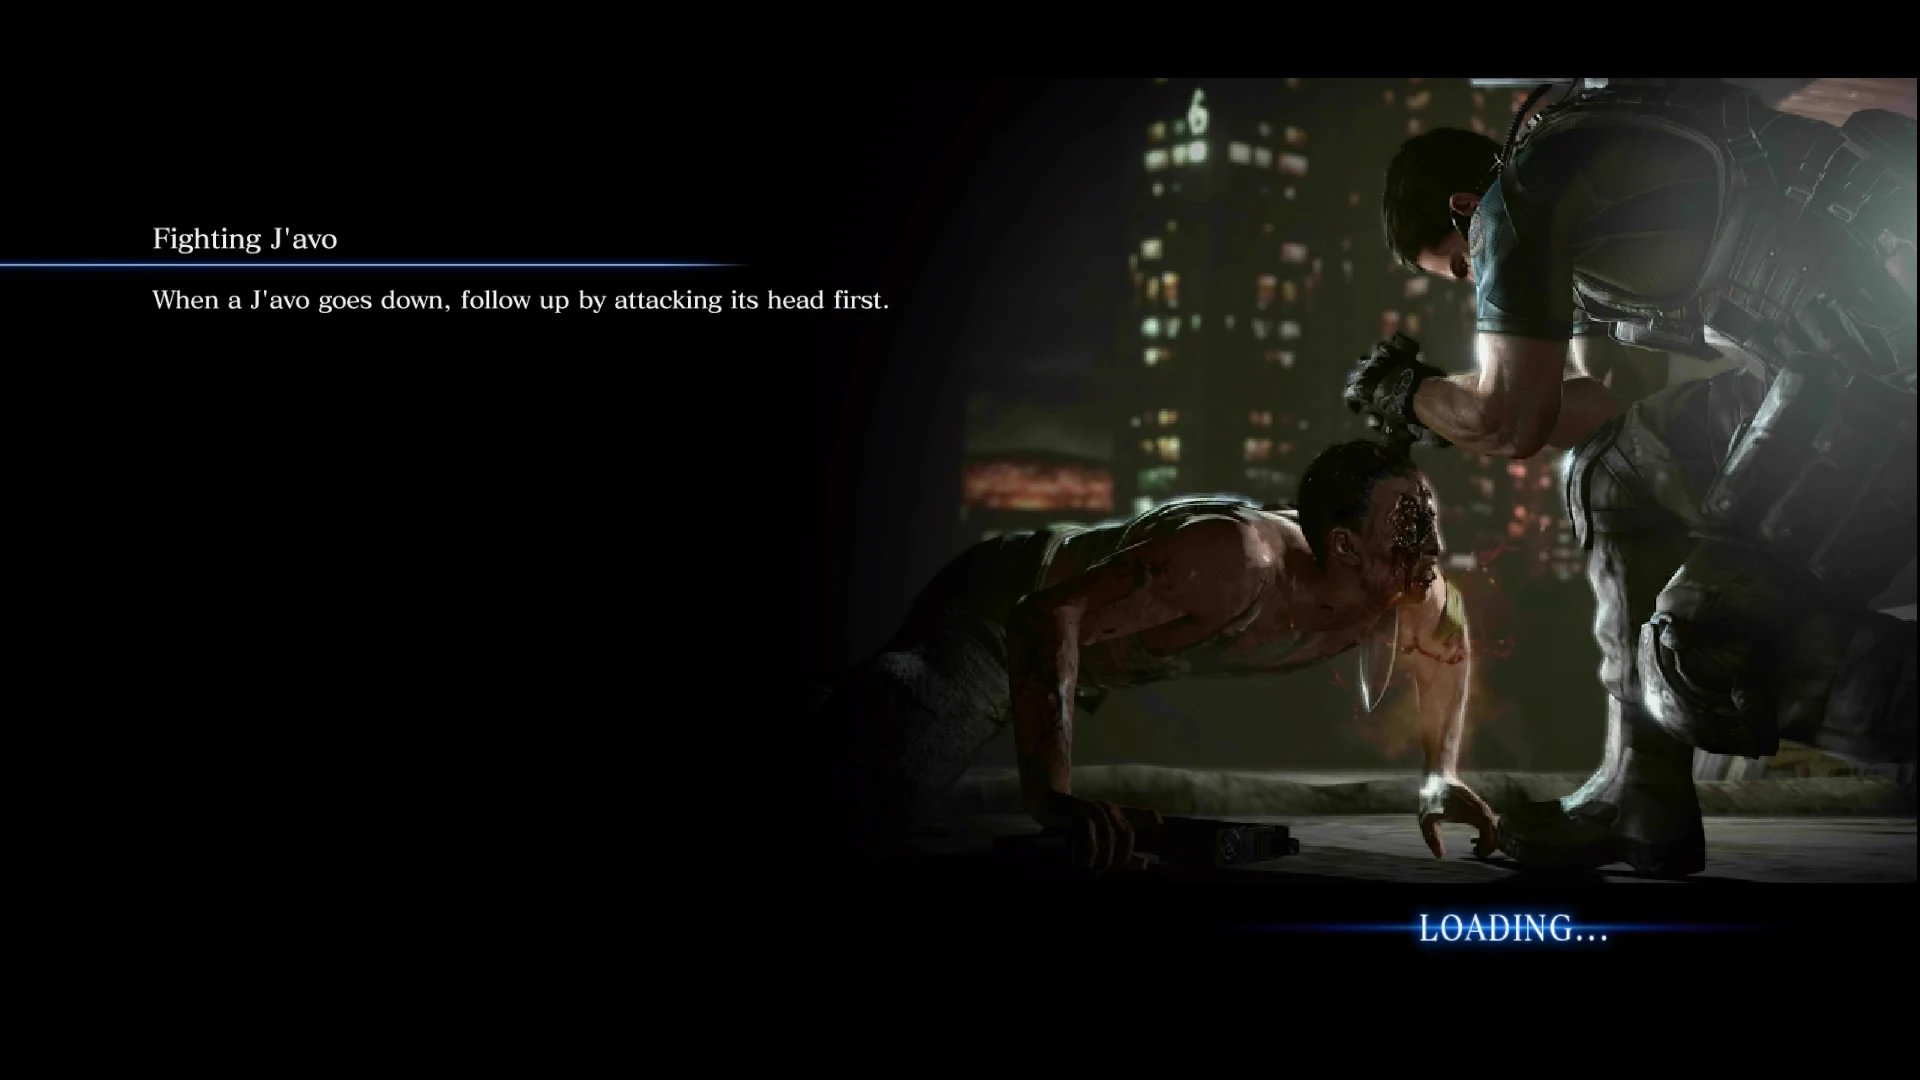
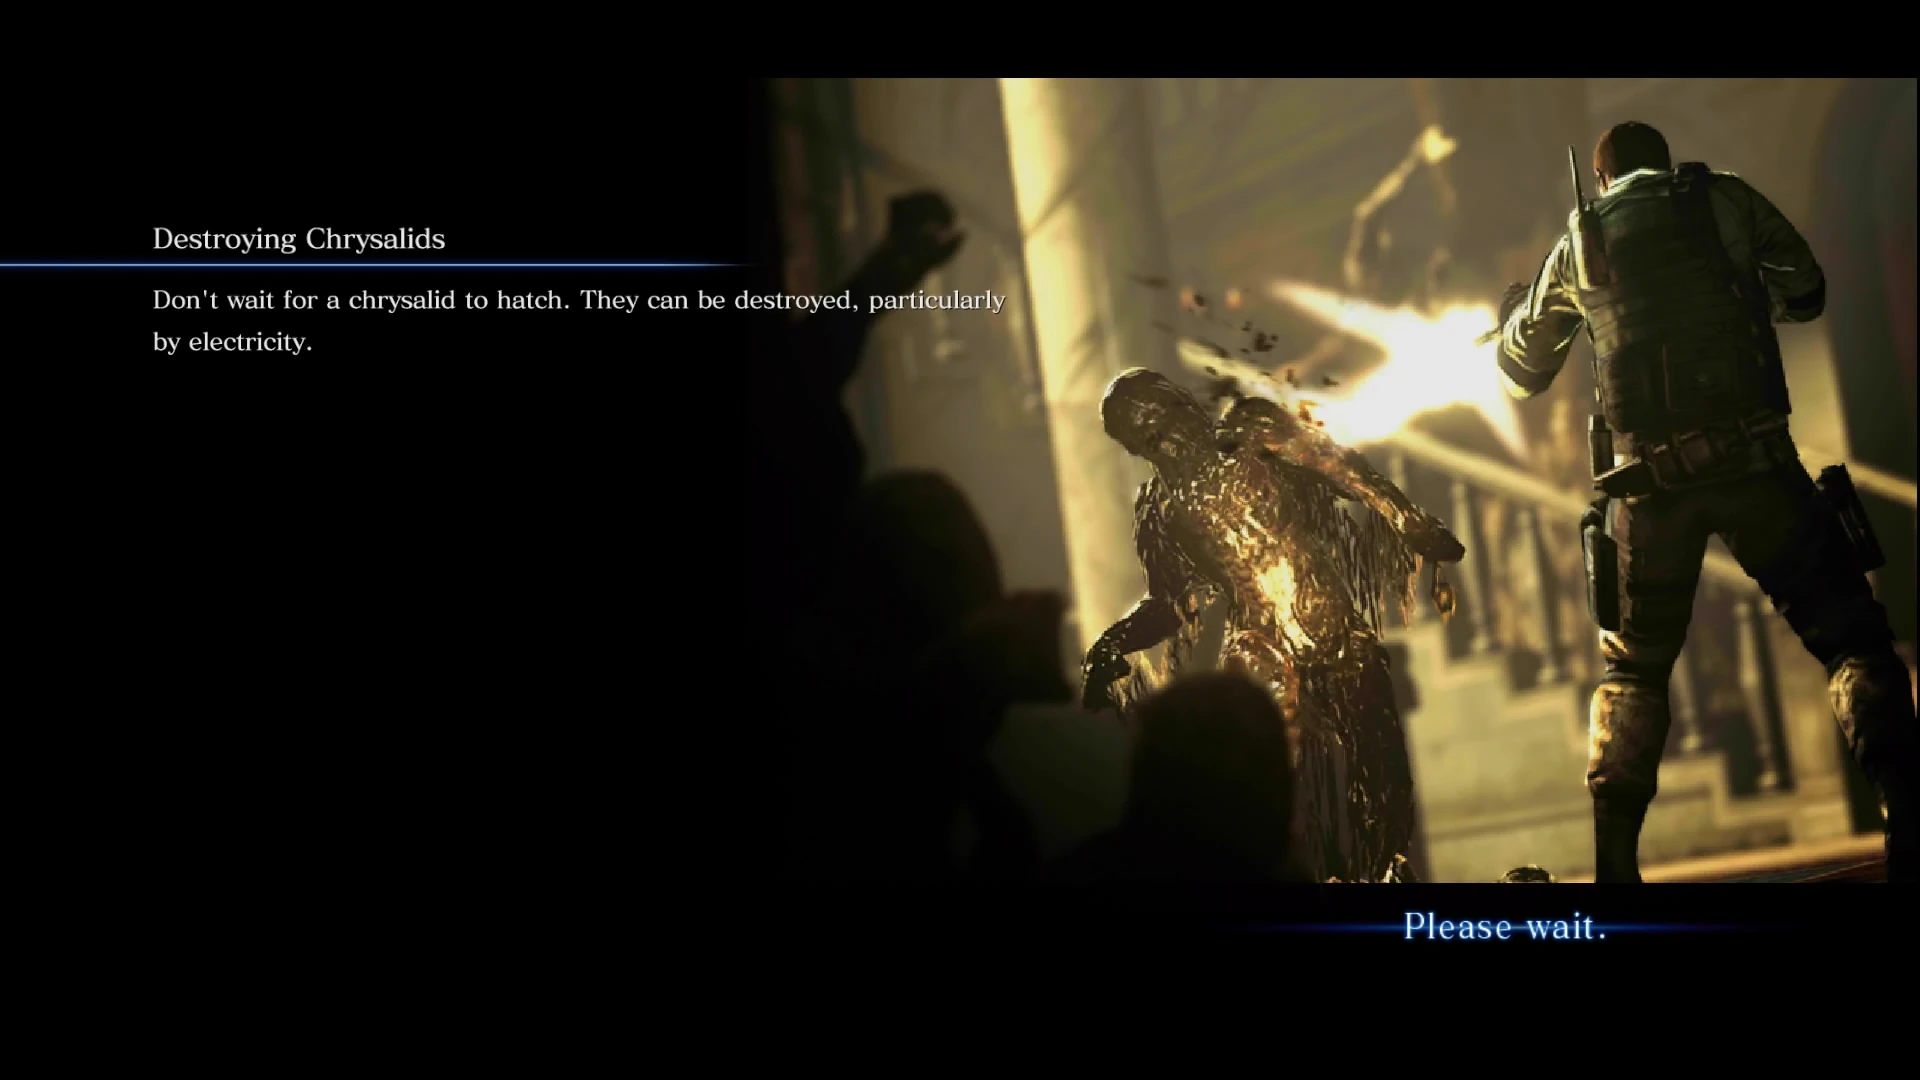
The Loading screens in Resident Evil 6 always feature one tip based on the current game mode being played.
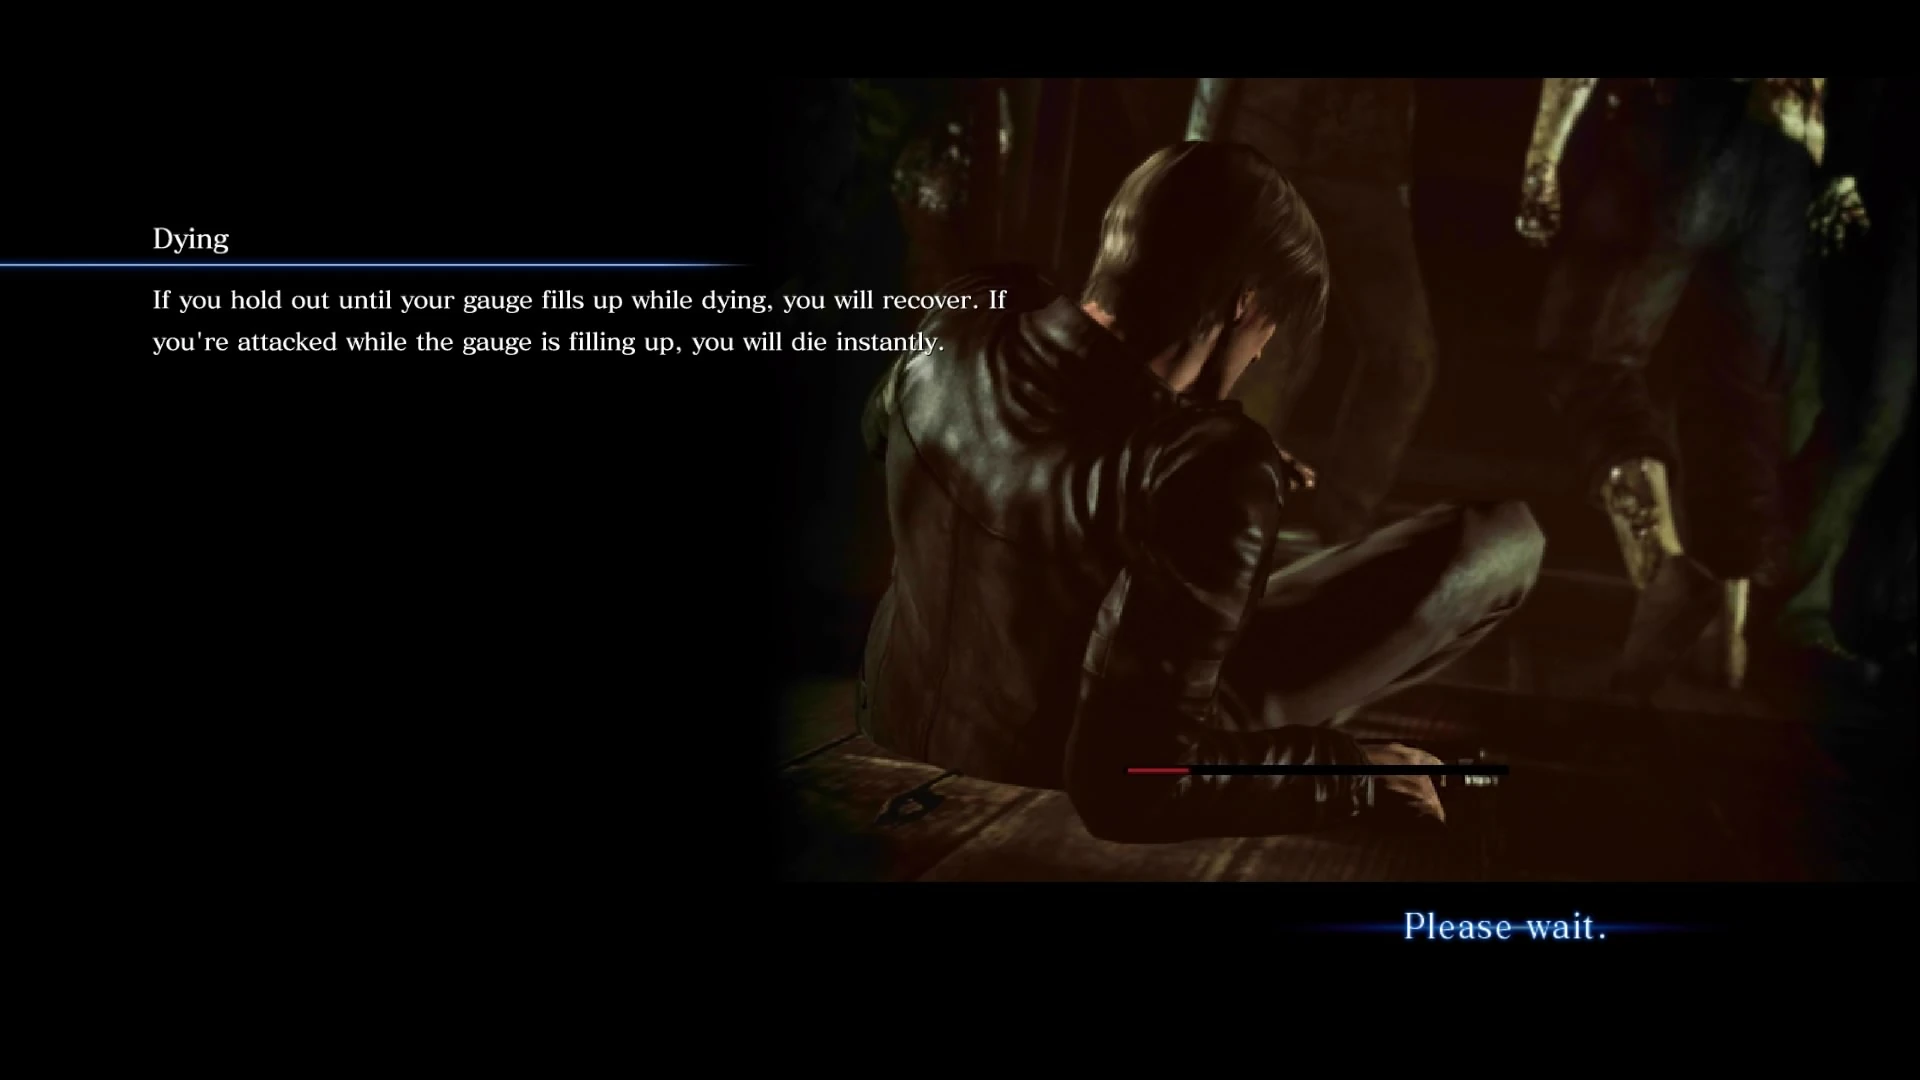
When playing the Campaign, most screens will have one gameplay image with a hidden "6" on it, these images are also usually related to the tip written on the screen. Every Extra Mode however has the screen completely black, with only the tip being displayed. It's also possible to skip to the next tip by pressing the sprint button.
All screenshots and descriptions are based on the PS4 version of the game.
Campaign
Chapter-specific
Some screens will only show up in specific chapters.
| Preview | Information | |
|
| |
|
| |
|
| |
|
| |
|
|
General
| Preview | Information | |
|
| |

|
| |
|
| |
|
| |

|
| |
|
| |
|
| |
|
| |
|
| |
|
| |
|
| |

|
| |
|
| |
|
| |
|
| |
|
| |
|
||
|
| |
|
| |
|
| |
|
| |

|
| |
|
| |
|
| |

|
| |
|
| |
|
| |
|
| |
|
||
|
| |
|
| |
|
||
|
| |
|
| |
|
| |
|
| |
|
| |
|
| |
|
||
|
||
|
|
Extra Content
Agent Hunt
| Preview | Information | |
|
| |
|
| |
|
| |
|
| |
|
| |
|
||
|
|
The Mercenaries & The Mercenaries No Mercy
| Preview | Information | |

|
| |

|
| |
|
| |

|
| |

|
| |

|
| |
|
| |

|
|
Survivors
| Information | |
| |
| |
| |
|
Onslaught
| Information | |
| |
| |
| |
| |
| |
|
Predator
| Information | |
| |
| |
| |
| |
| |
| |
|
Siege
| This section is empty. You can help out the Resident Evil Wiki by adding to it. (May 2019) |
Undefined
| Preview | Information | |
|
| |
|
| |
|
| |
|
|
| ||||||||
| |||||||||||||||||||||||||