| Preview
|
Information
|

|
" Flash Grenades are very versatile, they can even stop a bioweapon in its tracks." |
|
|
|
"Melee weapons have low durability, but they deal massive damage with each blow."
|
|
|
|
"When encountering armored zombies, try attacking exposed body parts."
|
|
|
|
"Bonus time is rewarded whenever mission objectives are completed and when areas are cleared."
|
|
|
|
"Security Guard Zombies appear in random locations every match."
|
|
|
|
|
| File:Project Resistance loading screen 26.jpg
|
"Different Puzzle Lock pieces go missing in Area 1 each match. They appear in random locations too."
|
|
|
|
"Infected: Survivor HP will be lowered periodically and will interrupt actions occasionally."
|
|
|
|
"If you have a Repair Kit in your inventory, damaged melee weapons will be automatically repaired."
|
|
|
|
"Avoiding unnecessary combat might sometimes be the key to victory."
|
|
|
|
"Can't find puzzle pieces? Try using Valerie's skill."
|
|
|
|
"Umbrella Credits can be used to buy weapons or supplies from the Armory."
|
|
| File:Project Resistance loading screen 38.jpg
|
"A white flash followed by blurred vision means the Mastermind just used the Blinding Flash special card."
|
|
|
|
"Use a Blue Herb or Infection Treatment Spray to remove your infection."
|
|
| File:Project Resistance loading screen 40.jpg
|
"Your Infection Rate will rapidly increase if you stay in infectious gas."
|
|
|
|
"Ivys are vulnerable to fire-based weapons."
|
|
|
|
"Lickers are vulnerable to acid-based weapons."
|
|
|
|
"Press L1 + R1 to use your Fever Skill."
|
|
| File:Project Resistance loading screen 44.jpg
|
"Defeated: Limited mobility, must be rescued by other Survivors."
|
|
|
|
"Melee weapons have low durability, but they deal massive damage with each blow."
|
|
|
|
"Ammo is shared across all firearms. The amount consumed per reloaded shot depends on the weapon."
|
|
|
|
"Destroy Bio Cores to unlock the Final Exit."
|
|
| File:Project Resistance loading screen 48.jpg
|
"Bonus time is rewarded whenever mission objectives are completed and when areas are cleared."
|
|
| File:Project Resistance loading screen 49.jpg
|
"There are unique devices in Area 3 of each map. Interacting with them will trigger different behaviors."
|
|
| File:Project Resistance loading screen 50.jpg
|
"Survivors continuously lose HP when Infected. Their actions may be interrupted by coughing."
|
|
| File:Project Resistance loading screen 51.jpg
|
"Melee weapons are your best choice for close range. They can destroy Bio Cores faster than firearms."
|
|
| File:Project Resistance loading screen 52.jpg
|
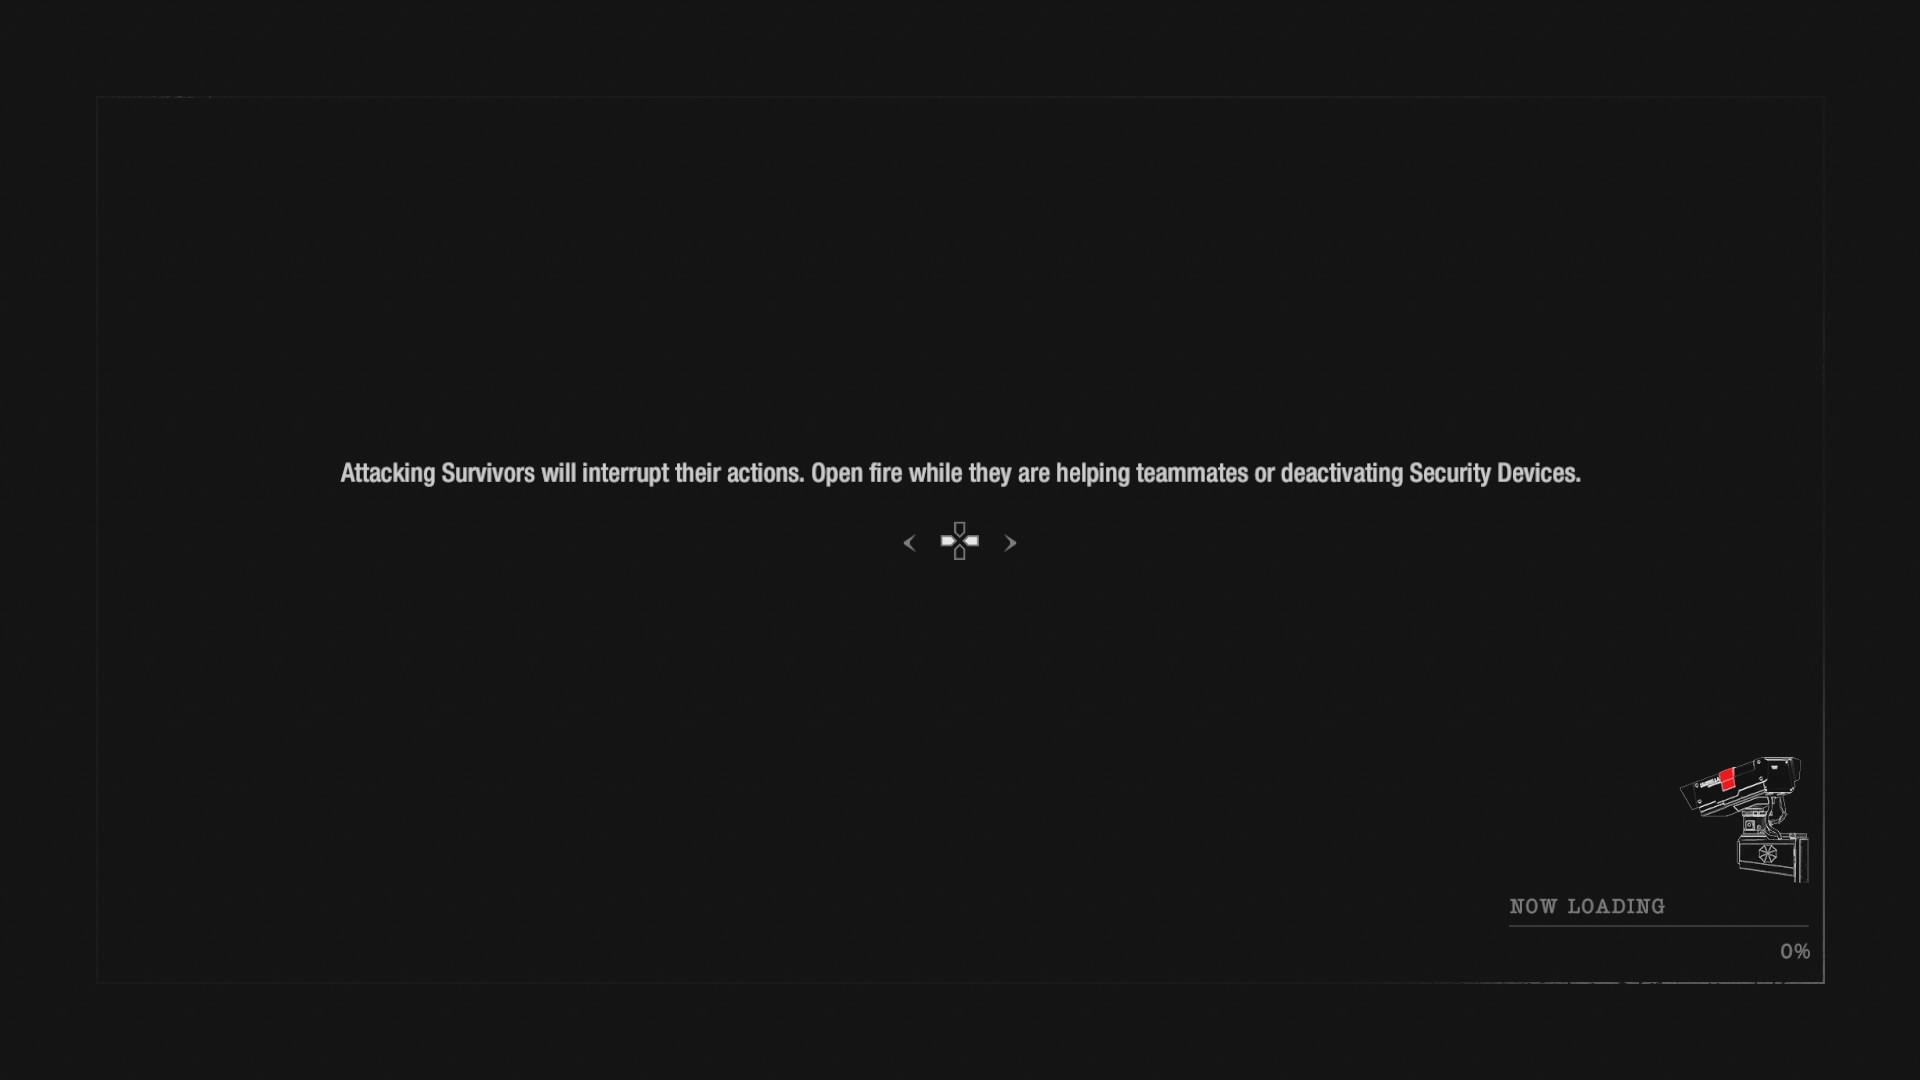
"Attack cameras to disable them and temporarily obstruct the Mastermind's actions."
|
|
| File:Project Resistance loading screen 53.jpg
|
"Infection: After Infection reaches critical levels, Survivors will begin to experience adverse effects."
|
|
| File:Project Resistance loading screen 66.jpg
|
"Area 1 objectives: Find the 3 missing puzzle pieces and place them back on the Puzzle Lock to open the exit that leads to the next Area."
|
|
| File:Project Resistance loading screen 67.jpg
|
"Area 2 objectives: The Security Guard Zombie holds the key card that unlocks all of the Security Devices. Unlock all 3 to open the exit that leads to the next Area."
|
|
| File:Project Resistance loading screen 68.jpg
|
"Area 3 objectives: Destroy the 3 active Bio Cores to unlock the Final Exit. Bio Cores activate one at a time and in random order."
|
|
|
|
"Only 1 Security Card is needed to unlock all the Security Devices. Protect the teammate holding the card to increase your chances of survival."
|
|
|
|
"Bio Cores glow bright red when active."
|
|
|
|
"Destroying an active Bio Core activates the next one."
|
|
|
|
"Inactive Bio Cores are gray and cannot be damaged."
|
|
| File:Project Resistance loading screen 75.jpg
|
"Umbrella Credits can be used to buy weapons or supplies from the Armory."
|
|
| File:Project Resistance loading screen 75.jpg
|
"Umbrella Credits can be used to buy weapons or supplies from the Armory."
|
|
| File:Project Resistance loading screen 76.jpg
|
"Use firearms to destroy traps from a safe distance."
|
|
|
|
"Tap X repeatedly to break open locked doors."
|
|
| File:Project Resistance loading screen 78.jpg
|
"Press ? to use your Personal Skill."
|
|
|
|
"Use the shortcuts [d-pad] to swap weapons quickly."
|
|
|
|
"Grenades are your best friend when outnumbered."
|
|
| File:Project Resistance loading screen 81.jpg
|
"You can help teammates escape when they are caught in Leghold Traps."
|
|
| File:Project Resistance loading screen 82.jpg
|
"The Armory will sell increasingly powerful weapons after each Area."
|
|
| File:Project Resistance loading screen 83.jpg
|
"Bioweapons can be incapacitated after taking a certain amount of damage."
|
|
| File:Project Resistance loading screen 84.jpg
|
"A red light indicates that the Mastermind is currently using the security camera."
|
|
| File:Project Resistance loading screen 85.jpg
|
"Different firearms cost varying amounts of Ammo per shot when reloading."
|
|
| File:Project Resistance loading screen 86.jpg
|
"Defeated survivors can be quickly healed with First Aid Sprays."
|
|
| File:Project Resistance loading screen 87.jpg
|
"Supply Zombies will drop powerful weapons and items when defeated."
|
|
| File:Project Resistance loading screen 88.jpg
|
"Traps can also injure nearby creatures."
|
|
| File:Project Resistance loading screen 89.jpg
|
"Ivy's attacks are one-hit-kills. Kill it with fire before it gets a chance to strike."
|
|
| File:Project Resistance loading screen 90.jpg
|
"Creatures controlled by the Mastermind move differently and also have glowing red eyes."
|
|
| File:Project Resistance loading screen 91.jpg
|
"When encountering armored zombies, try attacking exposed body parts."
|
|
| File:Project Resistance loading screen 92.jpg
|
"Have trouble dealing with the Mastermind? Try attacking nearby security cameras to obstruct their actions."
|
|
| File:Project Resistance loading screen 93.jpg
|
"Security Guard Zombies appear in different locations every match."
|
|
| File:Project Resistance loading screen 94.jpg
|
"Different Puzzle Lock pieces go missing in Area 1 each match. They appear in different locations too."
|
|
| File:Project Resistance loading screen 95.jpg
|
"Bonus time is rewarded whenever mission objectives are completed and when areas are cleared."
|
|
| File:Project Resistance loading screen 96.jpg
|
"There are unique devices in Area 3 of each map. Interacting with them will trigger different behaviors."
|
|
| File:Project Resistance loading screen 99.jpg
|
"To unlock Security Devices, kill the Security Guard Zombie securely holding the Security Card."
|
|
| File:Project Resistance loading screen 100.jpg
|
"RP can be used to purchase Equipment Chests or Cosmetic Chests from the Shop to enhance or personalize your character."
|
|
| File:Project Resistance loading screen 101.jpg
|
"Access the Shop from the Main Menu to purchase items using RP."
|
|
| File:Project Resistance loading screen 102.jpg
|
"Attack creatures and cameras to gain more time and reduce Fever Skill cooldown."
|
|
| File:Project Resistance loading screen 103.jpg
|
"Attacking creatures low on health with melee weapons will trigger your finisher, killing them with one blow."
|
|
| File:Project Resistance loading screen 104.jpg
|
"Melee weapons are your best choice for close range combat. They can even destroy Bio Cores faster than firearms."
|
|
| File:Project Resistance loading screen 105.jpg
|
"Attack cameras to disable them and temporarily obstruct the Mastermind's actions."
|
|
| File:Project Resistance loading screen 110.jpg
|
"Mastermind-controlled zombies take significantly less damage. Focus fire with teammates to take them down faster!"
|
|
| File:Project Resistance loading screen 111.jpg
|
"The Mastermind's Bio Energy recharge rate is drastically increased once Survivors activate the Final Exit. Stick together and don't get overwhelmed!"
|
|
| File:Project Resistance loading screen 112.jpg
|
"Angle your camera downwards before using melee weapons on enemies below you."
|
|
| File:Project Resistance loading screen 112.jpg
|
"Umbrella Credits are found all over the map. Once picked up, all teammates will receive the same amount of credits. Sharing is caring!"
|
|
| File:Project Resistance loading screen 113.jpg
|
"Teammates taking their sweet time when the Exit's open? It's okay, you'll reach the next Area as long as there is at least one Survivor standing in front of the Exit when time runs out."
|
|
| File:Project Resistance loading screen 114.jpg
|
"After using Sam's Personal Skill, Dash Punch, you can tap R2 repeatedly to follow up with a flurry of punches."
|
|


