(I Saw This Comment With The Load-Outs. I Edited This Page And Reminded Him I Was. Loadouts Are Added to this page.) Tags: Visual edit apiedit |
No edit summary |
||
| (2 intermediate revisions by 2 users not shown) | |||
| Line 13: | Line 13: | ||
'''Onslaught''' is a multiplayer DLC for Resident Evil 6 that was released alongside [[Survivors (RE6 Multiplayer)|Survivors]] and [[Predator (RE6 Multiplayer)|Predator]]. |
'''Onslaught''' is a multiplayer DLC for Resident Evil 6 that was released alongside [[Survivors (RE6 Multiplayer)|Survivors]] and [[Predator (RE6 Multiplayer)|Predator]]. |
||
| − | In Onslaught, |
+ | In Onslaught, two players try to survive waves of enemies sent by each other. Though in the same stage, the players are isolated from each other. The player can stack up the combo up to 30 and if done successfully, this will send all 30 the enemies that have been killed to the opponent. |
| + | |||
| + | An "Offense" mechanic which is unique to this mode can be used to power up the character, killing enemies with a melee attack and sending enemies to the opponent early via the use of a taunt will increase this Offense number, which stacks to up to 300%. Taking damage will decrease the Offense, and completing a full 30 combo will reset it completely. At 300%, players will be able to kill enemies, including bosses, very quickly with any weapon type. |
||
Enemies in Onslaught by default are aggressive and spawn in great numbers. Mutated enemies such as the Glava-Begunats tend to spawn quickly. Sub-bosses such as the Ubistvo can be sent to your opponent to further worsen their situation and also decrease their chances of survival. |
Enemies in Onslaught by default are aggressive and spawn in great numbers. Mutated enemies such as the Glava-Begunats tend to spawn quickly. Sub-bosses such as the Ubistvo can be sent to your opponent to further worsen their situation and also decrease their chances of survival. |
||
| − | Enemies that are sent to you are noticed by their grosteque slime covering them. In addition to pressurize the player, J' |
+ | Enemies that are sent to you are noticed by their grosteque slime covering them. In addition to pressurize the player, J'avo that have been killed in a mutated state will stay that way when sent by the opponent. The match ends when one of the players has been overwhelmed with the last man standing being the victor. If both of the player survived, the person with the highest score wins the match. |
| − | == |
+ | ==Characters== |
| + | ===Leon S. Kennedy=== |
||
| ⚫ | |||
| − | {| class="article-table" |
+ | {| class="article-table" border="0" cellpadding="1" cellspacing="1" style="width: 650px;" |
| ⚫ | |||
| − | |Wing Shooter x18 |
||
| + | ! scope="col" |Costume |
||
| − | |Shotgun x8 |
||
| + | ! scope="col" |Load-out |
||
| − | |Survival Knife |
||
| ⚫ | |||
| − | |Hand Grenade x2 |
||
| + | |'''Default''' (Lanshiang/Tall Oaks outfit depending on the stage.) |
||
| − | |9mm Ammo x50 |
||
| + | [[File:RE6 Mercs Image Leon.png|200px]] |
||
| − | |12-gauge Shells x20 |
||
| + | |[[File:Leon Loadout Onslaught.png|250px]] |
||
| ⚫ | |||
| ⚫ | |||
| + | [[File:RE6 Mercs Image Leon EX1.png|200px]] |
||
| + | |[[File:Leon Loadout Alternate Onslaught.png|250px]] |
||
|} |
|} |
||
| + | ===Helena Harper=== |
||
| − | |||
| + | {| class="article-table" border="0" cellpadding="1" cellspacing="1" style="width: 650px;" |
||
| − | Costume Leon: |
||
| ⚫ | |||
| − | {| class="article-table" |
||
| + | ! scope="col" |Costume |
||
| − | |Assault Rifle RN x30 |
||
| + | ! scope="col" |Load-out |
||
| − | |Sniper Rifle x6 |
||
| ⚫ | |||
| − | |Flash Grenade x2 |
||
| + | |'''Default''' (Lanshiang/Tall Oak outfit depending on the stage.) |
||
| − | |5.56mm Ammo x60 |
||
| + | [[File:RE6 Mercs Image Helena.png|200px]] |
||
| − | |7.62mm Ammo x30 |
||
| + | |[[File:Helena Loadout Onslaught.png|250px]] |
||
| ⚫ | |||
| ⚫ | |||
| + | [[File:RE6 Mercs Image Helena EX1.png|200px]] |
||
| + | |[[File:Helena Loadout Alternate Onslaught.png|250px]] |
||
|} |
|} |
||
| + | ===Chris Redfield=== |
||
| − | |||
| + | {| class="article-table" border="0" cellpadding="1" cellspacing="1" style="width: 650px;" |
||
| − | Default Helena: |
||
| + | |- |
||
| − | {| class="article-table" |
||
| + | ! scope="col" |Costume |
||
| − | |Picador x16 |
||
| + | ! scope="col" |Load-out |
||
| − | |Hydra x3 |
||
| + | |- |
||
| − | |Hand Grenade x2 |
||
| + | |'''Default''' (Lanshiang/Edonia outfit depending on the stage.) |
||
| − | |9mm Ammo x50 |
||
| + | [[File:RE6 Mercs Image Chris.png|200px]] |
||
| − | |10-Gauge Shells x20 |
||
| + | |[[File:Chris Loadout Onslaught.png|250px]] |
||
| + | |- |
||
| ⚫ | |||
| + | [[File:RE6 Mercs Image Chris EX1.png|200px]] |
||
| + | |[[File:Chris Loadout Alternate Onslaught.png|250px]] |
||
|} |
|} |
||
| + | ===Piers Nivans=== |
||
| − | |||
| + | {| class="article-table" border="0" cellpadding="1" cellspacing="1" style="width: 650px;" |
||
| − | Costume Helena: |
||
| + | |- |
||
| − | {| class="article-table" |
||
| + | ! scope="col" |Costume |
||
| − | |Ammo Box x50 |
||
| + | ! scope="col" |Load-out |
||
| − | |Sniper Rifle x6 |
||
| + | |- |
||
| − | |Stun Rod |
||
| + | |'''Default''' (Lanshiang/Edonia outfit depending on the stage.) |
||
| − | |Fire Grenade x3 |
||
| + | [[File:RE6 Mercs Image Piers.png|200px]] |
||
| − | |9mm Ammo x50 |
||
| + | |[[File:Piers Loadout Onslaught.png|250px]] |
||
| − | |7.62mm Ammo x20 |
||
| + | |- |
||
| ⚫ | |||
| + | [[File:RE6 Mercs Image Piers EX1.png|200px]] |
||
| + | |[[File:Piers Loadout Alternate Onslaught.png|250px]] |
||
|} |
|} |
||
| + | ===Jake Muller=== |
||
| − | |||
| + | {| class="article-table" border="0" cellpadding="1" cellspacing="1" style="width: 650px;" |
||
| − | Default Chris: |
||
| + | |- |
||
| − | {| class="article-table" |
||
| + | ! scope="col" |Costume |
||
| − | |Assault Rifle For Special Tactics x30 |
||
| + | ! scope="col" |Load-out |
||
| − | |Combat Knife |
||
| + | |- |
||
| − | |Flash Grenade x2 |
||
| + | |'''Default''' (Lanshiang/Edonia outfit depending on the stage.) |
||
| − | |5.56mm Ammo x60 |
||
| + | [[File:RE6 Mercs Image Jake.png|200px]] |
||
| + | |[[File:Jake Loadout Onslaught.png|250px]] |
||
| + | |- |
||
| ⚫ | |||
| + | [[File:RE6 Mercs Image Jake EX1.png|200px]] |
||
| + | |[[File:Jake Loadout Alternate Onslaught.png|250px]] |
||
|} |
|} |
||
| + | ===Sherry Birkin=== |
||
| − | |||
| + | {| class="article-table" border="0" cellpadding="1" cellspacing="1" style="width: 650px;" |
||
| ⚫ | |||
| + | |- |
||
| − | {| class="article-table" |
||
| + | ! scope="col" |Costume |
||
| − | |Shotgun x8 |
||
| + | ! scope="col" |Load-out |
||
| − | |Combat Knife |
||
| + | |- |
||
| − | |Hand Grenade x2 |
||
| + | |'''Default''' (Lanshiang/Edonia outfit depending on the stage.) |
||
| − | |12-Gauge Shells x20 |
||
| + | [[File:RE6 Mercs Image Sherry.png|200px]] |
||
| + | |[[File:Sherry Loadout Onslaught.png|250px]] |
||
| + | |- |
||
| ⚫ | |||
| + | [[File:RE6 Mercs Image Sherry EX1.png|200px]] |
||
| + | |[[File:Sherry Loadout Onslaught Alternate.png|250px]] |
||
|} |
|} |
||
| + | ===Ada Wong=== |
||
| − | |||
| + | {| class="article-table" border="0" cellpadding="1" cellspacing="1" style="width: 650px;" |
||
| − | Default Piers: |
||
| + | |- |
||
| − | {| class="article-table" |
||
| + | ! scope="col" |Costume |
||
| − | |Nine-Oh-Nine (909) x15 |
||
| + | ! scope="col" |Load-out |
||
| − | |A.M Rifle x10 |
||
| + | |- |
||
| − | |Hand Grenade x1 |
||
| ⚫ | |||
| − | |9mm Ammo x50 |
||
| + | [[File:RE6 Mercs Image Ada.png|200px]] |
||
| − | |12.7mm Ammo x30 |
||
| + | |[[File:Ada Loadout Onslaught.png|250px]] |
||
| + | |- |
||
| ⚫ | |||
| + | [[File:RE6 Mercs Image Ada EX1.png|200px]] |
||
| + | |[[File:Ada Loadout Alternate Onslaught.png|250px]] |
||
|} |
|} |
||
| + | ===Carla Radames=== |
||
| − | |||
| + | {| class="article-table" border="0" cellpadding="1" cellspacing="1" style="width: 650px;" |
||
| ⚫ | |||
| + | |- |
||
| − | {| class="article-table" |
||
| + | ! scope="col" |Costume |
||
| − | |Ammo Box 50 (x50) |
||
| + | ! scope="col" |Load-out |
||
| − | |Semi-Auto Sniper Rifle (x5) |
||
| + | |- |
||
| − | |Assault Shotgun (x7) |
||
| ⚫ | |||
| − | |Fire Grenade x1 |
||
| + | [[File:RE6_Mercs_Image_Carla.png|200px]] |
||
| − | |9mm Ammo x30 |
||
| + | |[[File:Carla Loadout Onslaught.png|250px]] |
||
| − | |7.62mm Ammo x15 |
||
| − | |12-Gauge Shells x10 |
||
|} |
|} |
||
| ⚫ | |||
| − | |||
| + | {| class="article-table" border="0" cellpadding="1" cellspacing="1" style="width: 650px;" |
||
| − | Default Jake |
||
| + | |- |
||
| − | {| class="article-table" |
||
| + | ! scope="col" |Costume |
||
| − | |Nine-Oh-Nine (909) x15 |
||
| + | ! scope="col" |Load-out |
||
| − | |Lightning Hawk x7 |
||
| + | |- |
||
| − | |Hand-To-Hand |
||
| ⚫ | |||
| − | |9mm Ammo x50 |
||
| + | [[File:AgentHelper.png|200px]] |
||
| + | |[[File:Agent Loadout Onslaught.png|250px]] |
||
|} |
|} |
||
| ⚫ | |||
| − | |||
| ⚫ | |||
| − | {| class="article-table" |
||
| − | |Semi-Auto Sniper Rifle x5 |
||
| − | |Grenade Launcher x6 (Explosive) |
||
| − | |Combat Knife |
||
| − | |Flash Grenade x1 |
||
| − | |7.62mm Ammo x20 |
||
| − | |40mm Explosive Rounds x3 |
||
| ⚫ | |||
| − | |||
| − | Default Sherry |
||
| − | {| class="article-table" |
||
| − | |Triple Shot x20 |
||
| − | |Lightning Hawk x7 |
||
| − | |Stun Rod |
||
| − | |Flash Grenade |
||
| − | |9mm Ammo x30 |
||
| ⚫ | |||
| − | |||
| ⚫ | |||
| − | {| class="article-table" |
||
| − | |Bear Commander x30 (Normal) x1 (Explosive) |
||
| − | |Assault Shotgun x7 |
||
| − | |5.56mm Ammo x60 |
||
| − | |12-Gauge Shells x20 |
||
| − | |40mm Explosive Rounds x2 |
||
| ⚫ | |||
| − | |||
| ⚫ | |||
| − | {| class="article-table" |
||
| − | |Ammo Box x50 |
||
| − | |Crossbow x1 (Normal) x0 (Bomb) |
||
| − | |Fire Grenade x3 |
||
| − | |9mm Ammo x30 |
||
| − | |Arrow (Normal) x50 |
||
| − | |Arrow (Pipe Bomb) x10 |
||
| ⚫ | |||
| ⚫ | |||
| − | {| class="article-table" |
||
| − | |MP-AF x30 |
||
| − | |Sniper Rifle x6 |
||
| − | |Stun Rod |
||
| − | |Hand Grenade x3 |
||
| − | |9mm Ammo x30 |
||
| − | |7.62mm Ammo x6 |
||
| ⚫ | |||
| − | |||
| − | Carla |
||
| − | {| class="article-table" |
||
| − | |Picador x16 |
||
| − | |Grenade Launcher x6 (Acid) |
||
| − | |Flash Grenade x1 |
||
| − | |9mm Ammo x50 |
||
| − | |40mm Acid Rounds x6 |
||
| ⚫ | |||
| − | |||
| ⚫ | |||
| − | {| class="article-table" |
||
| − | |Nine-Oh-Nine (909) x15 |
||
| − | |Semi-Auto Sniper Rifle x5 |
||
| − | |Survival Knife |
||
| − | |Hand Grenade x3 |
||
| − | |9mm Ammo x50 |
||
| − | |7.62mm Ammo x20 |
||
| ⚫ | |||
[[Category:Minigames]] |
[[Category:Minigames]] |
||
[[Category:Downloadable content]] |
[[Category:Downloadable content]] |
||
Revision as of 02:24, 5 September 2019
Onslaught is a multiplayer DLC for Resident Evil 6 that was released alongside Survivors and Predator.
In Onslaught, two players try to survive waves of enemies sent by each other. Though in the same stage, the players are isolated from each other. The player can stack up the combo up to 30 and if done successfully, this will send all 30 the enemies that have been killed to the opponent.
An "Offense" mechanic which is unique to this mode can be used to power up the character, killing enemies with a melee attack and sending enemies to the opponent early via the use of a taunt will increase this Offense number, which stacks to up to 300%. Taking damage will decrease the Offense, and completing a full 30 combo will reset it completely. At 300%, players will be able to kill enemies, including bosses, very quickly with any weapon type.
Enemies in Onslaught by default are aggressive and spawn in great numbers. Mutated enemies such as the Glava-Begunats tend to spawn quickly. Sub-bosses such as the Ubistvo can be sent to your opponent to further worsen their situation and also decrease their chances of survival.
Enemies that are sent to you are noticed by their grosteque slime covering them. In addition to pressurize the player, J'avo that have been killed in a mutated state will stay that way when sent by the opponent. The match ends when one of the players has been overwhelmed with the last man standing being the victor. If both of the player survived, the person with the highest score wins the match.
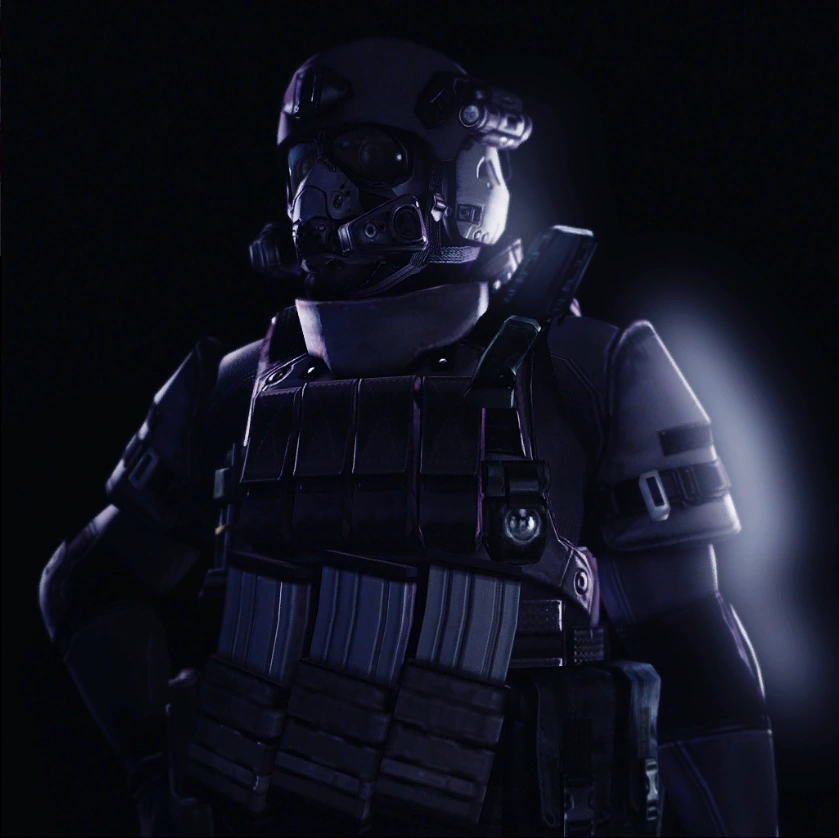
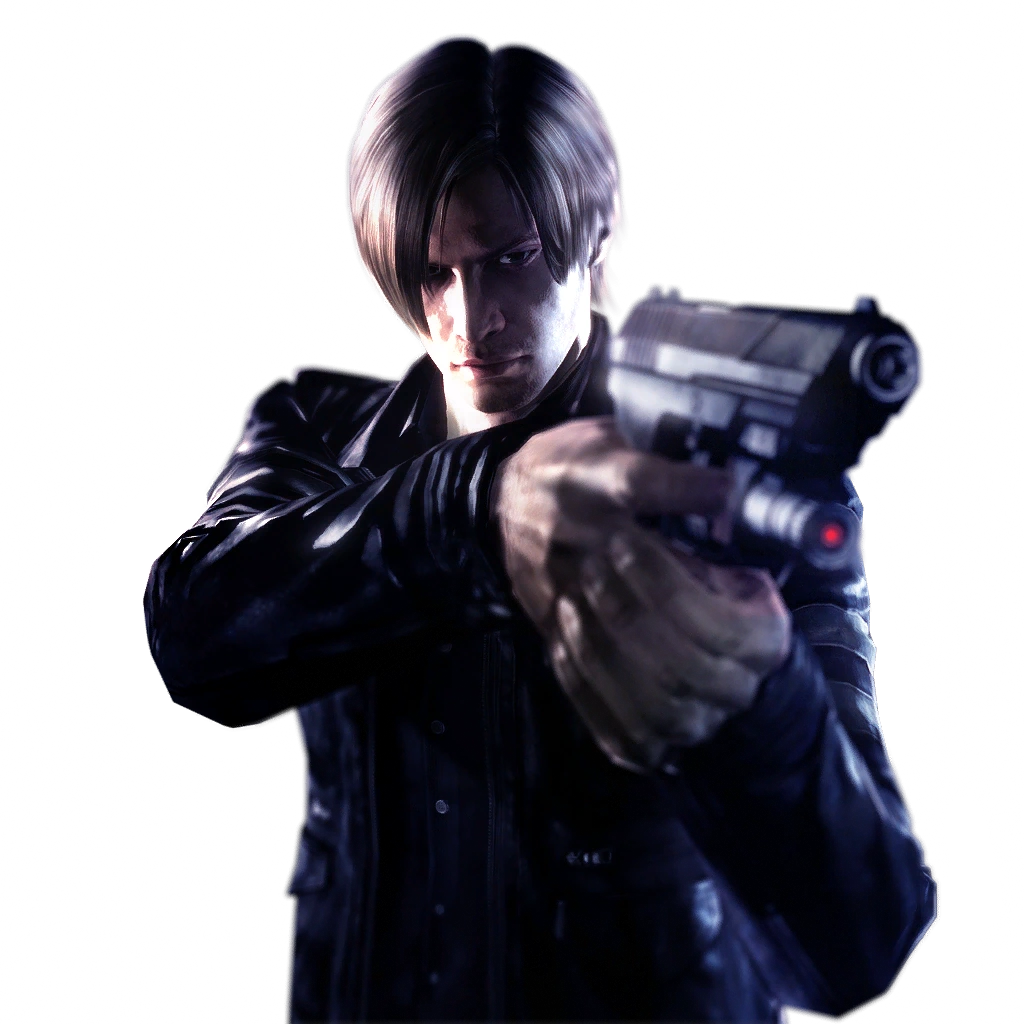
Characters
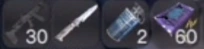
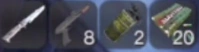
Leon S. Kennedy
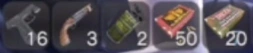
| Costume | Load-out |
|---|---|
| Default (Lanshiang/Tall Oaks outfit depending on the stage.)
|
|
| Costume 1
|
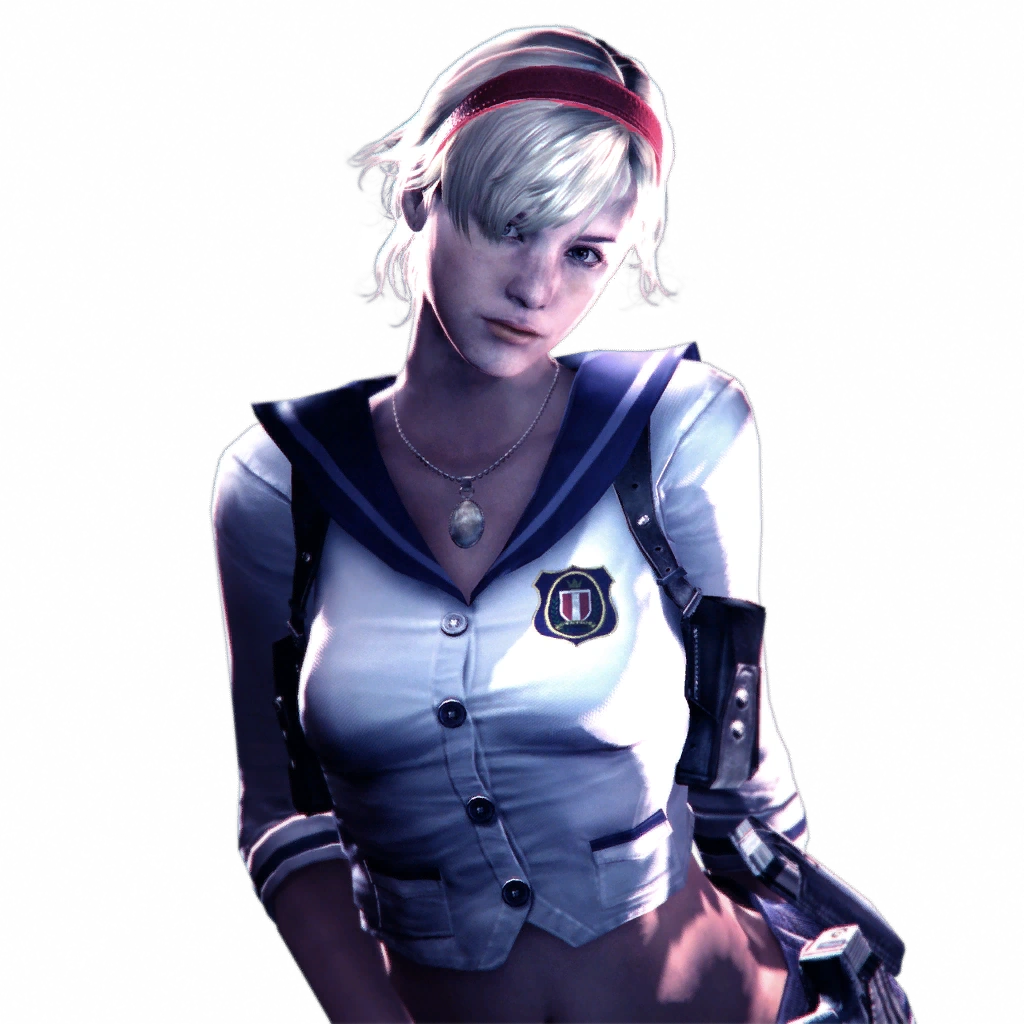
Helena Harper
| Costume | Load-out |
|---|---|
| Default (Lanshiang/Tall Oak outfit depending on the stage.)
|
|
| Costume 1
|

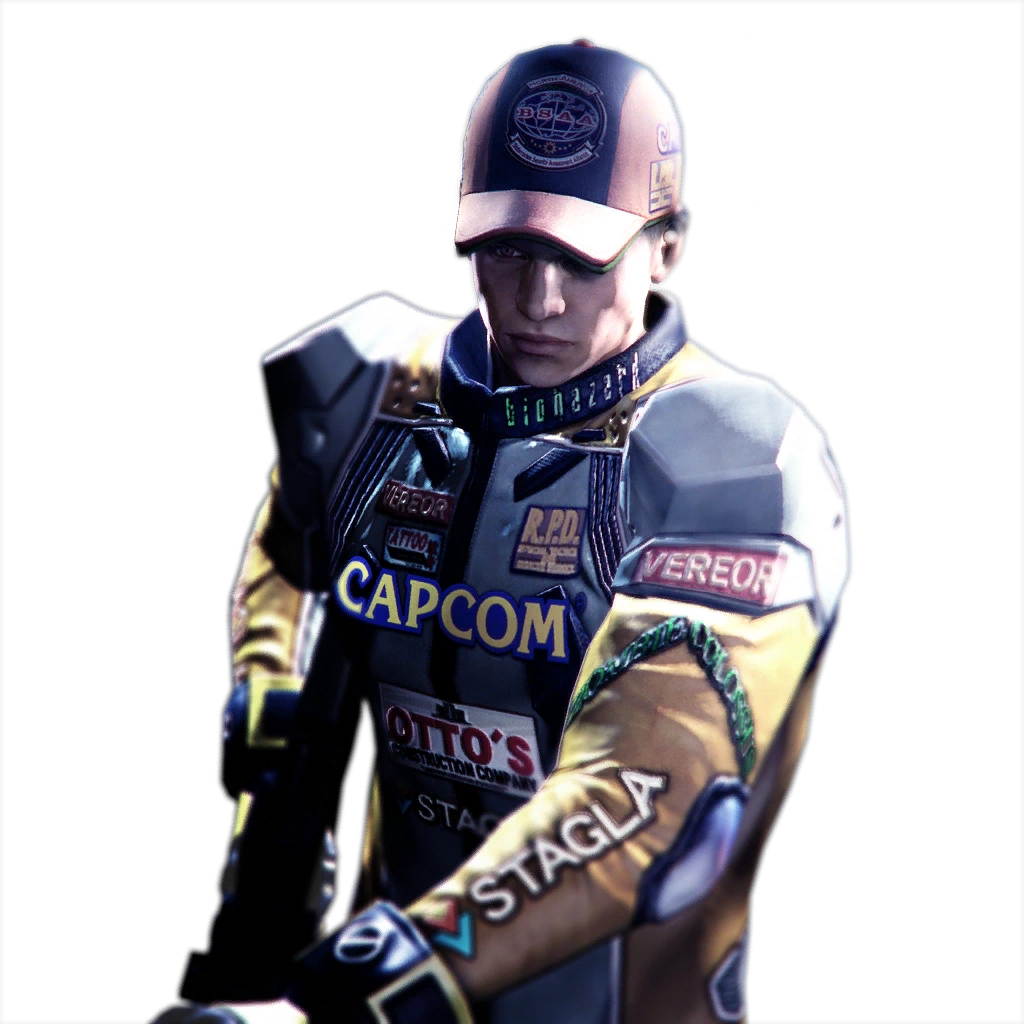
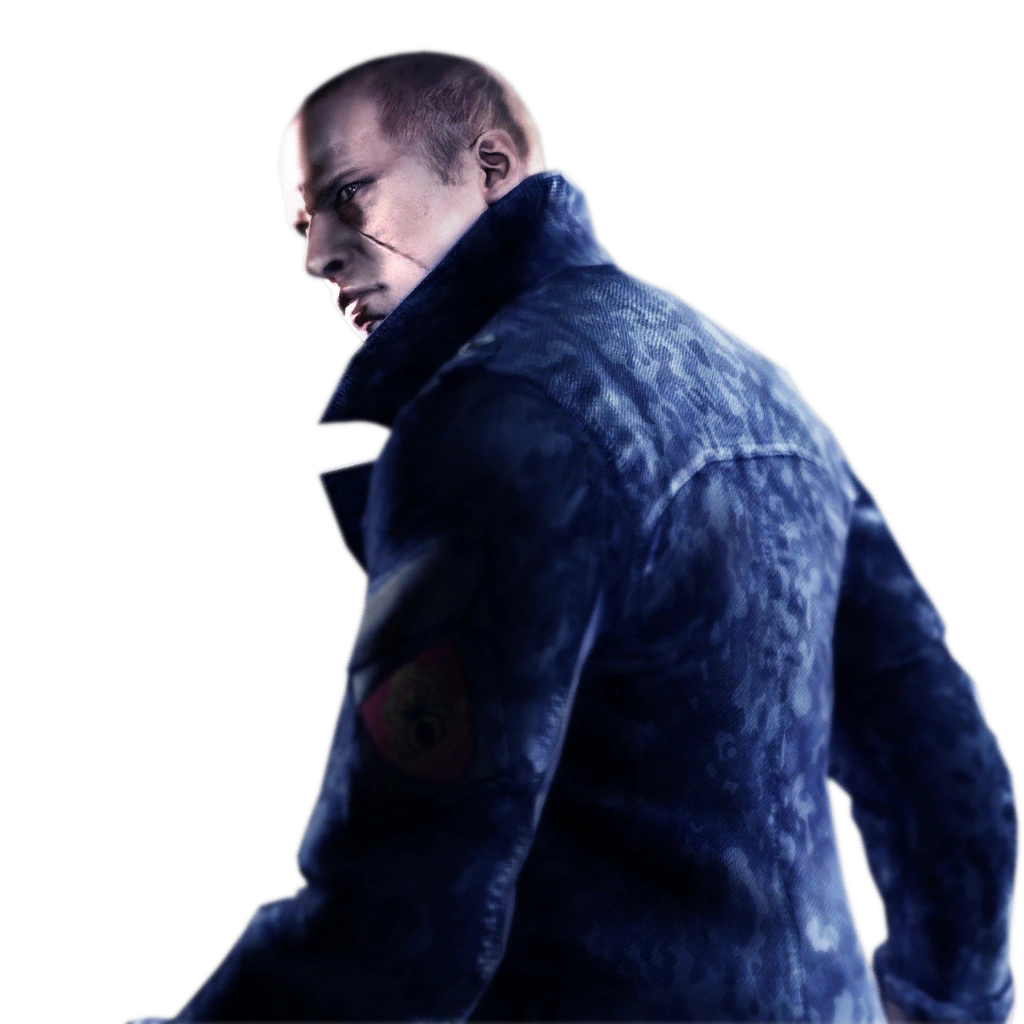
Chris Redfield
| Costume | Load-out |
|---|---|
| Default (Lanshiang/Edonia outfit depending on the stage.)
|
|
| Costume 1
|
|


Piers Nivans
| Costume | Load-out |
|---|---|
| Default (Lanshiang/Edonia outfit depending on the stage.)
|

|
| Costume 1
|

Jake Muller
| Costume | Load-out |
|---|---|
| Default (Lanshiang/Edonia outfit depending on the stage.)
|

|
| Costume 1
|
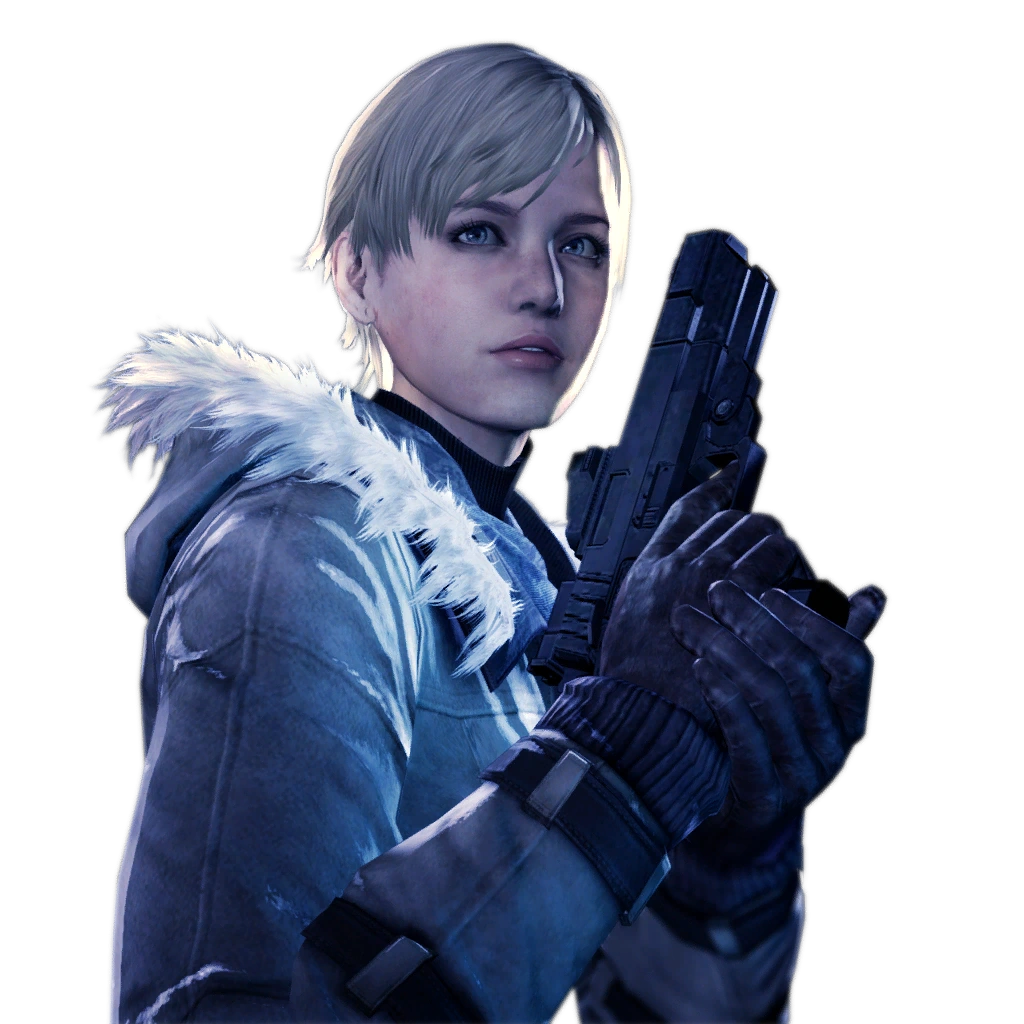
Sherry Birkin
| Costume | Load-out |
|---|---|
| Default (Lanshiang/Edonia outfit depending on the stage.)
|
|
| Costume 1
|
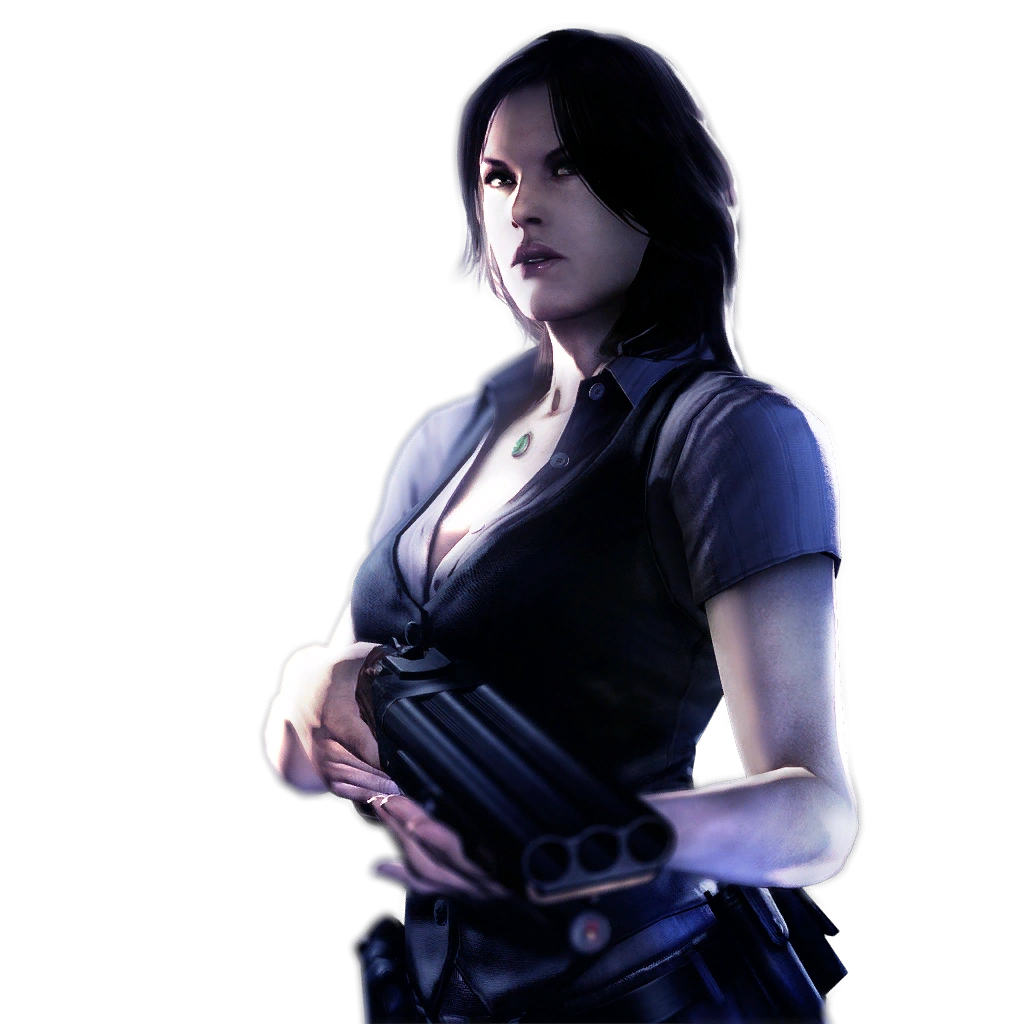
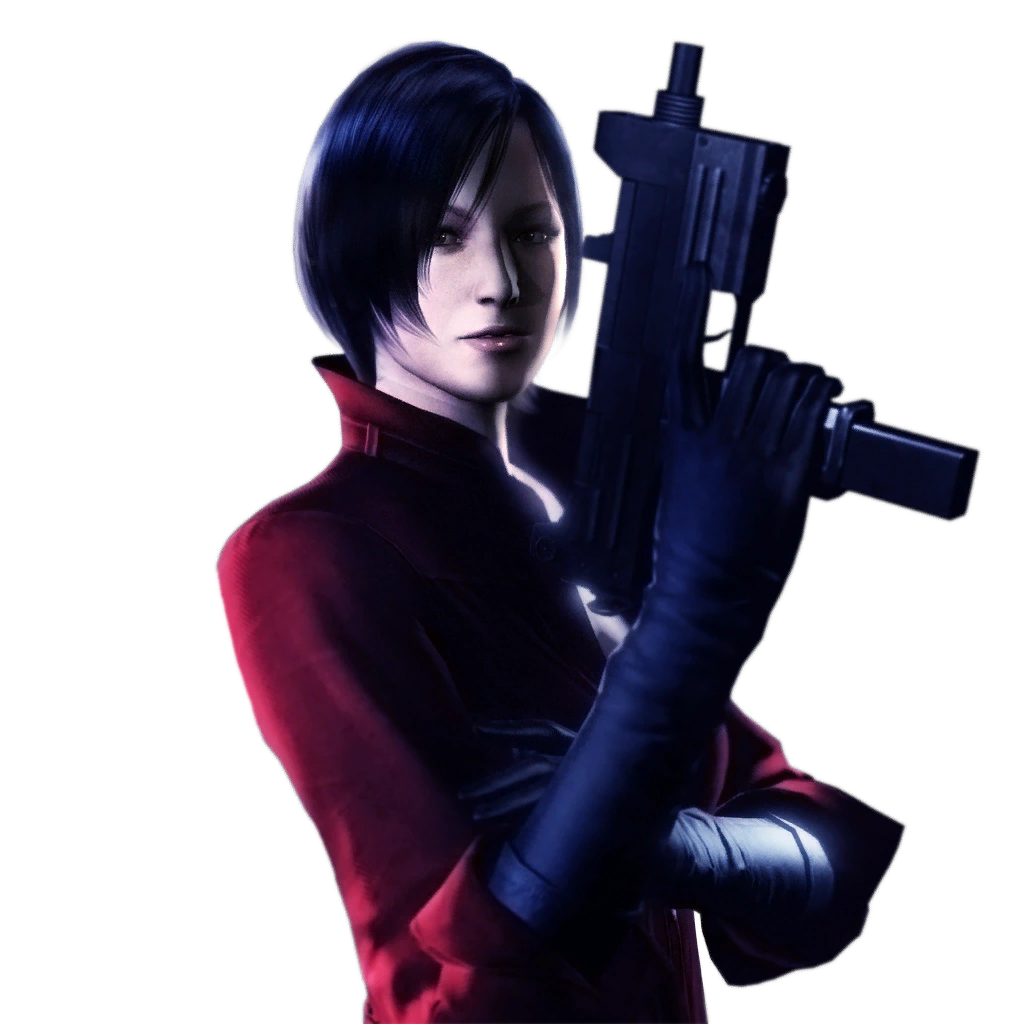
Ada Wong
| Costume | Load-out |
|---|---|
| Default
|
|
| Costume 1
|

Carla Radames
| Costume | Load-out |
|---|---|
| Default
|

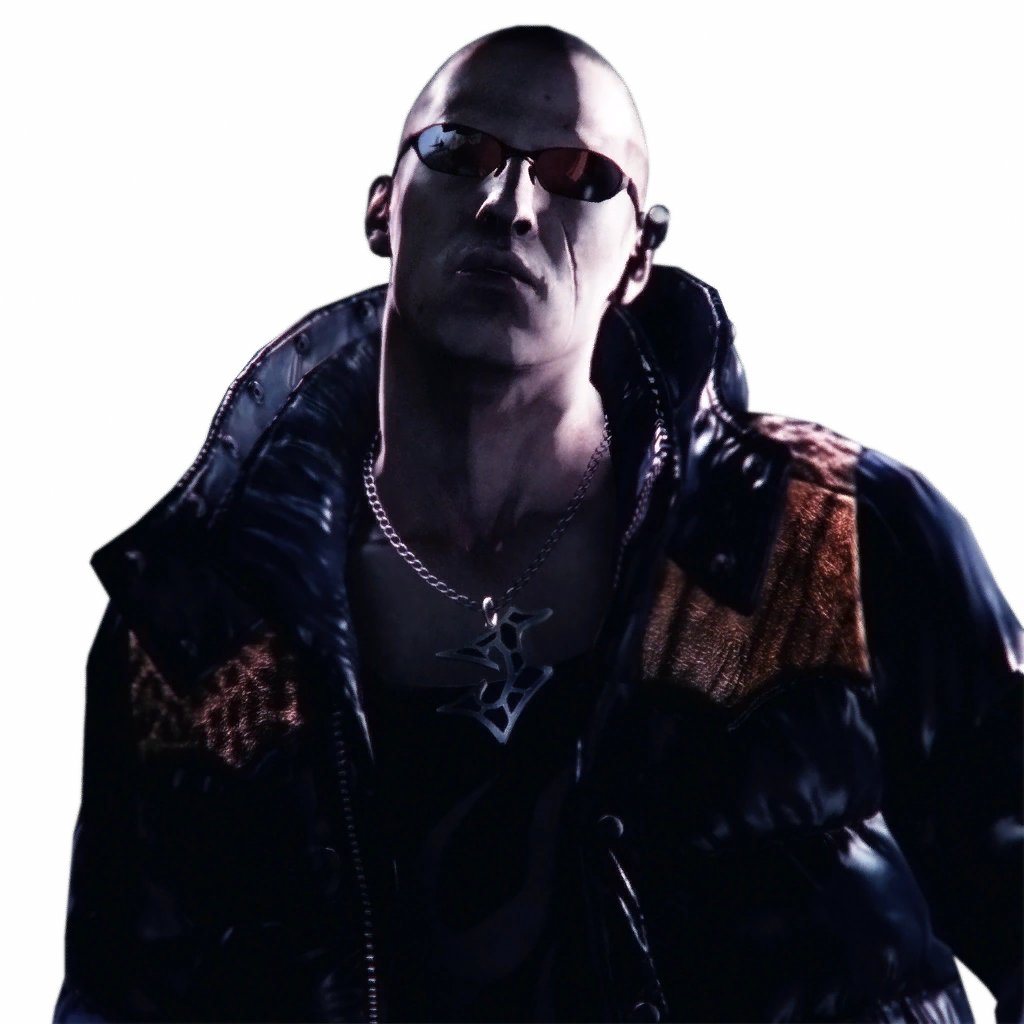
Agent
| Costume | Load-out |
|---|---|
| Default
|