No edit summary |
Tag: Visual edit |
||
| (34 intermediate revisions by 16 users not shown) | |||
| Line 1: | Line 1: | ||
| + | {{DISPLAYTITLE:Farm}} |
||
| − | {{Room Infobox |
||
| + | {{Infobox room |
||
|name=Farm |
|name=Farm |
||
| + | |jp name=農場 |
||
| − | |image= |
||
| + | |image= [[File:RE4Farm.jpg|335px]] |
||
| − | |items=[[Pearl Pendant]] |
+ | |items=[[Pearl Pendant]]<br> |
| + | [[Beerstein]]<br> |
||
| + | [[Egg]]s<br> |
||
| + | Ammo |
||
|enemies=[[Los Ganados]] |
|enemies=[[Los Ganados]] |
||
| + | |files=[[About the Blue Medallions]] |
||
|allies=[[Ashley Graham]] (later in game) |
|allies=[[Ashley Graham]] (later in game) |
||
|area=Village |
|area=Village |
||
| − | |links=[[ |
+ | |links=[[Village/Village center|Village center]]<br/> |
| + | [[Village/Besieged hut|Besieged hut]]<br/> |
||
| ⚫ | |||
| + | [[Village/Deserted village|Deserted village]] |
||
| ⚫ | |||
}} |
}} |
||
| − | The '''Farm''' is an area that [[Leon]] has to go through two times, on his way to save |
+ | The {{Nihongo|'''Farm'''|農場|Nōjō}} is an area that [[Leon S. Kennedy|Leon]] has to go through two times, on his way to save Ashley Graham and later to leave with her, which afterwards he has to fight multiple [[Villagers]] in a cabin with [[Luis Sera]]. It is also visited in the [[Separate Ways]] scenario, where Ada has access to a barn balcony (using her Grapple Gun) that Leon did not have access to. |
| + | ==Description== |
||
| − | [[About the Blue Medallions]] file is found here, which says that there is 15 [[Blue Medallion]]s you can find 7 here and 8 later on in the [[Cemetery]]. Shooting 10 of them rewards you with the [[Punisher]], which you can get from the [[Merchant]]. |
||
| + | This area is a farm which consist of two barns, two huts, and a well. [[Cow]]s, chickens, and a dog also occupy the farm. A windmill is located in the north part of the farm, along with a huge door which was locked from the outside. It can be accessed later in the game. Villagers go about their business on the farm, working hay with their pitchforks. [[Blue Medallions]] are hung from the trees and buildings, with the [[About the Blue Medallions]] note explaining their presence. |
||
| + | ==Guide== |
||
| ⚫ | There are several cows and [[chicken]]s here, and you can also see the [[Wolf]] that Leon could have possibly saved from the bear trap earlier in the game |
||
| + | <imap map-id=3470/> |
||
| ⚫ | |||
| + | ===Main game=== |
||
| − | [[Category:Resident Evil 4 Places]] |
||
| + | Closest to the southern entrance to the area is small shed containing a barrel with a random item and a [[Typewriter]] to save on. [[About the Blue Medallions]] is found posted on a tree nearby, making mention of 15 breakable [[Blue Medallion]]s. Seven are located on this farm and eight later on in the [[Village/Cemetery|cemetery]]. Shooting 10 of them rewards you with the [[Punisher]], which you can get from the [[Merchant]], and shooting all 15 provides the Punisher with one free Firepower upgrade. A well sits next to the Typewriter hut with a [[Pearl Pendant]] dangling over the opening. Shooting the board supporting the well cover will allow proper recovery of the pendant. Dropping the pendant into the water gives you the [[Dirty Pearl Pendant]], which is worth significantly less than it's clean counterpart. The large barn with cattle standing next to it contains two barrels, both of which give random items. Inside the larger barn, there are three barrels that provide random items, and a box sitting on a shelf which is also random. Two cupboards on the ground floor provide a [[Spinel]] in one, and a box of Handgun Ammo in the other. Another cupboard upstairs contains another box of Handgun Ammo. The second floor if this barn has a window leading to a catwalk. A small area to drop down into straight across from the window on the catwalk has a box containing the [[Beerstein]]. Pushing a bookshelf out of the way is required to escape this small area. At the end of the catwalk is another, larger fenced-in area with another hut and a large door, which is locked on your first visit. This hut contains a crate and a barrel, with the crate containing a Spinel and the barrel providing a random item. Use of an erected ladder is required to exit the fenced-in area. At the north end of this area is a door leading to the [[Village/Deserted village|Deserted Village]]. |
||
| − | [[Category:Locations]] |
||
| + | |||
| ⚫ | |||
| + | |||
| + | Upon your second visit to this location at night after freeing [[Ashley]], bear traps will be located on the ground floor of the large barn, under the catwalk, and in the large fenced-off area with the large door. This door must be opened using a contextual 'Piggyback' option when Ashley is near. Crates and barrels respawn after the transition to night has occurred, providing new items. The exception to this is the box containing the Spinel in the large fenced-off area, which respawns but is empty. A red dumpster lies at the south entrance to the farm, which Ashley can hide in while she is accompanying the player. |
||
| + | |||
| + | ===Separate Ways=== |
||
| + | [[File:Resident Evil 4 Farm Separate Ways examine 1.png|thumb|220x220px]] |
||
| + | This area is also explored in Resident Evil 4's "Separate Ways" sidegame. |
||
| + | |||
| + | ==Examines== |
||
| + | ===Main game=== |
||
| + | {| class="article-table" style="width: 660px;" border="0" cellpadding="1" cellspacing="1" |
||
| + | |- |
||
| + | ! scope="col" |Location |
||
| + | ! scope="col" |Action |
||
| + | ! scope="col" |Localization |
||
| + | ! scope="col" |Original script |
||
| + | |- |
||
| + | |The well while it is open |
||
| + | |CHECK |
||
| + | |(close view of the water) Man! It stinks! |
||
| + | | |
||
| + | |- |
||
| + | |The well while it is closed |
||
| + | |OPEN |
||
| + | |(the well opens) |
||
| + | | |
||
| + | |- |
||
| + | |The three cabinets |
||
| + | |OPEN |
||
| + | |(view of them opening up) |
||
| + | | |
||
| + | |- |
||
| + | |The pile of dead bodies |
||
| + | |CHECK |
||
| + | |I can't believe this... These are all dead bodies. |
||
| + | | |
||
| + | |- |
||
| + | |The manure container |
||
| + | |CHECK |
||
| + | |Nothing here except a stinkin' pool of manure |
||
| + | | |
||
| + | |- |
||
| + | |The door to the Siege hut while alone |
||
| + | |{{color|lightgreen|OPEN}} |
||
| + | |It won't open. It must be barred from the other side. With a little help from another person maybe I can climb over. |
||
| + | | |
||
| + | |- |
||
| + | |The gate to the Deserted Village when its boarded up (Chapter 2-2) |
||
| + | |CHECK |
||
| + | |The gate's been boarded! I guess I'd better find another route. |
||
| + | | |
||
| + | |} |
||
| + | |||
| + | |||
| + | ===Separate Ways=== |
||
| + | {| class="article-table" style="width: 660px;" border="0" cellpadding="1" cellspacing="1" |
||
| + | |- |
||
| + | ! scope="col" |Location |
||
| + | ! scope="col" |Action |
||
| + | ! scope="col" |Localization |
||
| + | ! scope="col" |Original script |
||
| + | |- |
||
| + | |The well while it is open |
||
| + | |CHECK |
||
| + | |(close view of the water) The stench is overpowering. |
||
| + | | |
||
| + | |- |
||
| + | |The pile of dead bodies |
||
| + | |CHECK |
||
| + | |The bodies have been left here to rot, emanating a distinct odor. |
||
| + | | |
||
| + | |- |
||
| + | |The manure container |
||
| + | |CHECK |
||
| + | |(view filth) This place smells awful. I can't wait to get out of here. |
||
| + | | |
||
| + | |- |
||
| + | |The door to the Seiege hut |
||
| + | |{{color|lightgreen|OPEN}} |
||
| + | |(locked door sound) The door won't open. It must be barred from the other side. |
||
| + | | |
||
| + | |} |
||
| + | ==Gallery== |
||
| + | <gallery> |
||
| + | game 2014-07-19 18-39-09-722.jpg |
||
| + | game 2014-07-19 18-39-25-519.jpg|A cow |
||
| + | game 2014-07-19 18-40-35-949.jpg|Two cows |
||
| + | game 2014-07-19 18-40-47-662.jpg|A Wolf |
||
| + | game 2014-07-19 18-40-56-182.jpg|Dirty water |
||
| + | game 2014-07-19 18-41-12-214.jpg|"Nothing here except a stinking pool of manure" |
||
| + | game 2014-07-19 18-41-26-413.jpg |
||
| + | game 2014-07-19 18-42-19-612.jpg |
||
| + | game 2014-07-19 18-43-08-075.jpg|2nd Floor |
||
| + | game 2014-07-19 18-43-42-490.jpg|A Windmill |
||
| + | game 2014-07-19 18-44-09-588.jpg|"It must be barred from the other side" |
||
| + | game 2014-07-19 18-44-51-052.jpg |
||
| + | game 2014-07-22 19-47-58-443.jpg|"Hide!" |
||
| + | game 2014-07-22 19-48-24-775.jpg|"Man! It stinks." |
||
| + | game 2014-07-22 19-49-45-498.jpg |
||
| + | game 2014-07-22 19-50-46-626.jpg|Traps |
||
| + | game 2014-07-22 19-52-18-922.jpg |
||
| + | game 2014-07-22 19-52-28-196.jpg|Whistling for Ashley |
||
| + | game 2014-07-22 19-52-31-353.jpg |
||
| + | game 2014-07-22 19-53-08-484.jpg|Piggyback |
||
| + | game 2014-07-22 19-53-13-085.jpg |
||
| + | game 2014-07-22 19-53-15-793.jpg|Ashley able to get across |
||
| + | </gallery> |
||
| + | |||
| + | == Trivia == |
||
| + | When visited during the day, there are several bodies in the cart near the shed, behind the barn with cows. However, later, during the night, the bodies are gone. |
||
| + | |||
| + | ==Bibliography== |
||
| + | *{{Cite book|title=[[biohazard4 kaitaishinsho revised edition]]|publisher= Famitsu|author=|authors=|editor=Koichi Hamamura|page=|pages= |language=Japanese |isbn=4-7577-2638-4|year=2006}} |
||
| + | |||
| + | ==Sources== |
||
| + | <references /> |
||
| + | |||
| + | {{Village}} |
||
| ⚫ | |||
Revision as of 02:02, 16 January 2020
The Farm (農場 Nōjō) is an area that Leon has to go through two times, on his way to save Ashley Graham and later to leave with her, which afterwards he has to fight multiple Villagers in a cabin with Luis Sera. It is also visited in the Separate Ways scenario, where Ada has access to a barn balcony (using her Grapple Gun) that Leon did not have access to.
Description
This area is a farm which consist of two barns, two huts, and a well. Cows, chickens, and a dog also occupy the farm. A windmill is located in the north part of the farm, along with a huge door which was locked from the outside. It can be accessed later in the game. Villagers go about their business on the farm, working hay with their pitchforks. Blue Medallions are hung from the trees and buildings, with the About the Blue Medallions note explaining their presence.
Guide
Main game
Closest to the southern entrance to the area is small shed containing a barrel with a random item and a Typewriter to save on. About the Blue Medallions is found posted on a tree nearby, making mention of 15 breakable Blue Medallions. Seven are located on this farm and eight later on in the cemetery. Shooting 10 of them rewards you with the Punisher, which you can get from the Merchant, and shooting all 15 provides the Punisher with one free Firepower upgrade. A well sits next to the Typewriter hut with a Pearl Pendant dangling over the opening. Shooting the board supporting the well cover will allow proper recovery of the pendant. Dropping the pendant into the water gives you the Dirty Pearl Pendant, which is worth significantly less than it's clean counterpart. The large barn with cattle standing next to it contains two barrels, both of which give random items. Inside the larger barn, there are three barrels that provide random items, and a box sitting on a shelf which is also random. Two cupboards on the ground floor provide a Spinel in one, and a box of Handgun Ammo in the other. Another cupboard upstairs contains another box of Handgun Ammo. The second floor if this barn has a window leading to a catwalk. A small area to drop down into straight across from the window on the catwalk has a box containing the Beerstein. Pushing a bookshelf out of the way is required to escape this small area. At the end of the catwalk is another, larger fenced-in area with another hut and a large door, which is locked on your first visit. This hut contains a crate and a barrel, with the crate containing a Spinel and the barrel providing a random item. Use of an erected ladder is required to exit the fenced-in area. At the north end of this area is a door leading to the Deserted Village.
There are several cows and chickens here, and you can also see the Wolf that Leon could have possibly saved from the bear trap earlier in the game.
Upon your second visit to this location at night after freeing Ashley, bear traps will be located on the ground floor of the large barn, under the catwalk, and in the large fenced-off area with the large door. This door must be opened using a contextual 'Piggyback' option when Ashley is near. Crates and barrels respawn after the transition to night has occurred, providing new items. The exception to this is the box containing the Spinel in the large fenced-off area, which respawns but is empty. A red dumpster lies at the south entrance to the farm, which Ashley can hide in while she is accompanying the player.
Separate Ways

This area is also explored in Resident Evil 4's "Separate Ways" sidegame.
Examines
Main game
| Location | Action | Localization | Original script |
|---|---|---|---|
| The well while it is open | CHECK | (close view of the water) Man! It stinks! | |
| The well while it is closed | OPEN | (the well opens) | |
| The three cabinets | OPEN | (view of them opening up) | |
| The pile of dead bodies | CHECK | I can't believe this... These are all dead bodies. | |
| The manure container | CHECK | Nothing here except a stinkin' pool of manure | |
| The door to the Siege hut while alone | OPEN | It won't open. It must be barred from the other side. With a little help from another person maybe I can climb over. | |
| The gate to the Deserted Village when its boarded up (Chapter 2-2) | CHECK | The gate's been boarded! I guess I'd better find another route. |
Separate Ways
| Location | Action | Localization | Original script |
|---|---|---|---|
| The well while it is open | CHECK | (close view of the water) The stench is overpowering. | |
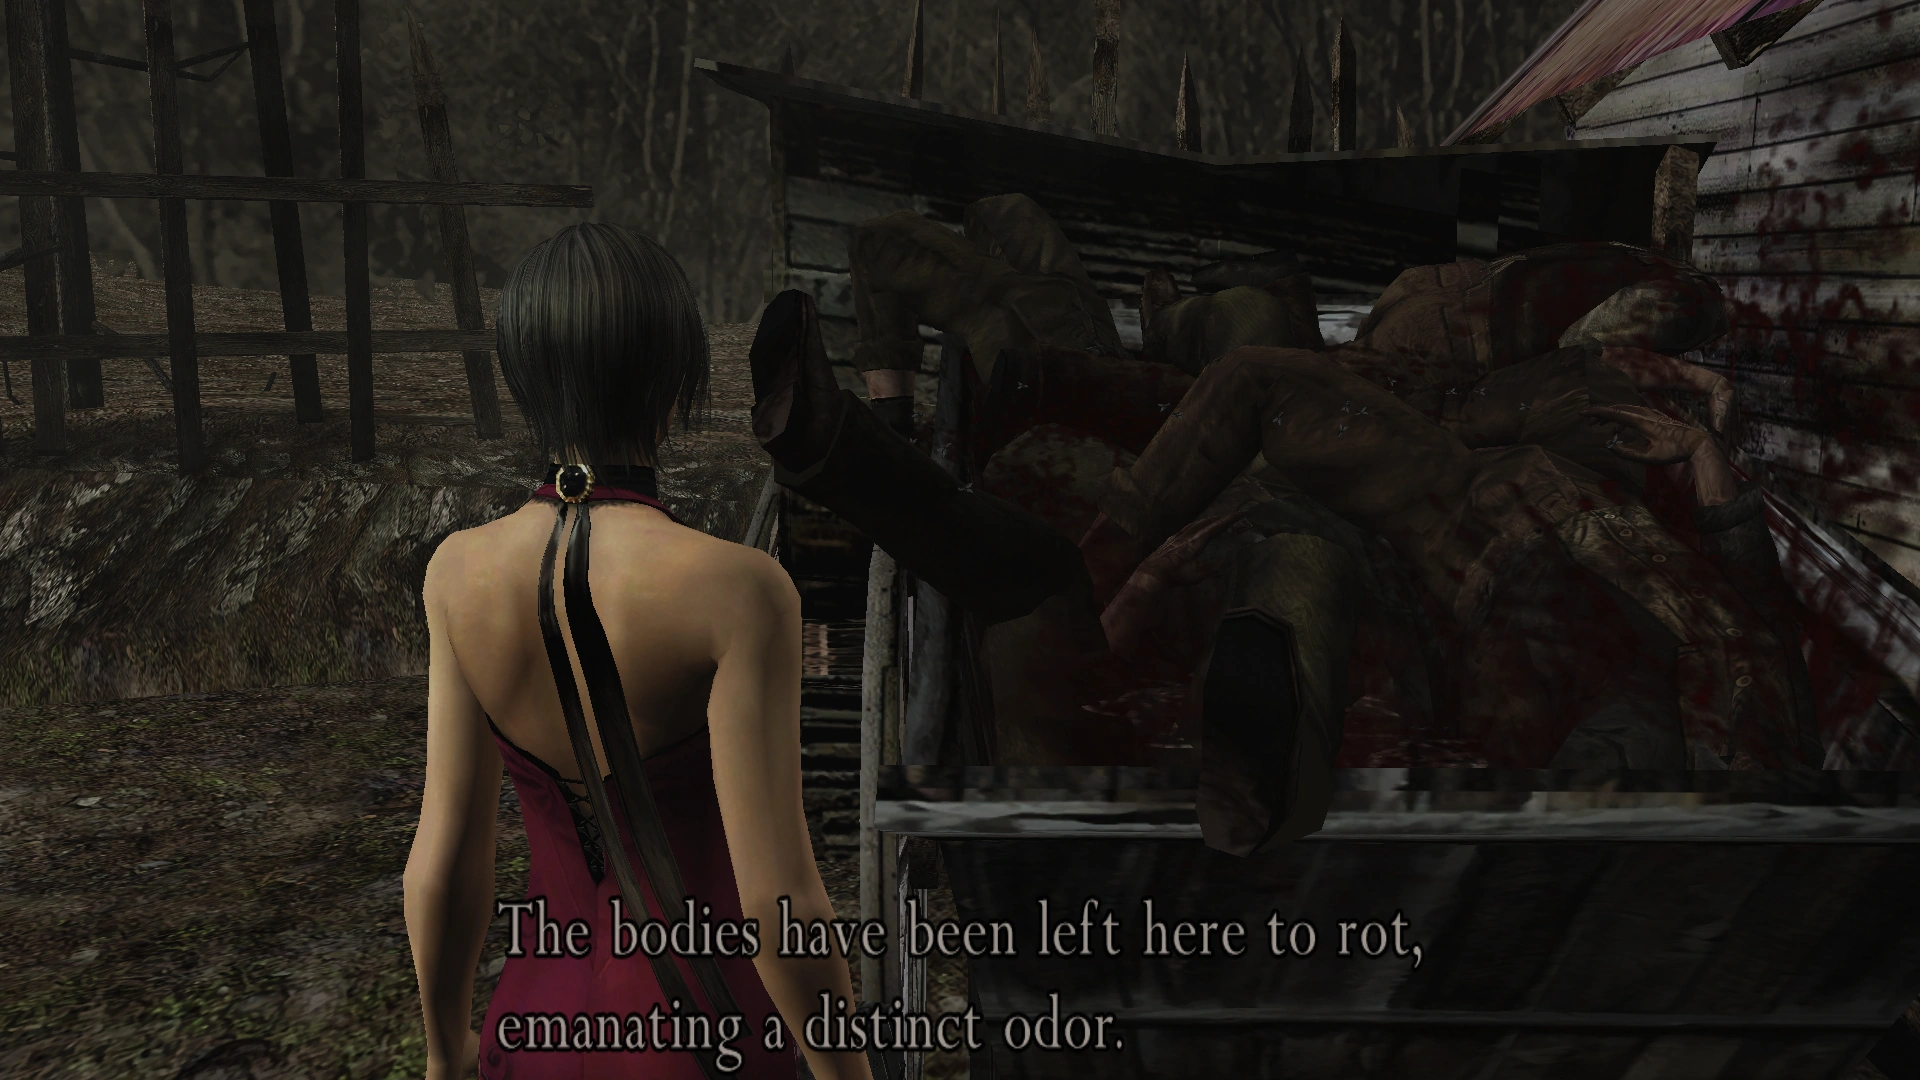
| The pile of dead bodies | CHECK | The bodies have been left here to rot, emanating a distinct odor. | |
| The manure container | CHECK | (view filth) This place smells awful. I can't wait to get out of here. | |
| The door to the Seiege hut | OPEN | (locked door sound) The door won't open. It must be barred from the other side. |
Gallery
")
")
")
")
")
")
")
")
")
")
")
")
")
")
")
")
")
")
")
")
")
")
Trivia
When visited during the day, there are several bodies in the cart near the shed, behind the barn with cows. However, later, during the night, the bodies are gone.
Bibliography
- Koichi Hamamura, ed (2006) (in Japanese). biohazard4 kaitaishinsho revised edition. Famitsu. ISBN 4-7577-2638-4.
Sources
| ||||||||